TEN THINGS YOU NEED TO KNOW ABOUT CHAINS
(1) Chain manufacturers want to build strong yet light chains. To get strength, they can increase the roller diameter and pin diameter, but this increases weight as well. So, they look for better materials and manufacturing processes so they can decrease the amount of material and weight accordingly. Chains must have great tensile strength, withstand large impacts and handle the incredibly abrasive environment of a motocross track.
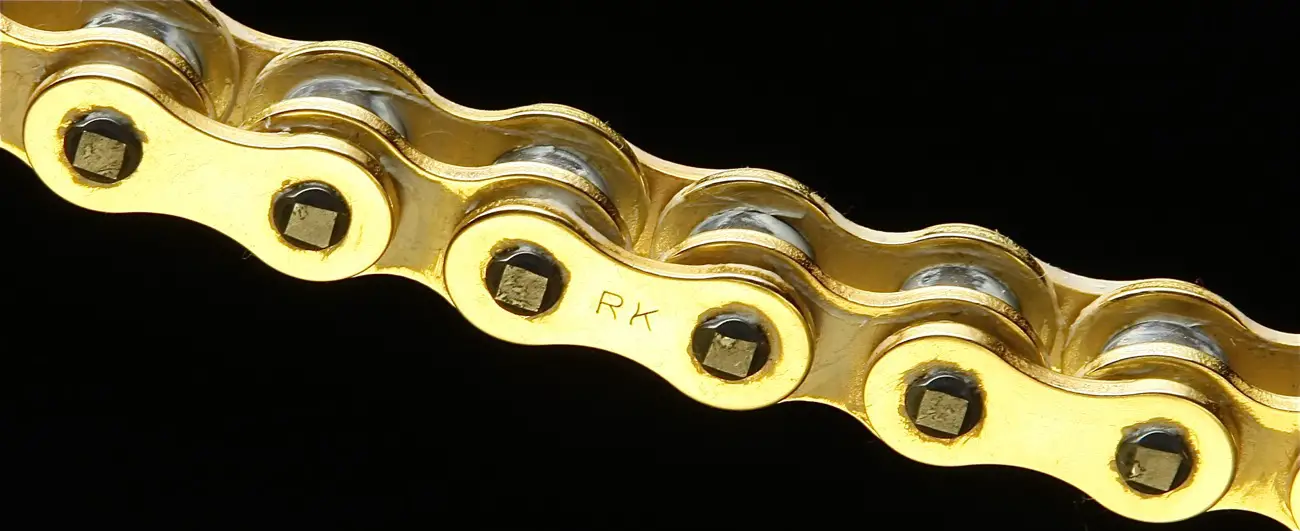
(2) There are several distinct chain components. Side plates: these are the actual linking portions of the chain. There are inner and outer side plates, and each has a different design. O-ring chains: in a sealed chain or O-ring chain, the inner and outer side plates are separated by a rubber seal. Rollers: in the center of the chain are rollers, which are the contact area for the sprockets. Pins: the axis of the rollers are the pins. Usually, bushings separate the rollers from the pins, but there are bushing-less designs.
(3) The size of a chain is designated by a three-digit number (520, for example). The distance from the center of one pin to the center of the next is called pitch. Pitch is represented by the first digit, which is 4, 5 or 6. Although some companies have converted their numbers to decimals, the majority of measurements are in eighths of an inch. A 4 means 4/8-inch; a 5 means 5/8-inch; a 6 means 6/8-inch. The meaning of the second number can vary. Most commonly, it designates the width of a chain (from the inside of one inner side plate to the other). Adding to the complication is roller diameter, which affects proper chain fitment too. Width and roller diameter are associated with strength, so some chains are given digits to represent their model and not necessarily their size. The number may or may not reflect rated tensile strength.
(4) The master link is an important part of the chain, because without proper attention, it can easily become the weak link. There are three major types of connecting links. Slip-fit links are the most common type on dirt bike chains. They have a clip that secures one side plate. Second, press-fit links have a clip, too, but require a chain press or “chain breaker” tool to install. Third, rivet links do not have clips; they have hollow-ended pins that act like rivets and are flared out with a tool to hold the side plate. Rivet links are better than press-fit links, and press-fit links are better than slip-fit links. Press-fit and rivet links are more common on street bike chain applications.
(5) You can install the clip on a slip-fit master link with a pair of needle-nose or regular pliers. The clip can be leveraged off with a flat-blade screwdriver. Be sure to avoid side loads that can bend the thin clip during installation. Always be sure to use the supplied master link that is provided with the chain. The pin diameter must match the inner diameter of the roller it mates with. (6) O-ring chains aren’t popular in the motocross world, but most offroad riders swear by them. The seal sits between the inner and outer side plates, and it keeps lube in and contaminants out from between the pin and bushing. An actual O-ring is old technology. Now, O-ring chains come with seals that have multiple lips (usually two or three) to increase the number of contact points for better sealing. Sealed chains and the sprockets with them last longer. They have the stigma of more drag, but at operating temperature, many believe that sealed-ring chains perform almost as well as non-sealed chains. Sizing is important, but replacing an OEM O-ring chain with another O-ring chain isn’t mandatory, as the manual may suggest.
(7) Chains elongate due to wear. Knowing when to replace a chain is a judgment call for the average rider. It’s best to monitor the sprocket teeth and grooves and replace chain and sprocket components simultaneously. Fresh drivetrain components have significantly different dimensions from worn-out ones. When they don’t mate properly, they wear their companion parts very quickly.
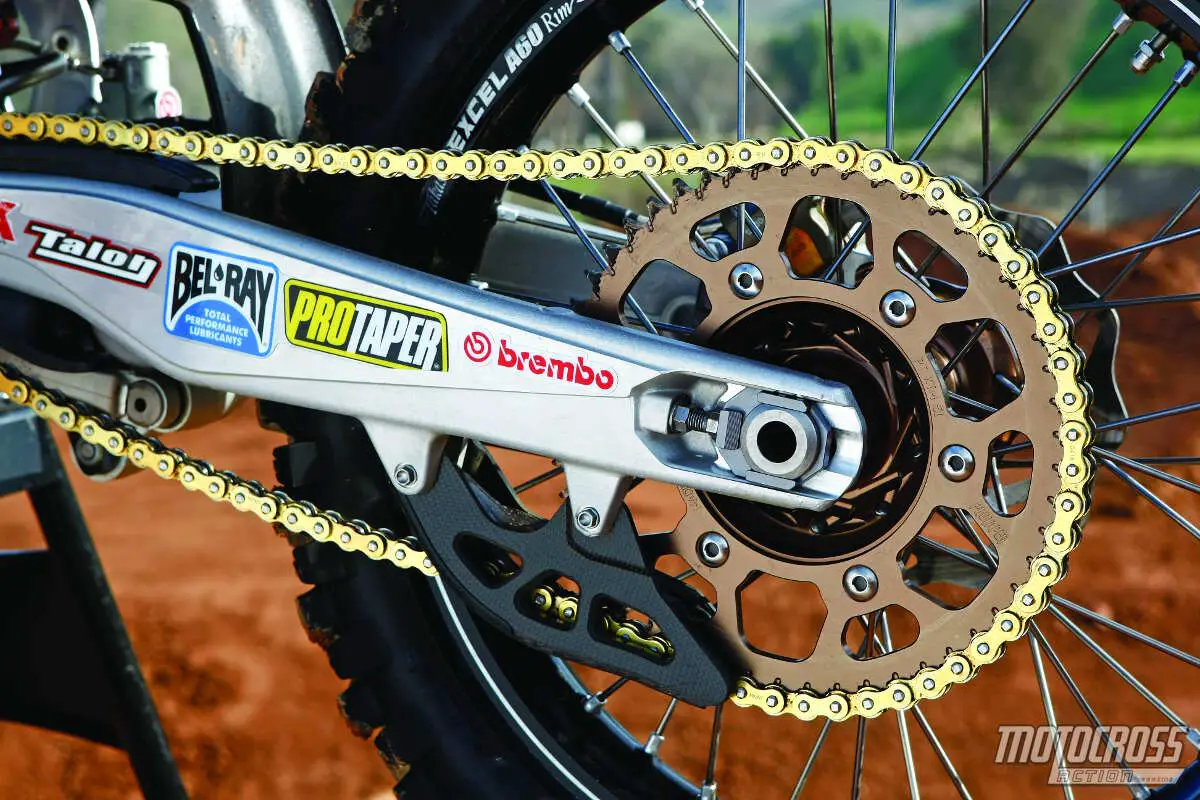
(8) Improper chain adjustment will cause excessive wear. Ideally, the chain will have just a bit of tension at its tightest point—which is when the countershaft, swingarm pivot and rear axle are aligned. Three fingers is the rule of thumb, but be aware of what that slack is supposed to achieve. Getting the sprocket perfectly in line with the chain is crucial. It’s best to double-check the axle marks by measuring to the swingarm pivot and watching the chain engage the sprocket. There are also special visual alignment aids on the market.

(9) Proper cleaning and lubrication can drastically increase a chain’s lifespan and make the rear wheel spin noticeably freer. Avoid direct pressure from washer sprays and wire brushes, especially with an O-ring chain. They can force in contaminants and destroy seals. Use soap with a degreaser to scrub and rinse manually. Maxima even makes a chain care kit that includes cleaner, water dispersant and Chain Wax. It is important to avoid direct blasts of compressed air for the same reasons as pressurized water. Dry with a rag, then use a water dispersant/lube to prevent rust. Even though the rollers only move slightly during operation, it’s crucial that they move freely to prevent friction, especially as lubrication wears away.
(10) Lubricant should be applied to the pivot points on both sides of the chain after each moto. Ideally, there should be a touch of lubricant on the roller when it contacts the sprocket too. Lubricants attract dirt, which is counterproductive. Focus on spraying an even, but not excessive, coat on the top side of the chain as it passes underneath the swingarm so that it sinks and wicks into the joints as the chain spins. WD40 is great after washing, but use a chain-specific lube at the track.

Comments are closed.