TEN THINGS YOU NEED TO KNOW ABOUT FOOTPEGS
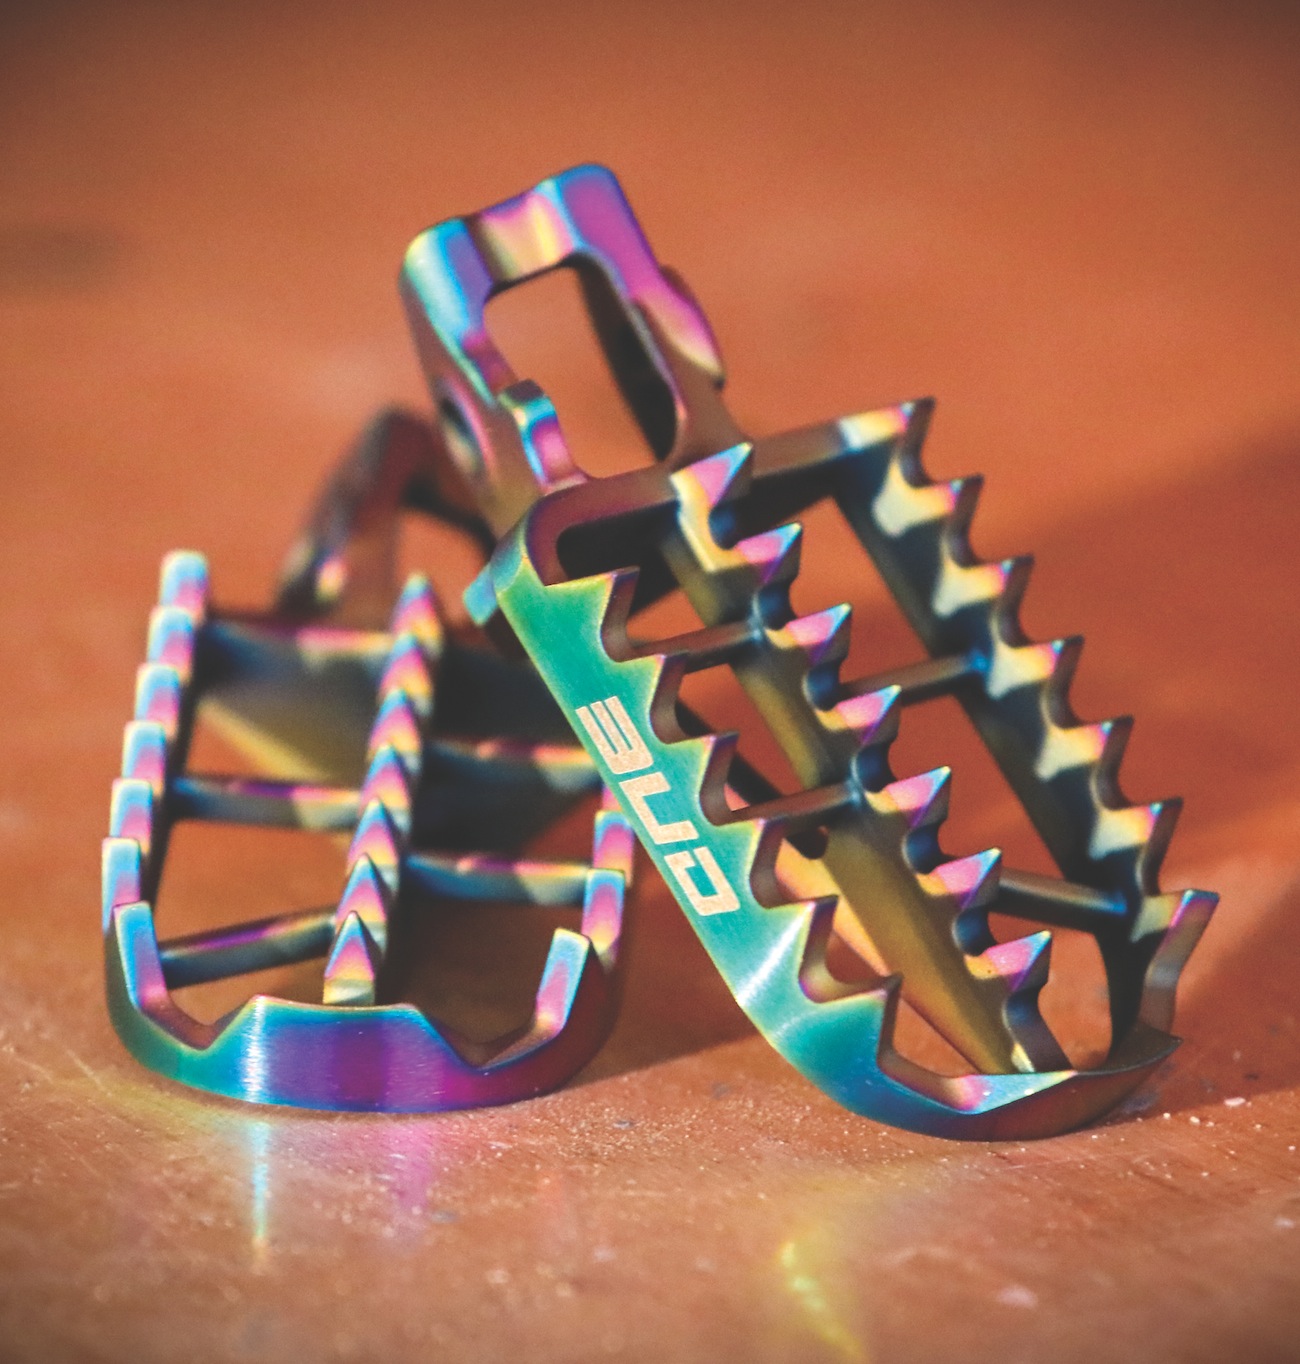
(1) Construction. There are steel, aluminum and titanium footpegs that are cast, machined, forged or stamped. Some are anodized or heat-treated. Some have been drilled, sawed, ground or polished, with the pieces welded or bolted together.
(2) Mud retention. There are three major footpeg features that affect mud retention: (a) Draft. A “positive draft” means that the opening at the bottom is larger than the opening at the top. Merely one degree of positive draft means that mud is less likely to get trapped. (b) Thickness. Billet aluminum pegs must utilize more material, which creates deeper cavities for mud to get trapped in. Super-thin pegs like Pro Circuit’s units just don’t have room for as much mud. (c) Nooks and crannies. Complicated crossbeams and intricate shapes trap mud.
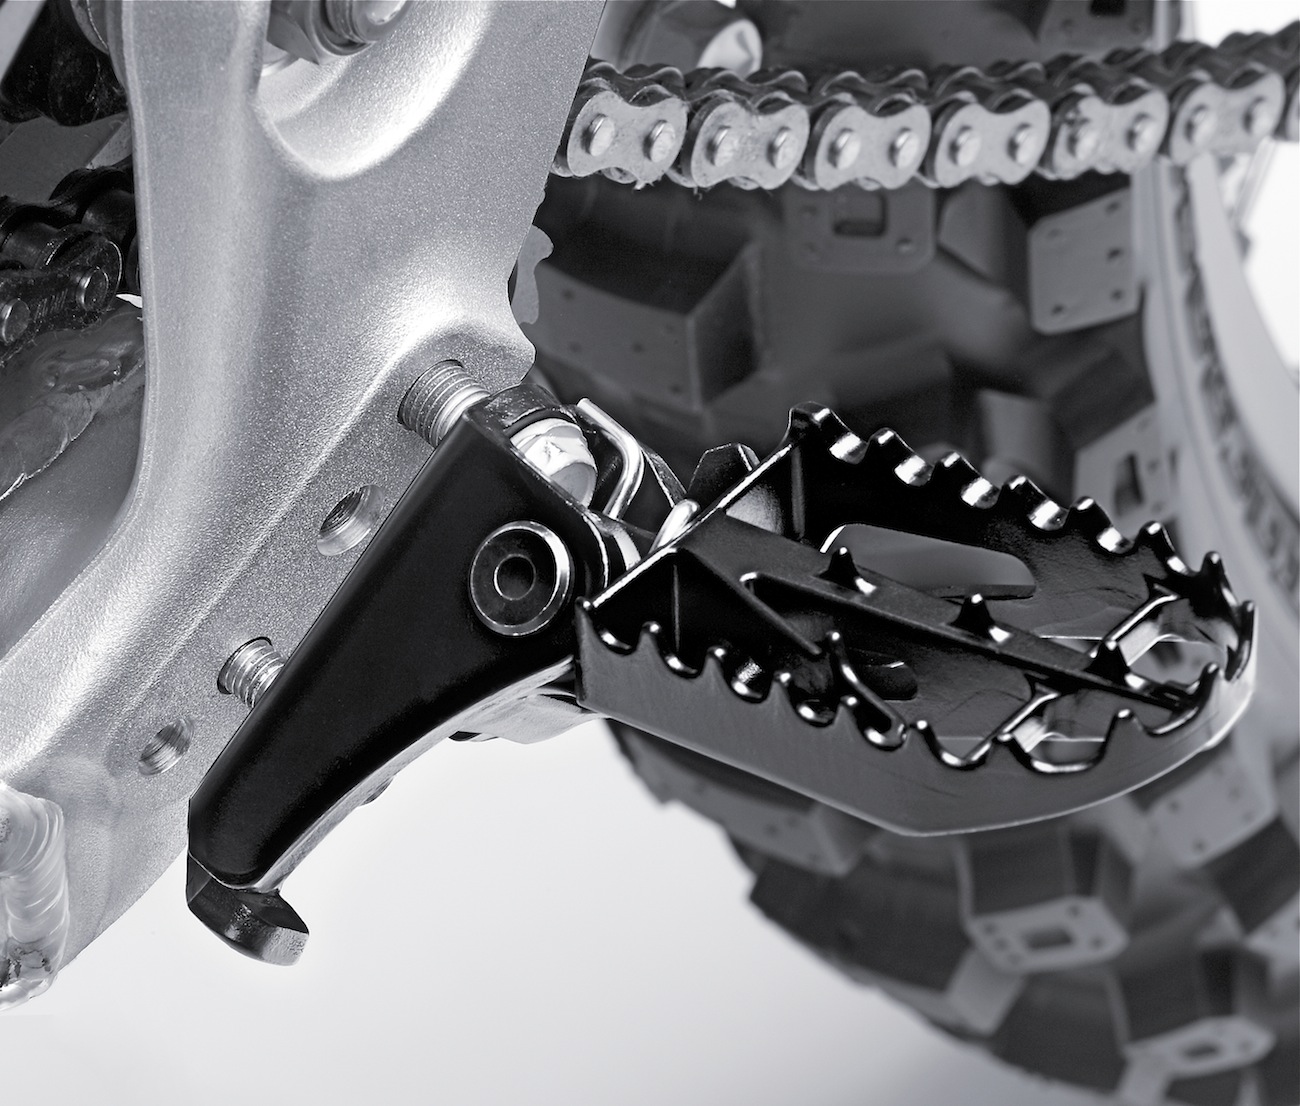
(3) Pivot protection. When leaning a bike in a rut, mud can jam so tightly into the pivot that the footpeg remains in the up position. Since this renders a footpeg virtually useless, pivot mud protection can be critical in certain conditions. For the average rider, a section of an old inner tube stretched over the pivot point is the cheapest fix. However, the rubber wears through, making the fix temporary. There have been many hard pivot-protection designs that block the bottom of the pivot but still admit dirt through the side and/or top. The JGR team fabricates their own completely boxed-in design, but it isn’t for sale. Works Connection does sell an excellent pair though.
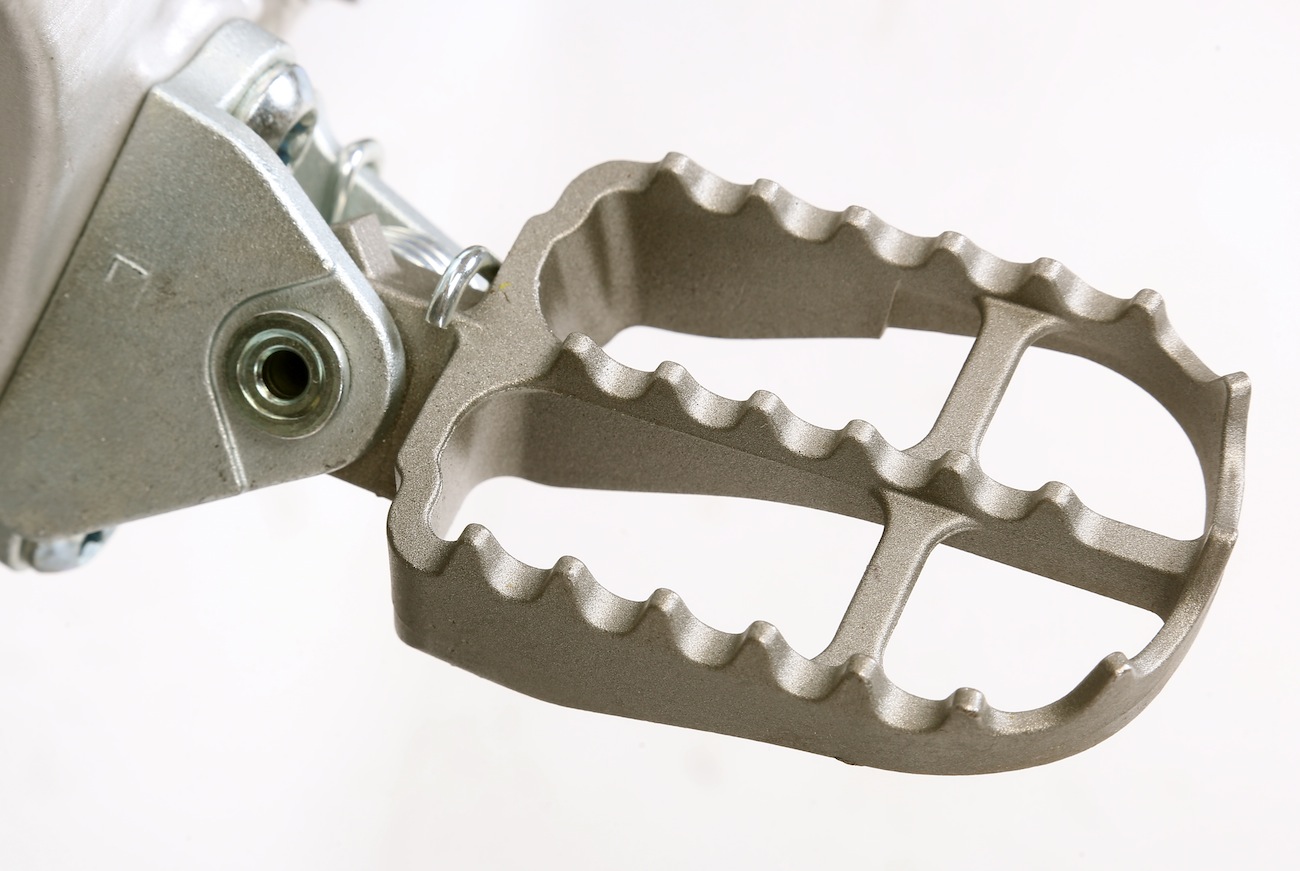 (4) Dimensions. Wider is better. Most aftermarket footpegs are 57mm wide, which is much wider than most OEM pegs. A larger platform for the feet spreads the load of impact over a larger part of the foot. It makes the peg easier to find when straightening out of a turn and makes for a more comfortable ride and more positive interface with the bike in general. Peg length is rarely discussed, but a longer peg can give a rider more leverage to control the bike. Some riding coaches teach foot positioning on the outside of the peg for that reason.
(5) Teeth/cleats. Threaded, replaceable cleats, like the ones found on Talon and Fastway footpegs, seem like a neat way to create options, but they can be trouble when mud packs into the threads. Loctite is a must with these designs. Pro Taper’s replaceable platform is fastened with four bolts. It’s reliable, but the anodized aluminum becomes dull after a season of riding. Traditional teeth are usually part of the peg’s casting but can also come as a stamped piece that is welded on. The teeth are usually tall with a deep trough so that mud won’t pack higher than the tip of the teeth and compromise traction.
(6) Grip. The grip of a peg on a rider’s boot is determined by the sharpness, number or shape of the teeth. The easiest way to get more grip is to sharpen the teeth, but be forewarned: sharper teeth can wear through boot soles significantly quicker and lacerate a rider or mechanic on contact.
(7) Arch and pivot. Instead of adding more teeth or sharper teeth, some peg manufacturers try to gain grip by keeping more teeth in contact with the boot. Arched and pivoting pegs seek to achieve this while making it easier for a rider to rock his feet back and forth along the pegs. Visualize a peg with three rows of teeth, where the center row is slightly taller than the others. This is an “arched” peg. When the rider rocks his foot backward, it would normally only contact one row of teeth. But with the arch, it still contacts two rows. With pivoting pegs (namely Pivot Pegz), the entire platform rotates a set number of degrees forward and backward. Now, when the rider rocks back and forth, his foot is always planted on the entire platform.
(8) Position. Raising and lowering footpegs are a compromise. Lowering footpegs gives the rider more bike to squeeze between his legs, lowers his center of gravity and effectively raises the bars when standing. The downside is that the pegs will drag on the ground sooner and the seat will hit his rear sooner. There are several clever methods that manufacturers use to create adjustable-height footpegs. Pro Taper’s footpegs have a replaceable platform on top that is available in different thicknesses. Fastway pegs have a collar at the pivot that can be relocated to let the peg sit in the bottom of the mounting bracket instead of the top. The KX250F/450F have two mounting bracket positions in the frame to choose from. Some Honda pro teams run their footpegs farther back to redistribute the rider’s weight.
(9) Camber. When a rider leans his bike over for a turn, his body doesn’t always follow. He often sits on the side of the seat or stands bowlegged to stay atop of the bike. In these positions, maintaining grip on the pegs can be difficult. Changing the pivot stop so that the top platform of the footpeg is not level but angled in toward the bike is sometimes referred to as camber. Fastway pegs have a threaded stopper for adjustable camber.
(10) Peg care. During installation, be sure that each end of the spring’s coil is properly seated against the mounting bracket. Don’t grease the pivot point; it will attract too much dirt. Polish the pin with steel wool or fine-grit sandpaper instead. Don’t forget to install the cotter pin.


Comments are closed.