HOW TO MAKE YOUR 2018 KAWASAKI KX250F BETTER
 THE GEAR: Jersey: Troy Lee Designs GP Air Prisma Pants: Troy Lee Designs GP Air Mono, Helmet: Troy Lee Designs SE4, Goggles: Vonzipper Bushwick XT, Boots: Alpinestars LE Tech 10
There is little doubt that the MXA wrecking crew likes the Kawasaki KX250F. It won MXA’s “250 Four-Stroke Shootout” five times in the last 10 years. But, the real truth is that it hasn’t won that lofty title since 2014. The death blow for our KX250F dreams came when the KX engineers changed the powerband in 2017. It was the KX250F’s previous power profile that the MXA gang was enamored with. Every MXA test rider preferred the 2016 Kawasaki KX250F’s snappier throttle response and quicker rev, so when the KX250F engineers went linear with the power, they lost us as their number-one cheerleaders.
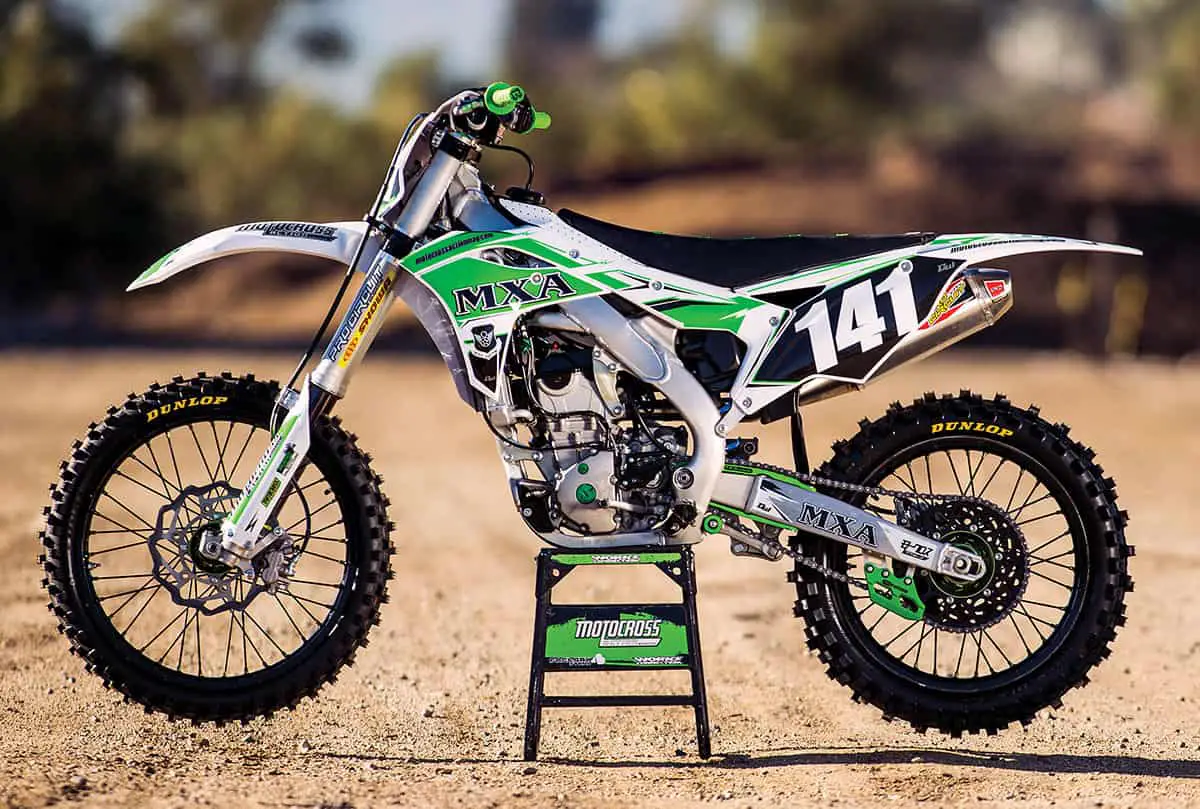 Decal Works did an amazing job. They supplied the white KX250F plastic and custom graphics. They even put the decals on the plastic for us.
The more we lived with the 2018 Kawasaki KX250F, the more we knew that we needed to change it if we were ever going to change our opinion of it. We came up with a simple plan—make it better for one test rider, the one who fit the target demographics of the 250 class, which means a rider who is around 140 pounds, has a slightly wild riding style and is willing to spend the time to get it right.
Oh, yeah, we didn’t want to build one of those trust-fund-baby bikes that had works suspension, a $5000 engine and oodles of exotica. We just wanted a better KX250F. We knew that we’d have to pay the piper to get it; we just didn’t want to finance the piper’s Bentley.
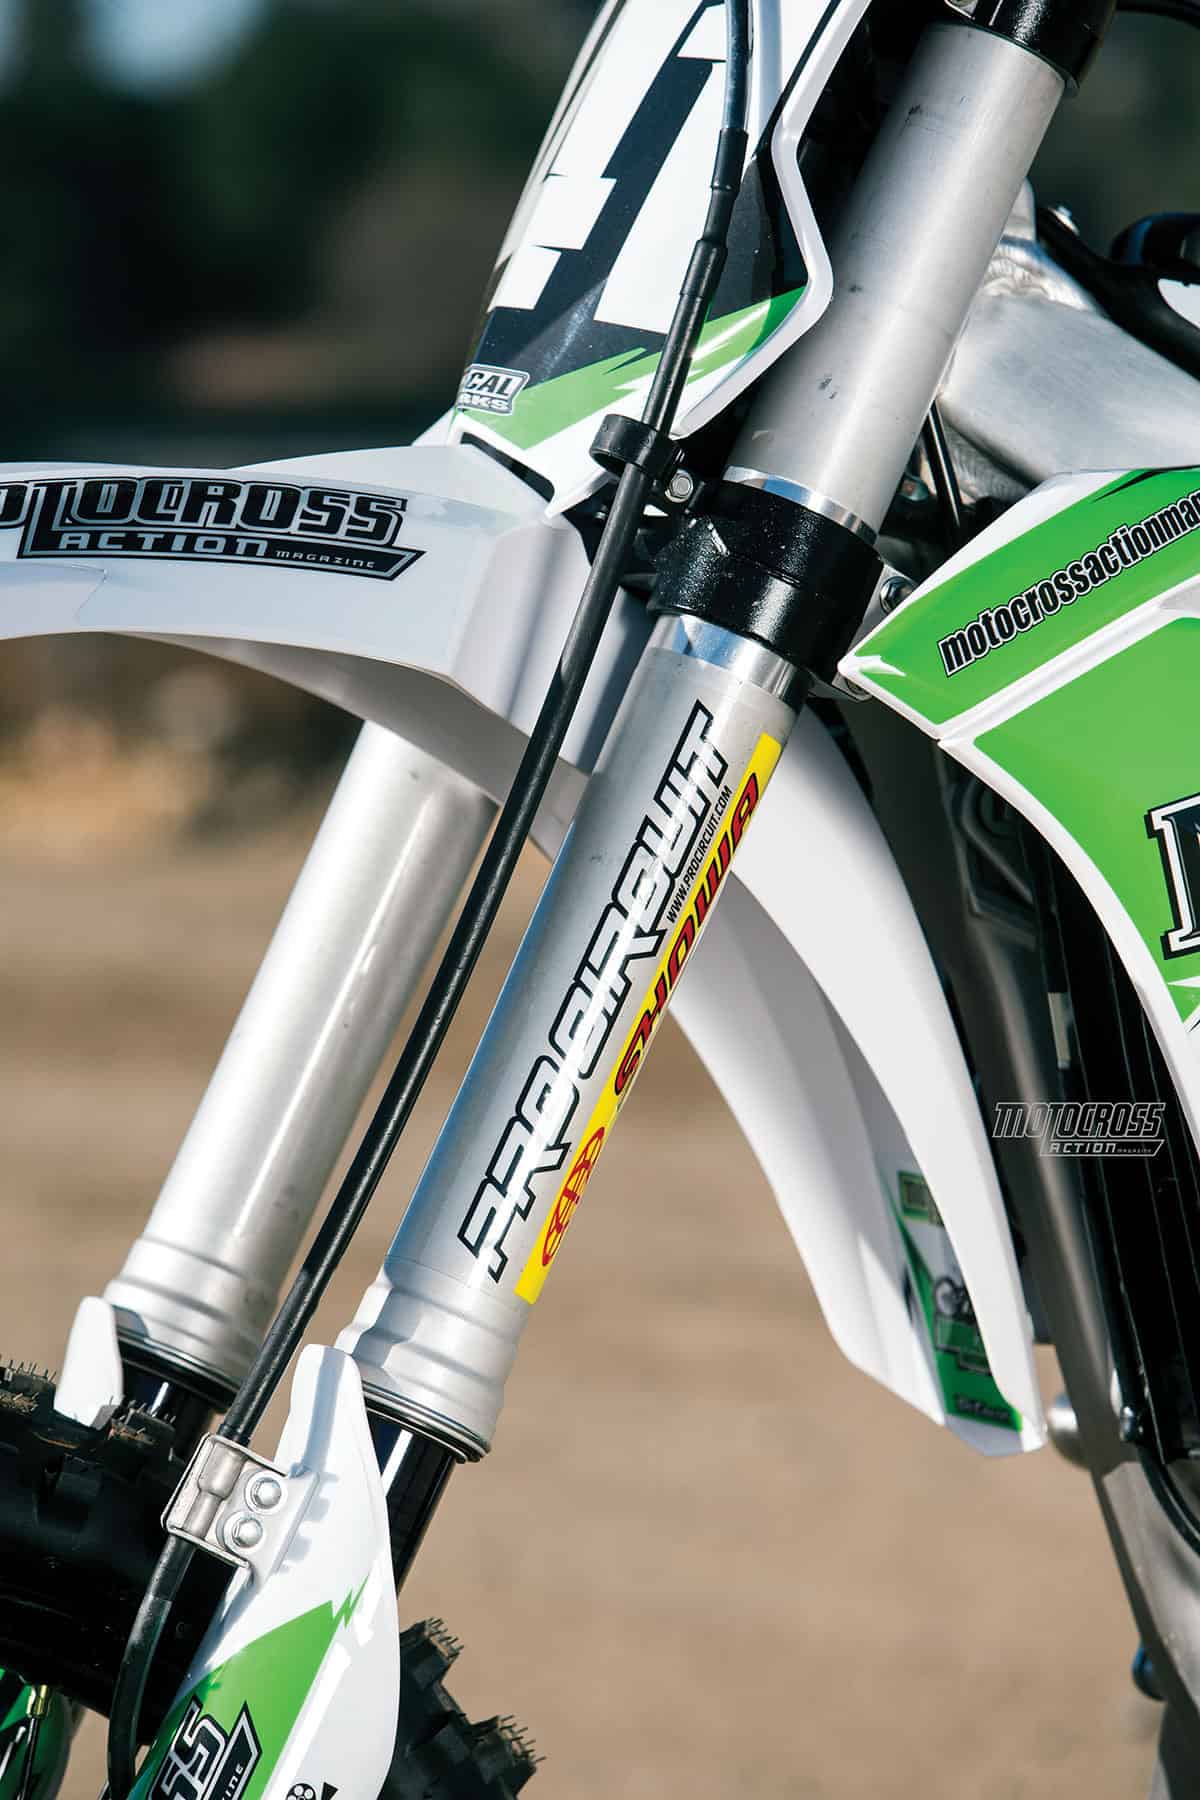 The stock suspension settings on the Showa SFF forks and the Showa shock aren’t in the ballpark for the typical 140-pound 250F racer. We went softer—a lot softer—on both ends.
THE SUSPENSION: We don’t know what size rider Kawasaki built this bike for, but it wasn’t for the typical 250 rider. The stock suspension is too stiff for the 140-pound audience that races 250 four-strokes; however, we didn’t need to tear our hair out trying to figure out where to go to get it fixed. We called Bones Bacon. Bones does the suspension for the Pro Circuit Monster Kawasaki team. We told Bones that we wanted our Kawasaki KX250F to be set up for a 140-pound Intermediate rider (with no Supercross aspirations).
Bones went to work on the single-spring Showa SFF forks. He lowered the spring rate and changed the compression valving. To find out if Bones had hit the target, we took our featherweight test rider out and he confirmed that the forks were plusher. Then, after racing it a couple times, he asked if we could make it a little plusher in the mid-stroke, so we took 10cc of oil out of the damping leg of the SFF forks. A week later, 10cc more. Voila!
The KX250F shock got the same treatment. With the stock 5.2 N/m shock spring, our 140-pound test rider had to take all of the preload off the spring to get close to 100mm of sag. Bones dropped the spring rate to 4.9 N/m and lightened the compression. Then, we spent a day just testing clicker settings.
Once we were happy with both ends, we asked Bones about running a longer shock linkage, but he said that the 2018 KX250F didn’t need it.
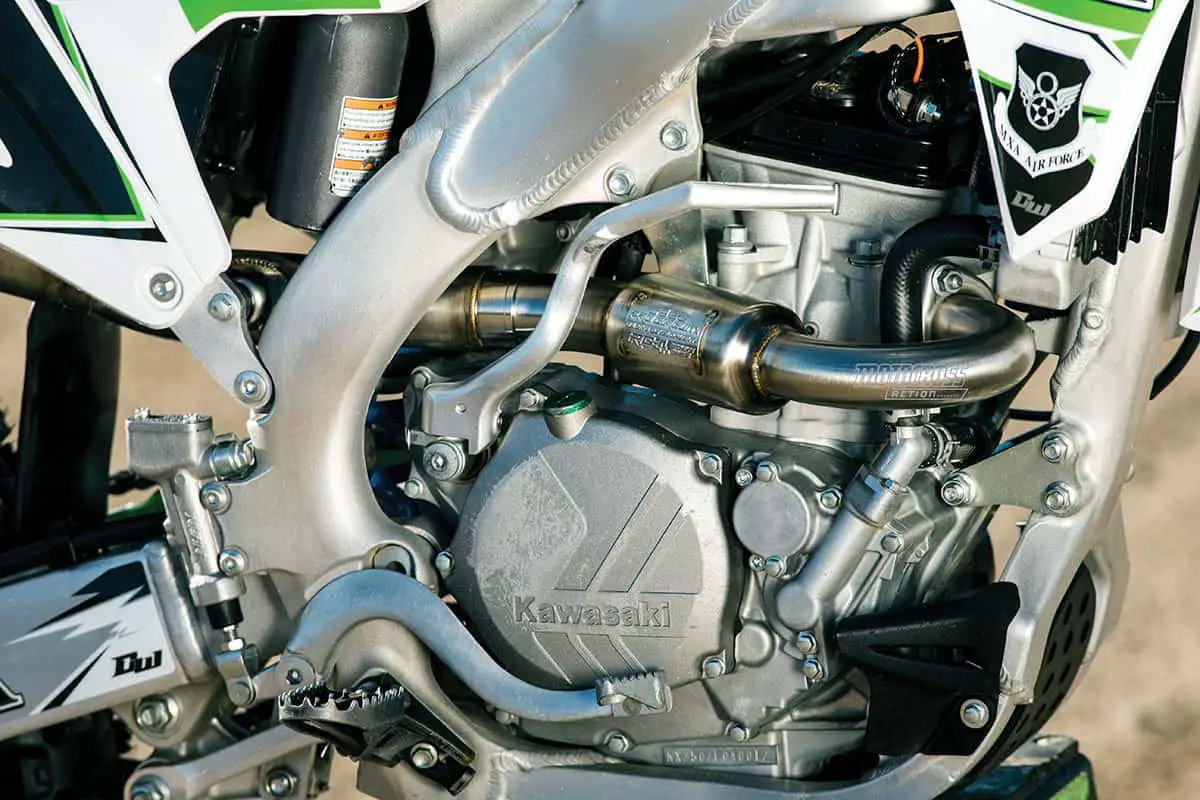 Engine mods were limited to a Pro Circuit exhaust, ECU mapping and stiffer clutch springs.
THE ENGINE: Although it sounded like a joke, we asked Mitch Payton if it were possible to put a 2016 KX250F engine in our 2018 KX250F chassis. Amazingly, Mitch said that he had investigated this possibility when the linear 2017 KX250F engine was first introduced. Mitch said it was possible but that it wasn’t easy—and that he never followed through on the engine swap because it wouldn’t be legal to swap engines under the AMA production rule. The 2018 engine had been heavily modified over the 2017 version with a new 43mm throttle body, increased fuel-pump pressure, a new camshaft and new maps. It was a big improvement. We pressed Mitch on how to get more horsepower from our under-40-horsepower 2018 KX250F. Mitch suggested that we port the head, swap cams, replace the valves and add a high-compression piston. We refused to do what he suggested for budget reasons. When pressed for the easiest and cheapest mod, he said that a Pro Circuit exhaust system would give us a healthy power boost, and he agreed to dyno our engine with and without the new pipe.

Mitch wasn’t kidding. The stock KX250F pipe produced 39.49 horsepower at peak with 19.93 foot-pounds of torque. Thirty minutes later, the same engine pumped out 41.62 horsepower with 20.58 foot-pounds of torque. In action, that translated to 1.0 horse more at 9000 rpm, 1.2 horses at 10,000 rpm, 2 horses at 11,000 rpm, 2 horses at 12,000 rpm and 1.6 horsepower at 13,000 rpm.
We chose to run a Pro Circuit T-6 stainless steel exhaust system as opposed to the lighter and more expensive titanium Ti-6.
MAPPING: We had issues with the stock KX250F mapping. With the stock plug-in map (green coupler), we got the best top-end and over-rev. With the aggressive plug-in map (white coupler), we got more bottom and midrange. Of course, what we really wanted was the best of both worlds to make the ultimate KX250F powerband. Was it possible? Yes‚ but we had to use the Kawasaki KX Fi calibration tool to make our custom maps. You can see the maps we ran on our stock KX250 engine below. These maps gave us the bottom-end of the aggressive map with an excellent transition into the top-end (with more over-rev); however, this map worked best with the stock exhaust pipe. The Pro Circuit pipe required us to run the plug-in maps.
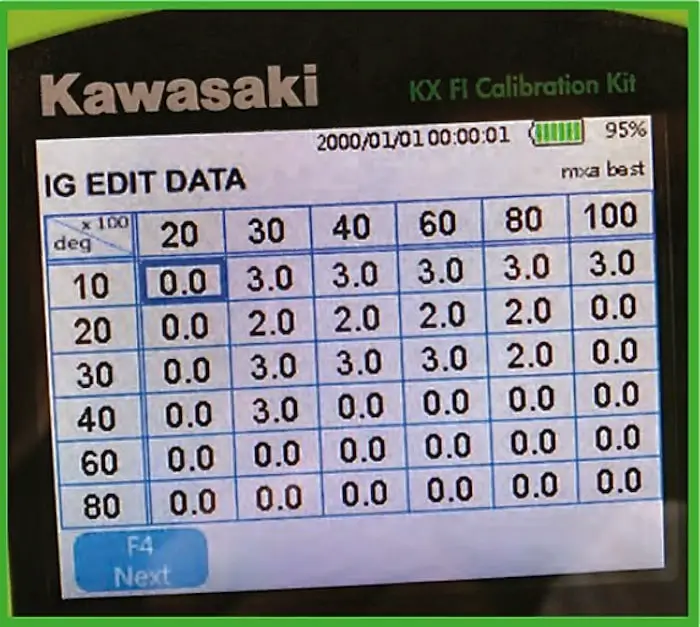
On the ignition map we advanced the timing in the low and mid-range.

On the fuel map we richened it at the lowest level and then leaned it up to the midrange.
CLUTCH: The light feel of the clutch is awesome, but it doesn’t last. We ran stiffer clutch springs in the KX250F clutch. The trick to stiffer clutch springs is to not run all of them in the clutch unless you are a serious clutch abuser. Most test riders run three stiff clutch springs, alternating between stock springs (as best as possible with five clutch springs).
GEARING: If you are a play rider, professional practice rider or newbie, leave the gearing stock; however, if you are a serious racer, go up one tooth on the rear sprocket. We promise that you will get more oomph exiting corners and get to third gear quicker.
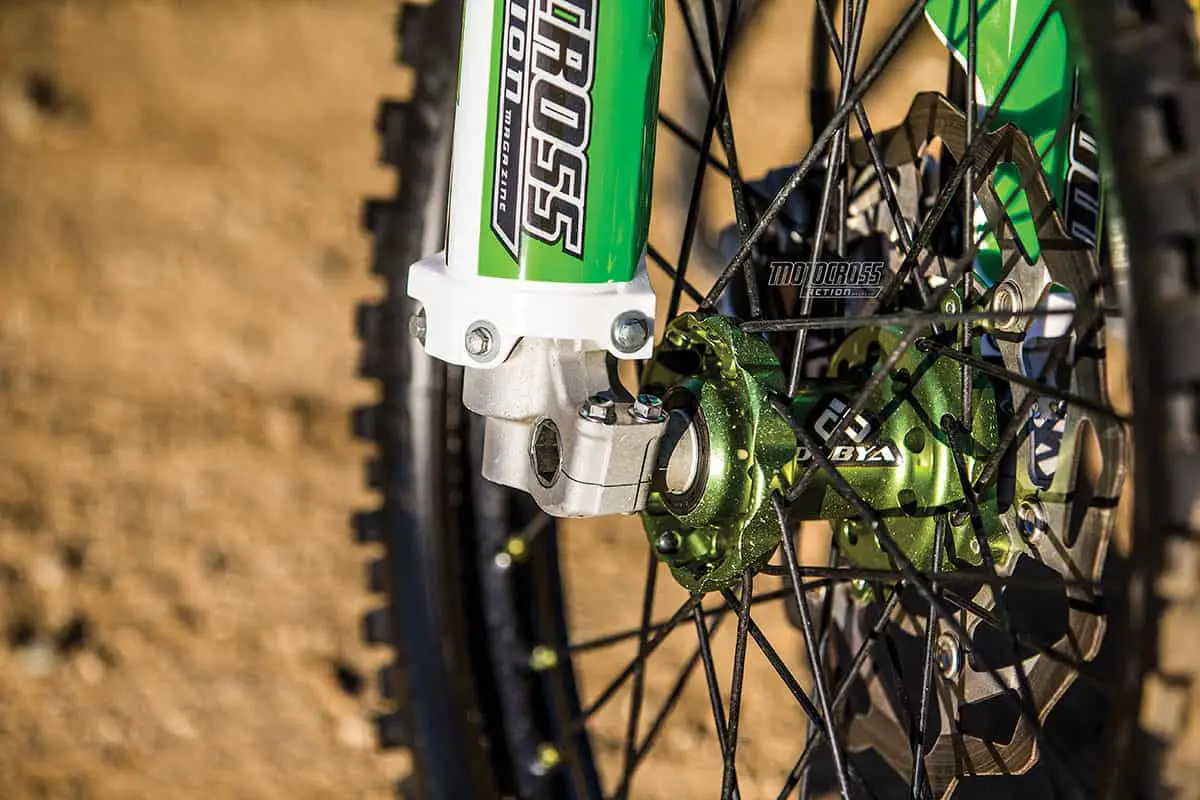 For most uses the stock wheels were fine, but to be safe we liberated a set of Dubya USA wheels from a KX450F project.
WHEELS: We had a set of green-anodized Kite wheels that had been laced up for us when we had a National Pro testing our KX450F. The stock wheels could not hold up to the antics of a 185-pound test rider at speed. After re-lacing the stock rear wheel twice, we got Dubya USA to build us stronger wheels. Even though we didn’t think that a 140-pound Intermediate would have the same issues with the stock wheels, we opted to put the trick wheels on as a failsafe.

SHIFT LEVER: Although Kawasaki hasn’t changed its shift lever in years, we had the tip on our original shifter fold backwards and refuse to pop back out (no matter how much force we used). Since we were at the track, Pro Circuit gave us a brand-new KX250F shift lever out of its truck. Surprise! A week later, the new shifter folded up in a rut and refused to pop back out again. Mitch Payton offered to give us the works shifter off of Adam Cianciarulo’s bike, but we declined. In the end, Mitch put our stuck shifters on a wooden block and hit the rivet that the tip rotates on with a hammer. After a couple hard hits, the rivet made clearance and the tip snapped back. We haven’t had this issue again (and never had it before).
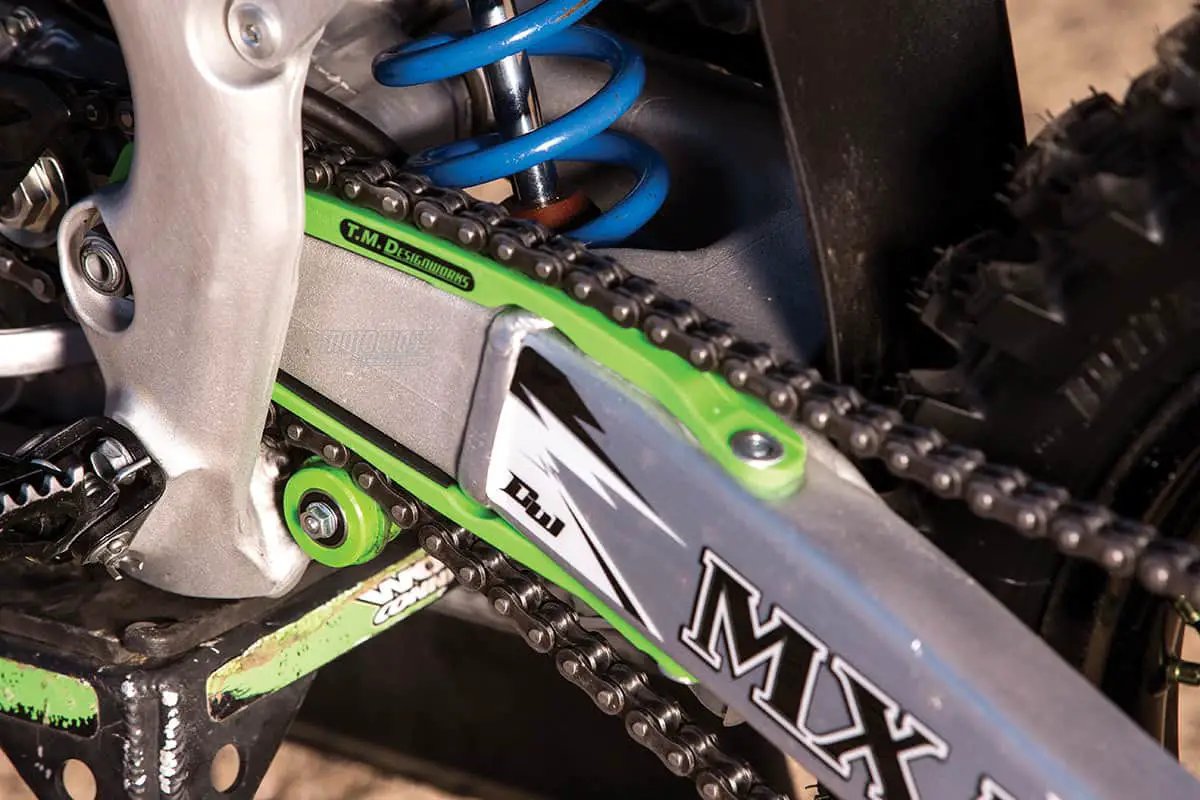
CHAIN GUIDE: We swapped to a TM Designworks chain guide when the stock chain guide was eaten all the way through by the KX250F chain. That happened at 15 hours of race time.
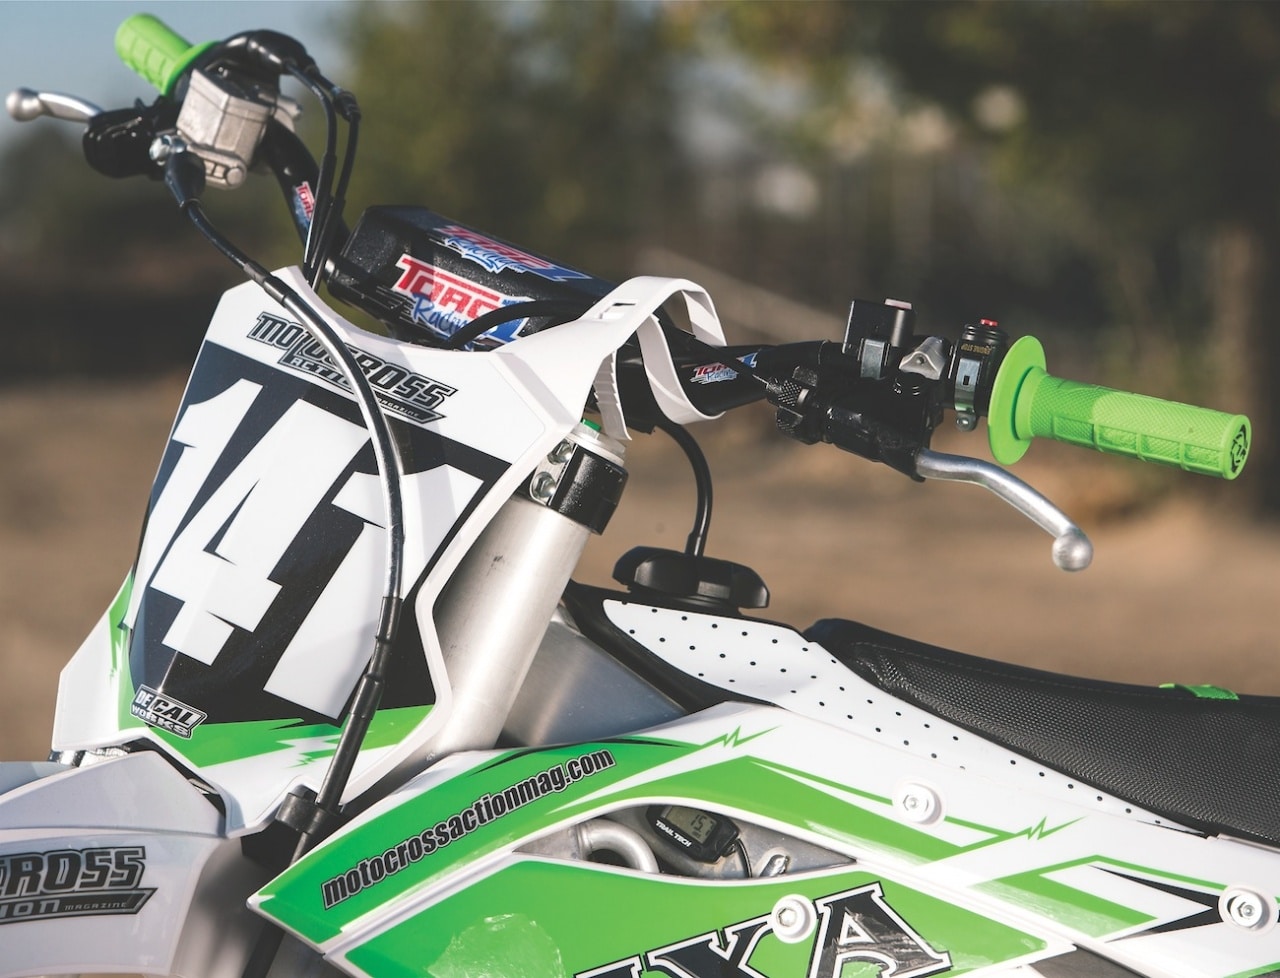
BARS & GRIPS: If you suggest swapping the stock 7/8-inch handlebars for oversize 1-1/8-inch bars, you might get lynched by some members of the MXA wrecking crew. We can’t explain their fascination with the old-school handlebars, but it is shared by both the Kawasaki and Honda R&D departments. Nevertheless, after crashing, bending the bars and ripping the grips, we replaced the stock bars with oversize Torc1 Attack handlebars and Holeshot grips. Unfortunately, the oversize bars won’t fit on the KX250F unless you upsize the bar mounts. Luckily, Torc1 sells an oversize bar mount kit that fits right on the KX250F’s rubber-mounted triple clamps. Best of all, between the $64.95 Attack bars and $39.99 bar mounts, we got in under the gun for $105.
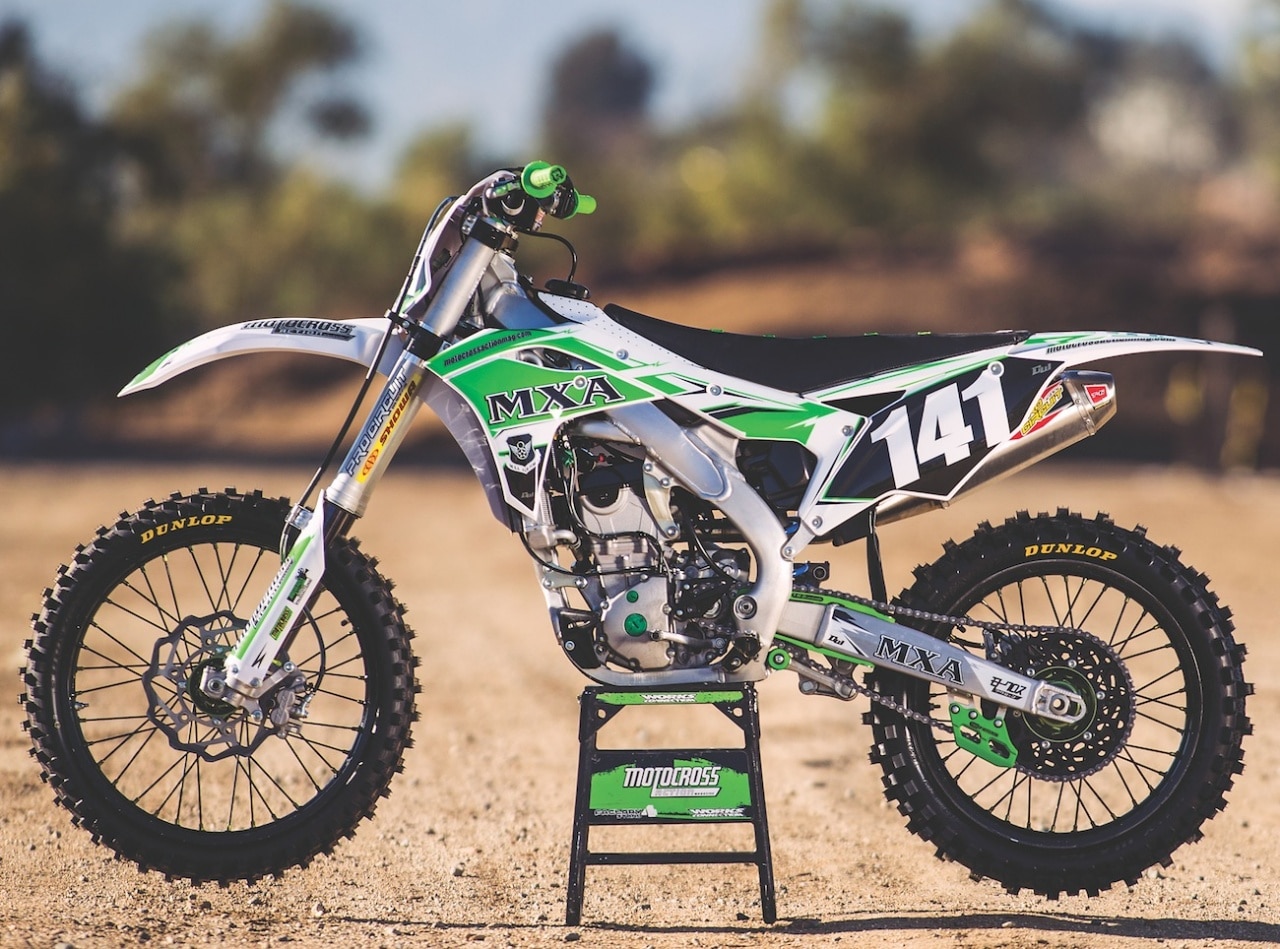
PLASTIC & GRAPHICS: We aren’t anti-green, but if you give us a choice of colors, green wouldn’t be at the top of our list. Two years ago, MXA built a trick all-white Kawasaki KX250F. It looked cool, and the chosen test rider for this project wanted an exact replica of that bike. No problem. We called Decal Works and ordered its white “Level 4” plastic kit for the 2018 Kawasaki KX250F. It was on sale for $108.35.
While we had Decal Works on the phone, we asked them if they still had our KX250F template from two years ago. As efficient as could be, they had it in their computer. We asked for the same graphics design—mostly white but with green highlights (and told them that they could change the look as they saw fit because we were sure that the test rider wouldn’t be able to remember exactly what the older one looked like). The custom graphics kit retailed for $269.95.
As lazy as we are, which we like to call busy, we asked Decal Works if they could install our graphics on the new fork guards, fenders, radiator wings and number plates while it was all at their shop. They will install the decals on any plastic that you order from them for a $69.95 service fee. For another $69.95, we ordered a black seat cover with a green top.
WHAT IT ALL AMOUNTED TO
RETURN ON INVESTMENT: Our goal was to improve every aspect of our 2018 Kawasaki KX250F without spending a stupid amount of money. We focused on the suspension, engine, chain guide, gearing, handlebars and graphics.
Suspension. We had no choice about spending cash on the fork and shock. In stock trim, the forks were harsh, and the shock wouldn’t allow our 140-pound test rider to get the proper sag. We had Bones re-valve the forks and install a light SFF fork spring. The cost was just under $400. The shock was also re-valved and re-sprung (lighter) for $300. We didn’t add any trick parts, just straight forward re-valves.
On the track, the difference was immediately noticeable. We could set the sag with the preload ring, whereas before we backed the ring out until the shock spring had no preload on it. The forks were now softer, and we had the ability to raise or lower the oil height in the damping leg to make them plusher or stiffer.
Exhaust. The only serious change we made to the KX250F engine was to install a Pro Circuit T-6 stainless steel exhaust pipe. It delivered an increase in horsepower from 7000 rpm all the way to 13,500 rpm. We chose stainless over titanium, not just because it was $220 cheaper, but because the stainless tubing resists rock dings and doesn’t get soft when heated at the head pipe. Since the two pipes are identical in performance, save for weight, we opted for the $789.95 T-6.
Clutch. We didn’t want to spend a $1000 on a complete clutch but couldn’t live with the short lifespan of the stock KX250F plates. So, for $69.95, we bought a set of Pro Circuit stiff clutch springs.
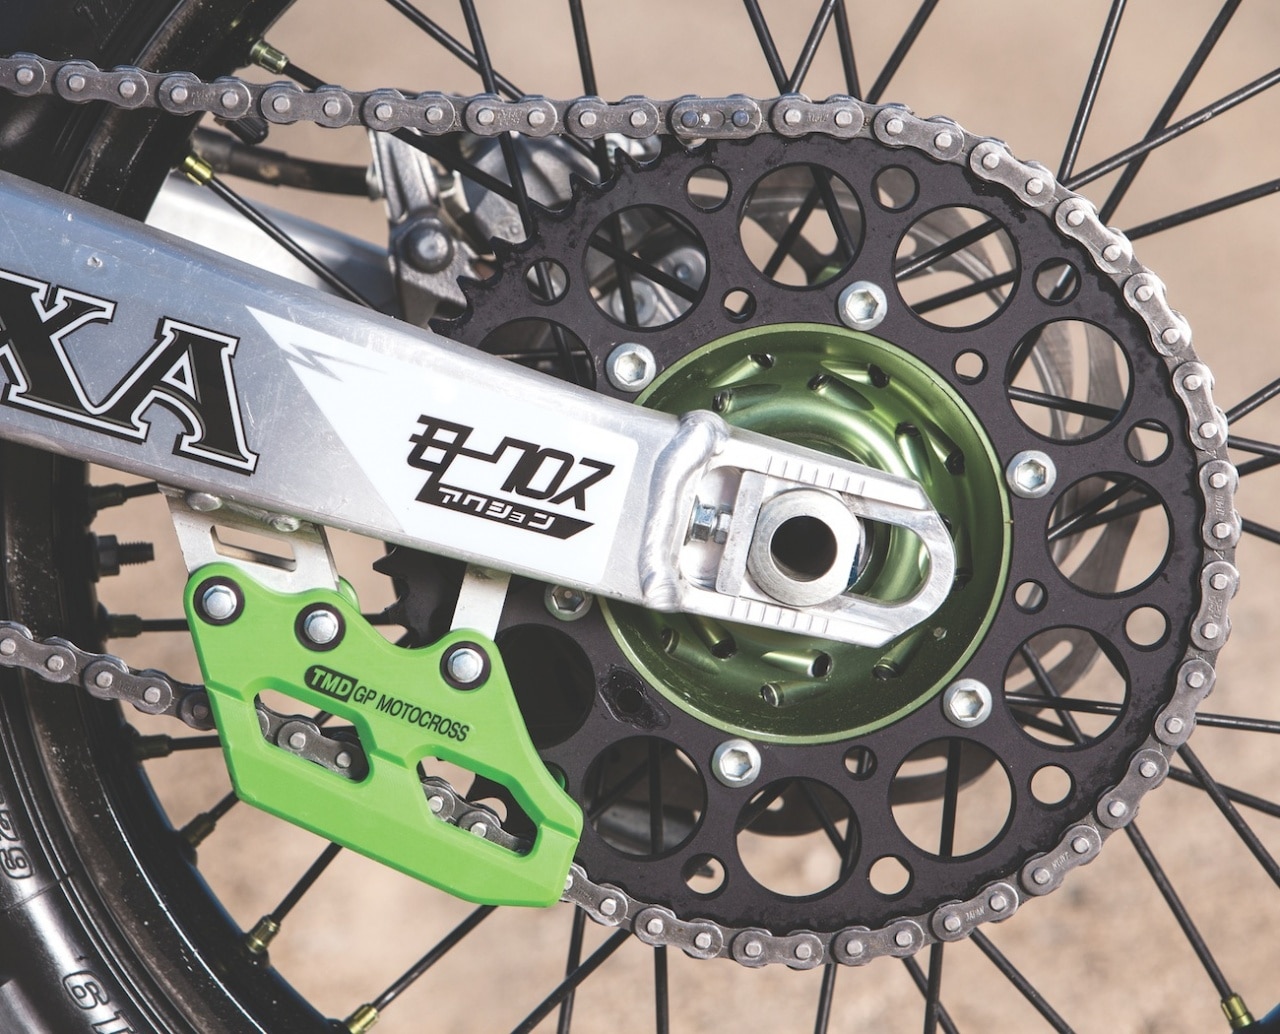
Chain guide. Kawasaki KX250F owners don’t really have a lot of choices when it comes to the stock chain guide. It is going to wear out, and it will wear out even quicker if you gear the KX250F down. The MXA wrecking crew loves TM Designworks chain guides. For our 2018 Kawasaki KX250F, we ordered the Slide-N-Glide kit that includes both the chain guide and the swingarm buffer pad. It retails for $139.95.
Plastic & Graphics: We admit that changing the KX250F from green to white and ordering full custom graphics was a total vanity move. We wanted the bike to look a specific way, and Decal Works is capable of doing virtually anything you want. We spent $450 on new plastic, graphics and a seat cover; however, Decal Works offers complete graphics kits (radiator wings, fenders and number plates with your number) for as low as $99.90.
 Torc1 oversize bars, bar mounts and grips were added for a hair over $115.
Handlebars. We switched to oversized Torc1 1-1/8-inch handlebars and bar mounts for $105 and a set of Torc1 Holeshot grips (with a tube of grip glue) for $10.99.
Mapping. We had a great map that worked with the stock pipe. The problem for local racers is that the Kawasaki Calibration mapping tool costs $700. That is too steep a price for re-mapping a bike one time. But, most Kawasaki dealers can duplicate our map. When we ran the Pro Circuit pipe, we returned to using the plug-in maps that worked best for our elevation, temperature and track conditions.
Miscellaneous. We didn’t take the wheels seriously as a part of this update because we had them sitting on the shelf from a previous test bike. 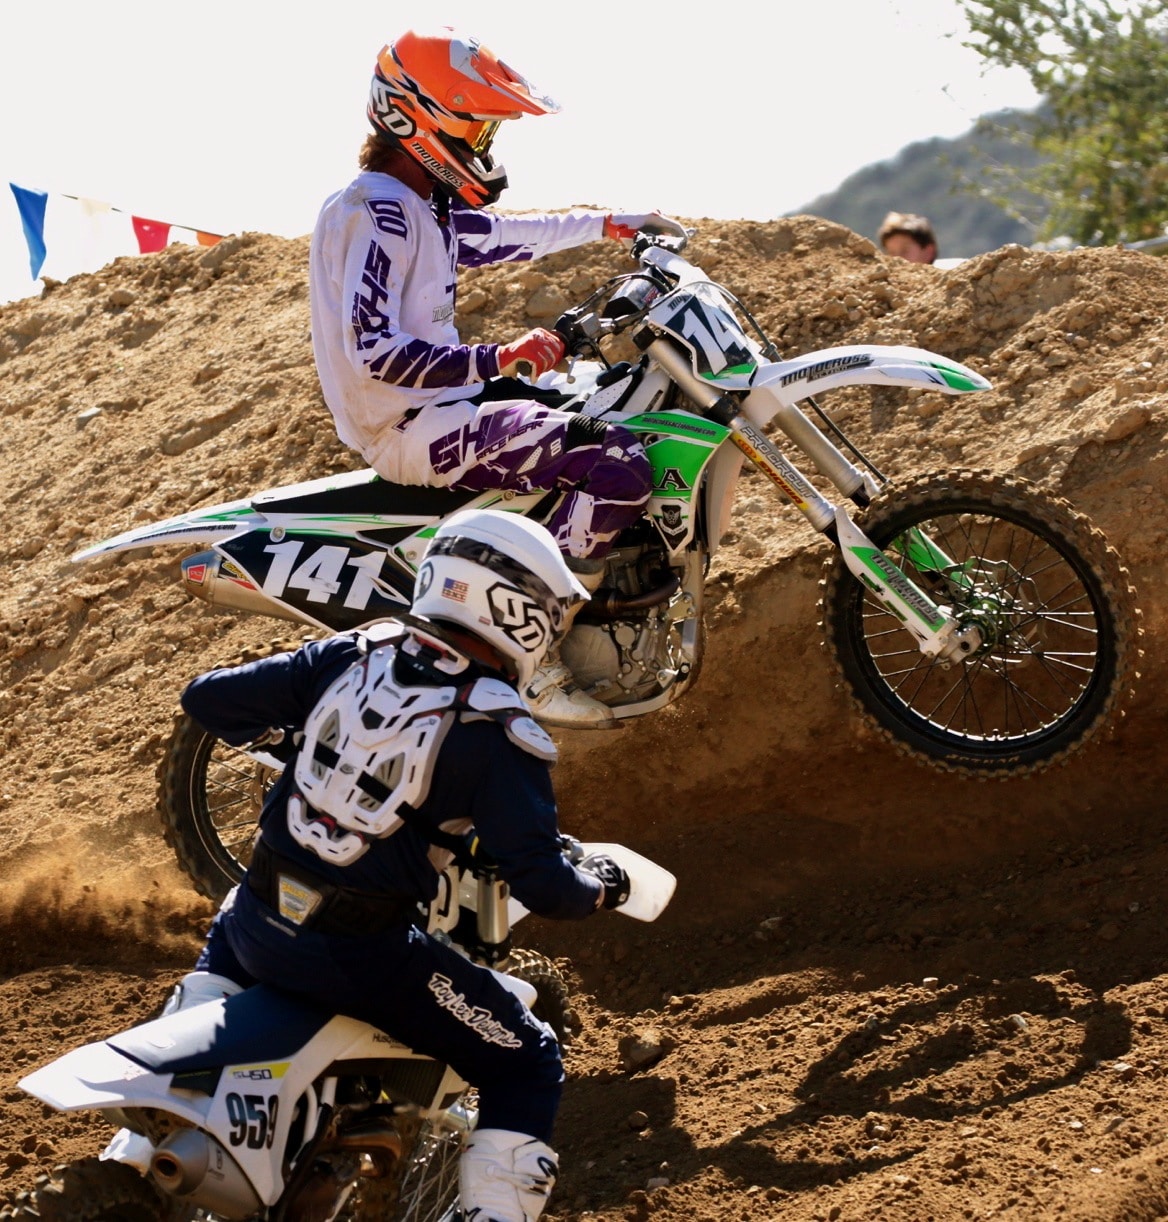
Total. All in all, we spent $2125 on our 2018 KX250F. The Pro Circuit exhaust pipe and Decal Works graphics accounted for 50 percent of the cost. In reality, we could have lived happily ever-after without the extra power or the brightly colored plastic, but eventually we were going to need new plastic (especially the stock right-side radiator guard, which catches on your boot and breaks) and want the extra power. Our target-weight test rider loved the bike but hated it in stock trim. It was worth $2000 to get him to shut up.
KX250F PARTS SUPPLIERS:
Pro Circuit: www.procircuit.com
Decal Works: www.decalmx.com
TM Designworks: www.tmdesignworks.com
Torc1 Racing: www.torc1racing.com
Dunlop: www.dunlopmotorcycletires.com
Dubya USA: www.dubyausa.com

Comments are closed.