ASK THE MXPERTS: THE FABLED KTM 450SXF SPRING VIBRATION TEST
 A vibrating shock spring isn’t an accurate measurement of which way to go on your spring rate.
THE FABLED SPRING VIBRATION TEST
Dear MXA,
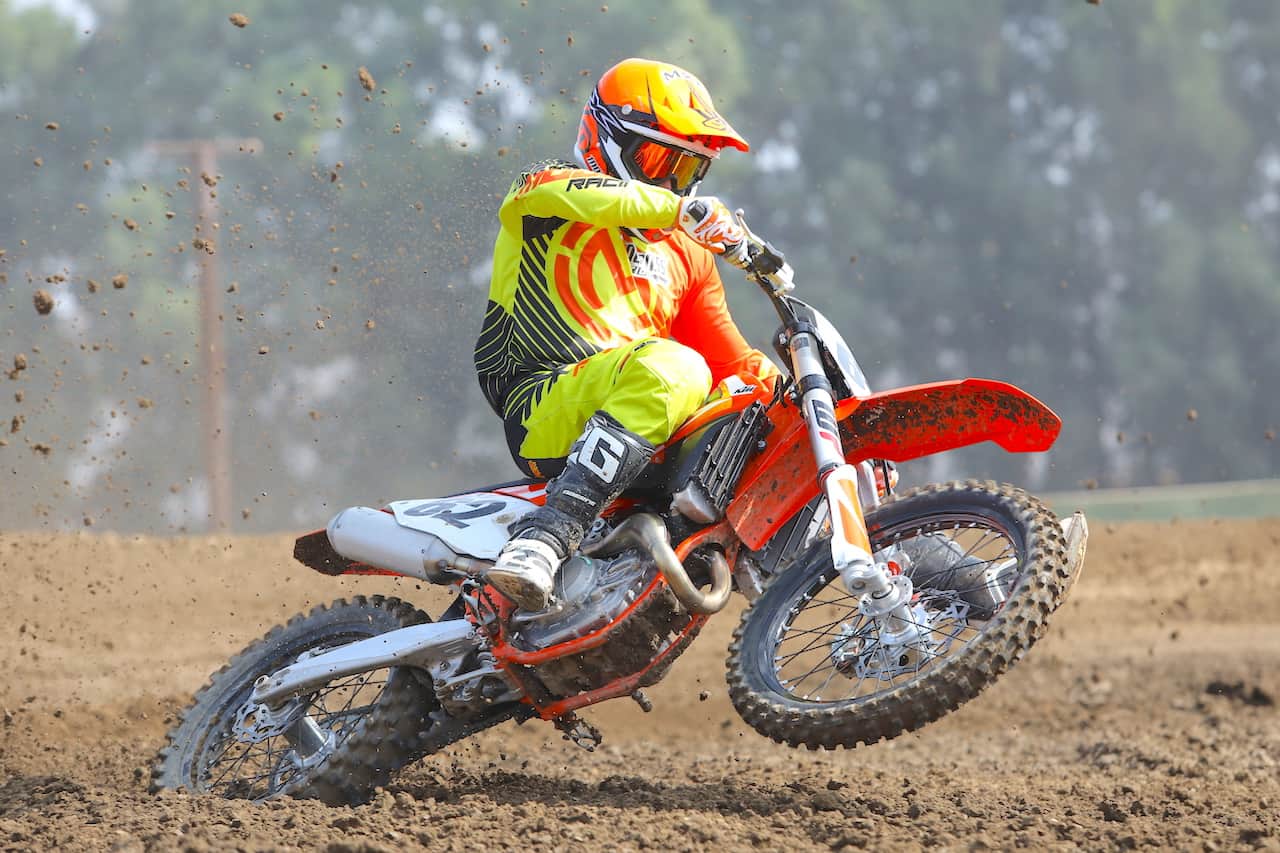
I bought a 2018 KTM 450SXF and have been trying to get the shock dialed in. I am 5-foot-8 and 160 pounds. I started off using the recommended MXA fork settings. They were great, but the rear feels hard and high. I set my race sag to 105mm, and when I have the bike on the stand with the rear wheel free, the shock spring has almost no tension on it, which lets it vibrate when the bike is running. I tried softening up the low- and high-speed compression, but it just doesn’t feel quite right. I am thinking of installing a 42 N/m shock spring. Do you have any suggestions as to where to start for settings on the shock with the softer spring in?
We are a little mystified as to what you could possibly learn by putting your bike up on a bike stand and noting that the shock spring vibrates. This is not a test of anything worthwhile. You need to rethink your test protocol. In our opinion, you are the perfect candidate, at your 160-pound weight, for the stock KTM 45 N/m shock spring. But, there is one simple and surefire way to confirm this; it is called “free sag.”
Free sag is a measurement of how much the bike sags under its own weight (without you on it). How do you check free sag? Once you have the race sag set at 105mm, grab the bike under the rear fender and lift up like you are trying to pick the bike up off the ground. Did you feel the shock move? How far could you lift the rear fender up before the rear wheel tried to leave the ground? Was it 25mm? Was it 3mm? The amount of slop in the rear end is called “free sag.”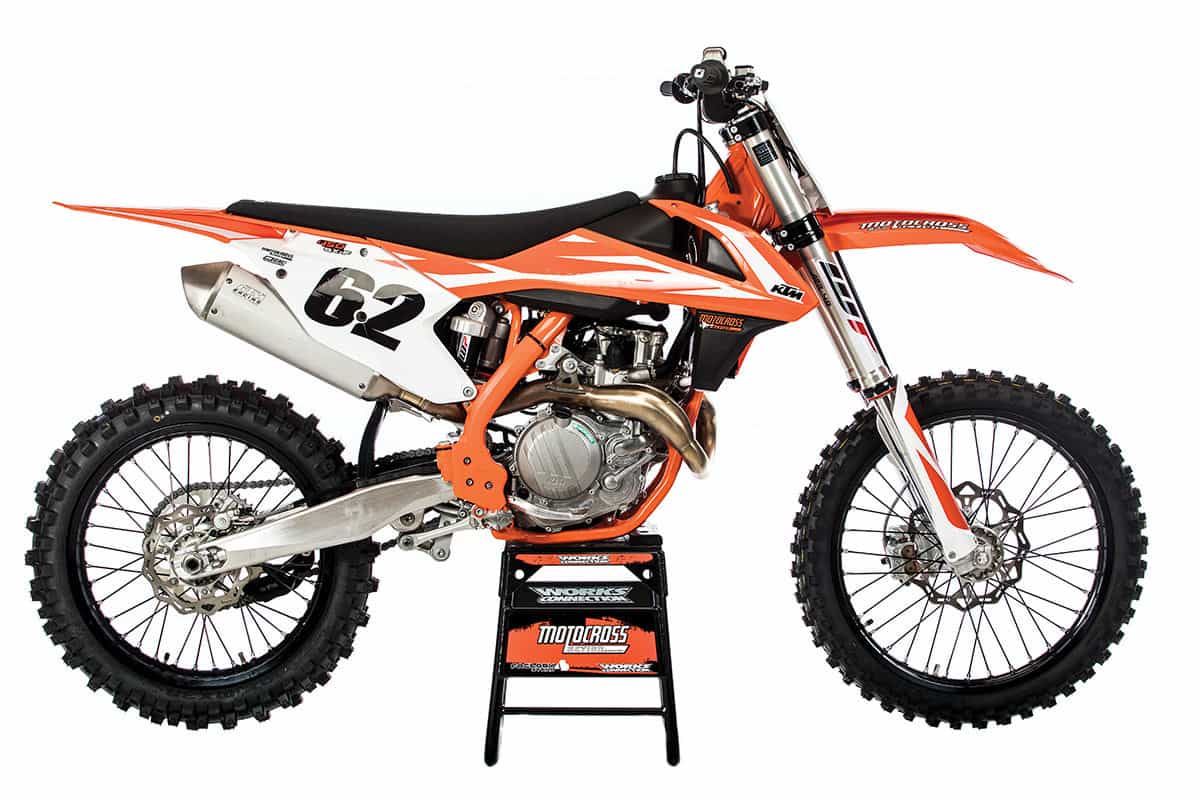 The most accurate method of testing free sag is the same way that you test race sag. With the bike on a stand with the wheels in the air, measure the extended length from the rear axle to the rear fender. On a 2018 KTM 450SXF, this is made easier because KTM has an embossed line on the rear fender to show you where to measure to. Once you have the extended shock-to-fender measurement, take the bike off the stand and place it on level ground. To this point, measuring free sag is identical to measuring race sag, except that you don’t get on the bike. Instead, you measure from the rear axle to the embossed line on the rear fender with no one sitting on the bike. The difference between the extended length and the free-sag length tells you how far the suspension sags under the weight of the bike. How much free sag should there be? Free sag should be between 30mm and 40mm.
If you have more than 40mm of free sag, your shock spring is too stiff. Less than 30mm and your spring is too soft. This is so important and so basic that you need to repeat after us: if you have excess free sag (over 40mm), your shock spring is too stiff. Now, ask yourself, why? That’s simple: you haven’t been eating enough. Gain weight and you will have to preload the shock spring more, which will take up the excess free sag. If you don’t want to pork up, you should consider a lighter shock spring. If you have very little free sag (less than 30mm), your shock spring is too soft. Why? Because to hold your body up, the shock spring has to be preloaded way down into its stroke. It is overstressed—so overstressed that it is working overtime to hold up the bike, thus it has no jangle left in the rear end. The solution? Buy a stiffer shock spring (or go on a diet).
In your case, you need to check the free sag before you spend money on a softer shock spring. If your bike’s free sag exceeds 40mm, buy a 42 N/m. If not, keep the 45 N/m shock spring and put these settings in your shock: 1-3/4 turns out on high compression, 15 clicks out on low compression and 10 clicks out on rebound. Oh, yeah, if you have to switch to a 42 N/m shock spring, start with these same clicker settings.


Comments are closed.