MOTOCROSS ACTION MID-WEEK REPORT
#WHIPITWEDNESDAY
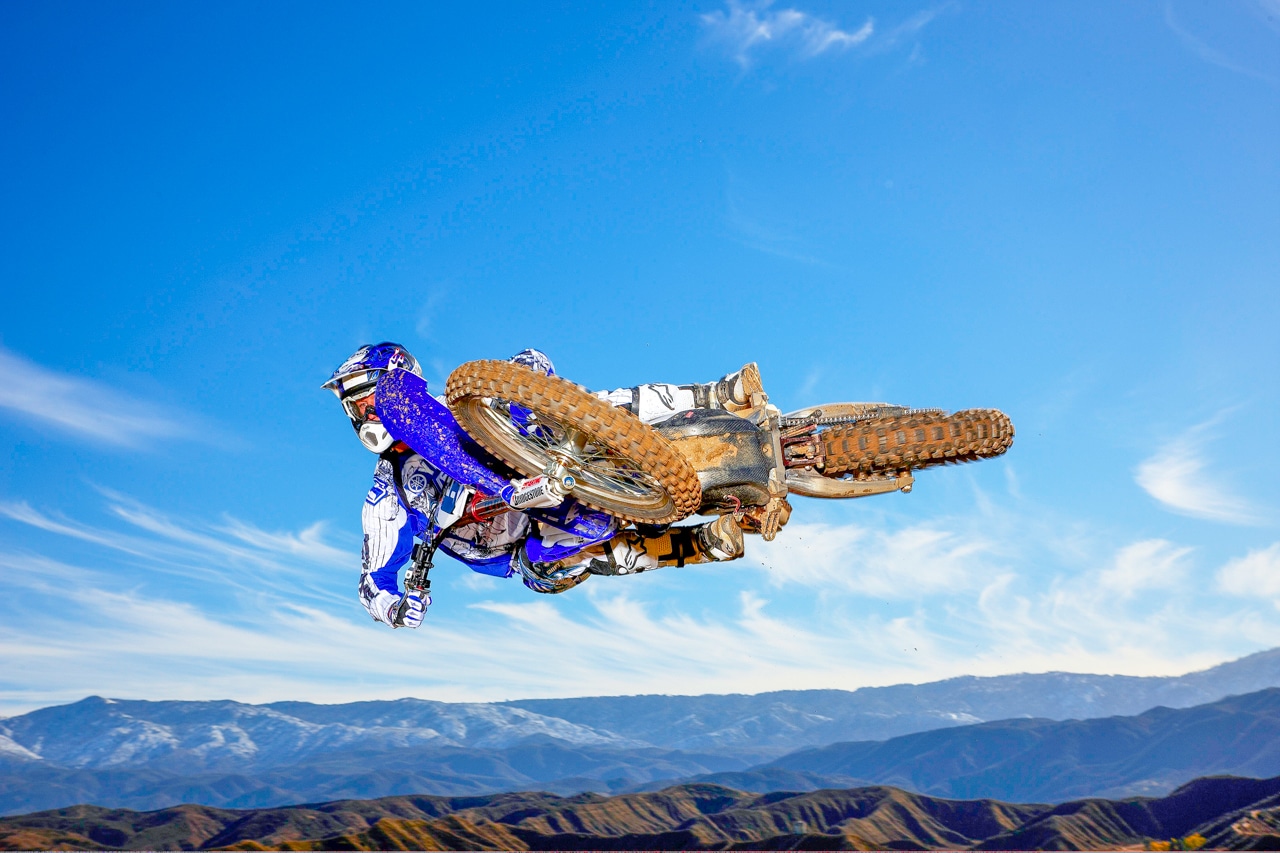
Rider: Broc Hepler
Year: 2009
Bike: Factory Yamaha YZ450F
FLY RACING | KINETIC MESH RACEWEAR
ADELANTO GRND PRIX | MAY 28-30th
MOTO | TRIVIA
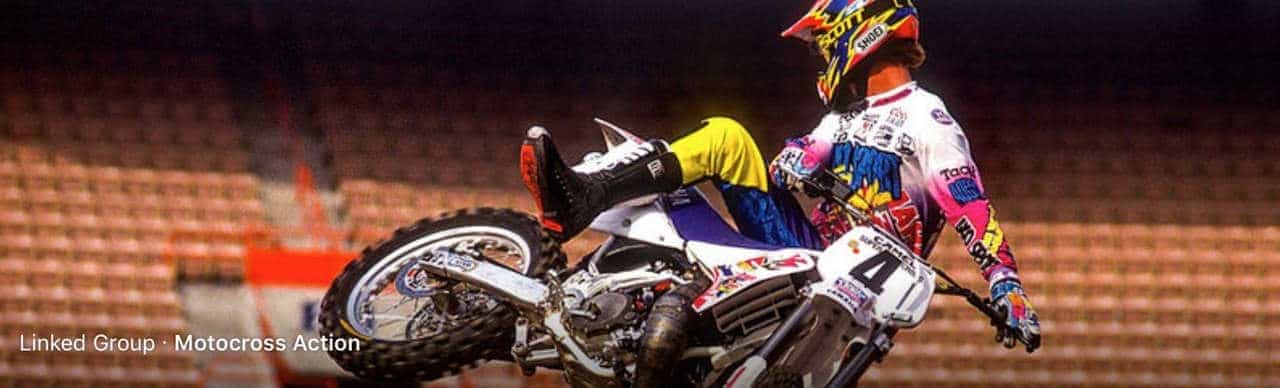
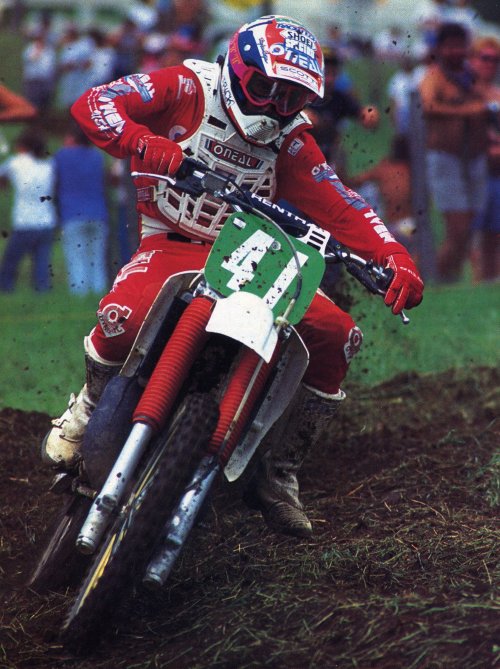
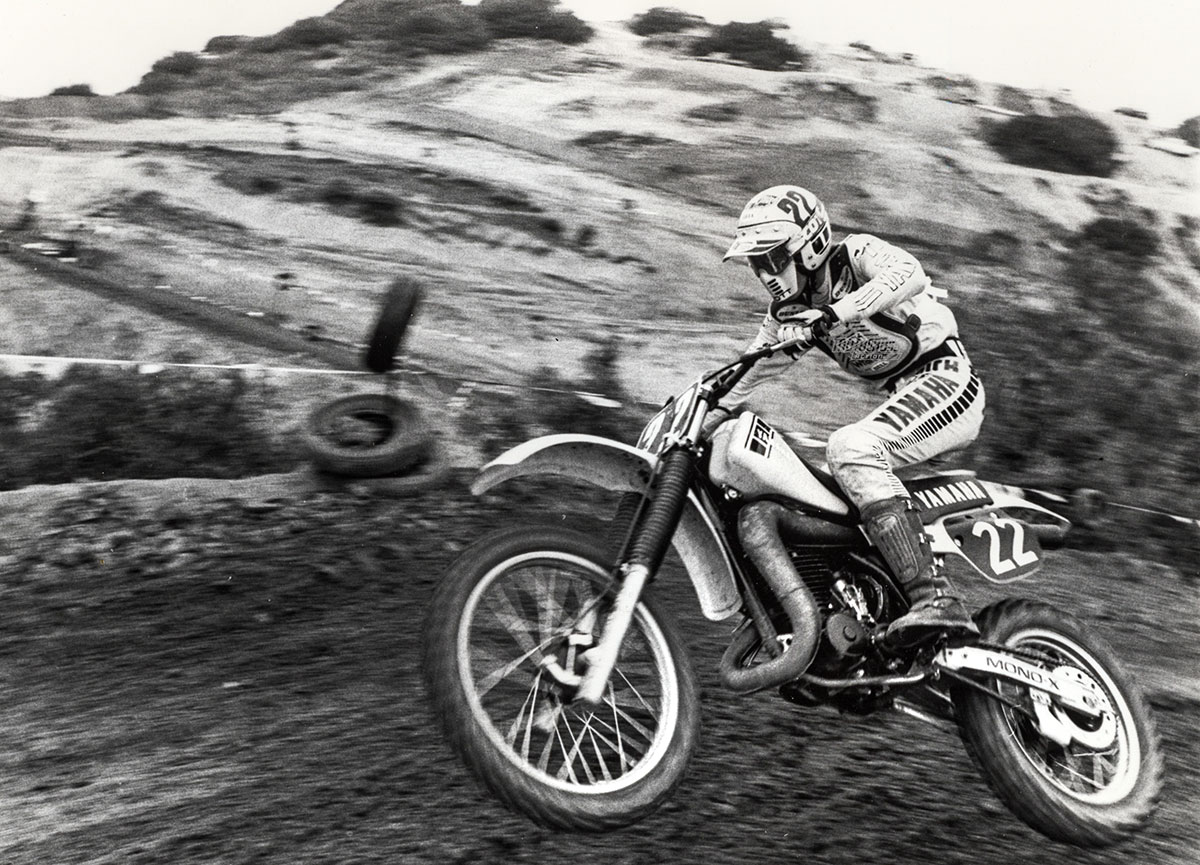 Name the rider and year. Answer at the bottom of the page.
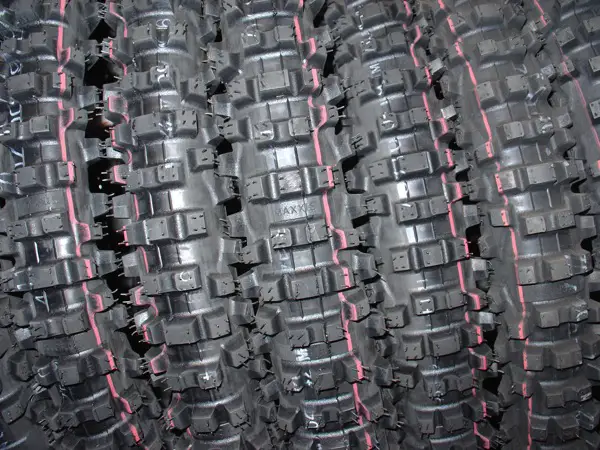
HOW TO GET THE MOST OUT OF YOUR TIRES
TIP ONE: CHECK THE PRESSURE EVERY DAY
Tire pressure constantly changes. It increases as the tire gets warm during use. It decreases as the tire cools. It changes with altitude, air temperature and humidity. Checking it often will save you from going to the line with an under- or over-inflated tire.
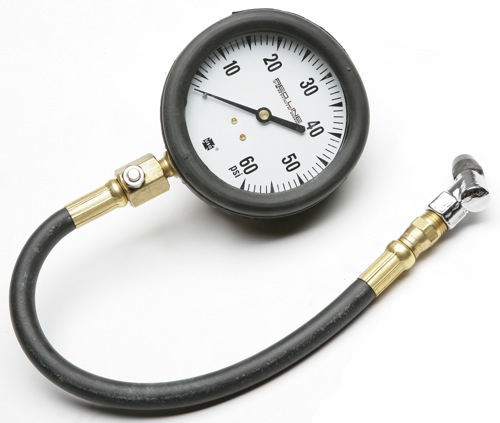
TIP TWO: BUY A REAL TIRE GAUGE
Motocross success depends on getting the tire pressure spot on. You can’t afford to be off by a pound or two. There is a big difference between 16 psi and 14 psi. Tire technicians always use the best air pressure gauge they can afford. A pencil gauge is the minimum for any racer. They are normally accurate within one pound, durable and small enough to fit in your toolbox.
TIP THREE: HOTTER EQUALS HIGHER
As we said, weather affects your tire pressure. If the temperature drops significantly, it will lower your tire pressure. If the temperature rises, your tire pressure rises. Direct sunlight on a tire will increase tire pressure by several pounds. If you adjust your tire pressure in the cool morning air, don’t expect it to be the same when the afternoon temps hit 90 degrees. Also, in the course of a moto, tires heat up and the air pressure increases. You can gain as much as 4 pounds during a long moto. Makes some calculations about this as you become more experienced.
TIP FOUR: DIRT IN EQUALS AIR OUT
Dirt on your valve stem can cause air leakage. Always run valve caps on your Schrader valves. Make sure the cap is tightened all the way down. Valve caps with rubber seals are best.
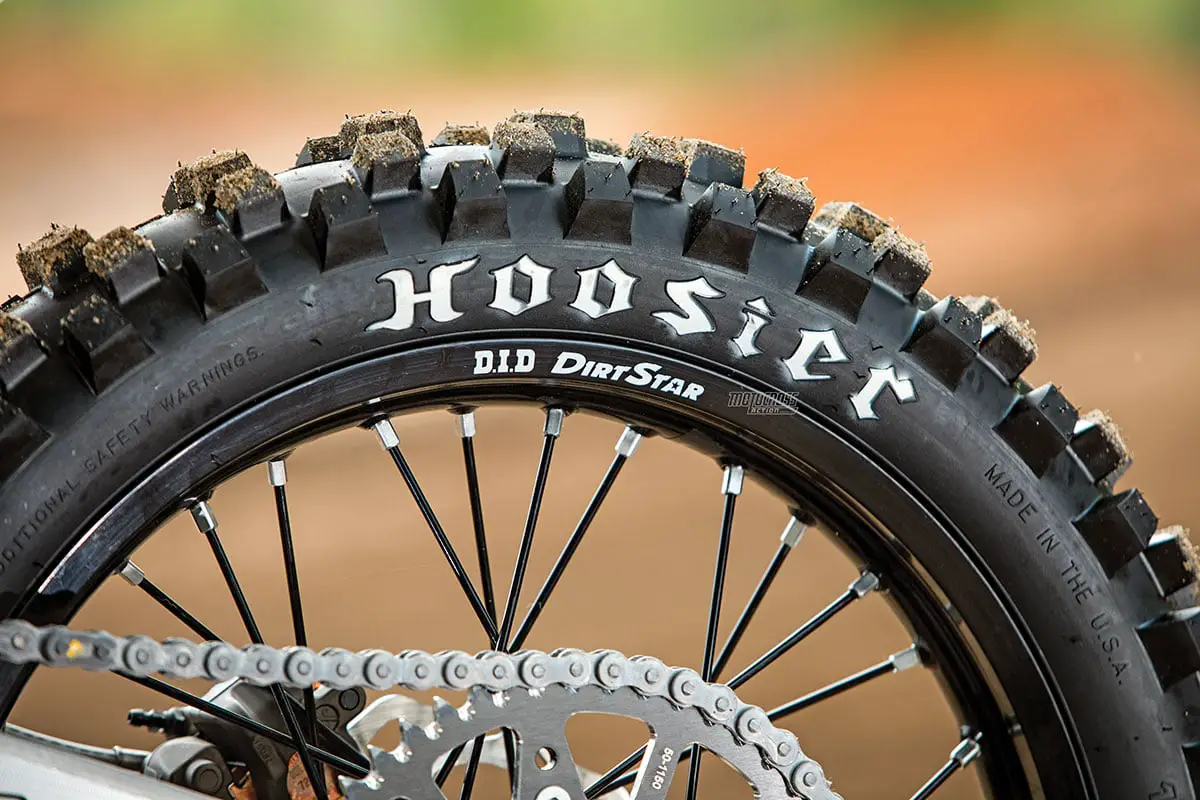
TIP FIVE: HARD TRACKS REQUIRE HARD TIRES
The rule of thumb for motorcycle racing is that hard dirt requires hard tires. If you normally run 13 pounds of air on loamy dirt, you may want to increase that to 15 pounds on rock-hard dirt. Low tire pressure squiggles on hard dirt, and even worse, rock-hard square-edge bumps can pinch flat a tube if you run low pressure. If your track has square-edge bumps, rocky ledges or other hard obstacles consider a pound more to help lessen the chance of flats. Pee-Wees should always run high tire pressure (soft tires just rob power from the little engines).
TIP SIX: SOFT DIRT SPELLS SOFT TIRES
The softer the dirt the lower the tire pressure you should run. On a really muddy day, you can lower your tire pressure to as little as eight pounds to help the tire squish down and search for traction. The only exception to this rule is when the mud is very clingy and clogs up the knobs. In clinging mud, increase the tire pressure so that the fully inflated tire will fling the mud off to help clean the tire out.
TIP SEVEN: PRESSURE CAN AID YOUR SUSPENSION
Your bike’s handling and suspension can be helped by the proper tire pressure. Too much air pressure will create understeer in the front end and midstroke harshness in the rear. Too little air will cause oversteer in the front and wallowing in the back.
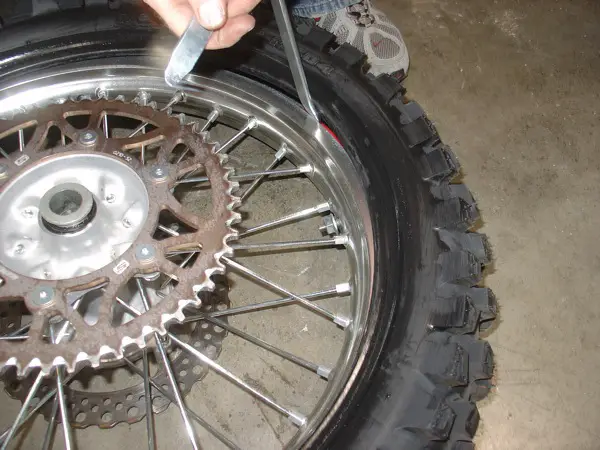
TIP EIGHT: HOW TO BREAK THE BEAD
The best way to break a tire’s bead is with two tire irons. Use one iron to pry down on the tire’s bead while inserting the second tire iron close to the first one. Use the second tire iron to get between the rim and the bead. Push down until the bead drops into the hump of the rim.
TIP NINE: GET YOURSELF A SPOON
Spoon-style tire irons are the best. The spoon end helps you get between the bead and the rim easily. Additionally, the spoon lessens the chance of pinching a tube. The longer the tire iron, the more leverage you have. As a rule of thumb, tire irons should be at least 10 inches long.
TIP TEN: GET IT HOT BEFORE YOU START
A warm tire is easier to mount than a cold one. Before you even consider mounting a new tire, try to get it warm. The easiest way is to put it in direct sunlight. On a cloudy day, you can put it under the hood of your car with the engine running.
TIP 11: STAND UP LIKE A MAN
Your rim needs to be free of dirt, tape and chemical residue. When changing a tire, it’s best to get it up off the ground. Water buckets, bike stands, pickup truck beds or garbage cans make excellent tire changing stations.
TIP 12: LUBE IT UP
A slippery bead goes on smoother than a dry one. You can lubricate the bead with a wide variety of solutions. There are very good commercial tire lubes (like 1.7’s Tire Mounting Lube), but a 50/50 mix of soap and water also works very well.
TIP 13: PREP THE RIM LOCK BEFORE IT’S TOO LATE
Check the rim lock before you put the tire on the rim. Mount the rim lock in the rim and snug it up. Once you have it tightened down, check it carefully to make sure it fits properly. Look for bare metal, exposed edges or a bad fit against the rim. If the rim lock doesn’t fit evenly, get a new one.
TIP 14: EASE UP ON THE RIM LOCK
Don’t over-tighten the rim lock. A rim lock is designed to trap the bead of the tire against the rim. It doesn’t have to be super tight. It only needs to be snug.
TIP 15: PUT AIR IN BEFORE YOU PUT THE TUBE IN
Put air in the tube before inserting the tube into the tire. This takes the creases out of the tube. Only inflate the tube enough to give it a saggy shape. Putting air in the tube lessens the risk of pinching it with a tire iron (because the tube doesn’t lay flat against the bead).
TIP 16: SMOOTH AS A BABY
Before you put the tube in the tire, sprinkle baby powder on the tube and inside the tire carcass. This minimizes chafing (just like on a baby).
TIP 17: WATCH IT CLOSELY AT FIRST
A new tire needs special attention. Place a mark on the tire directly in line with the valve stem. After your first ride, check to insure that the mark on the tire is still lined up with the valve stem. If it isn’t, the tire has spun on the rim. Tighten the rim lock if you note any slippage. You should also check the tire pressure after your first ride. It could change as the tire and tube expand under pressure.
TIP 18: EXTEND THE LIFE OF YOUR TIRE
You can extend the life of your tires by 25 percent if you flip them over once they start to wear out. The knobs almost always wear out in the direction of rotation, while the trailing (braking) edge wears less. By turning the tire around, you can get a sharper edge without spending any money.
TIP 19: HACK AWAY AT THEM
Tire manufacturers don’t recommend cutting knobs on used tires, but they are in the business of selling new tires. To tell the truth, sharpening up the edges of an old tire (with a razor blade or tire groover) doesn’t turn an old tire into a new one and can cause the tire to wiggle because it narrows the knob and encourages knob flex, but it does give the tire a new edge (if only for a short time). It is best to groove the top of the knob to get new edges to grip with.
TIP 20: TIRE TIPS FOR CONCRETE
Don’t do smoky burn-outs on concrete starting pads. It doesn’t do squat. Just spin the tire a few times to make sure that it is clear of dirt and debris. Excessive spinning doesn’t give you any advantage, but it does wear out your tire faster. You want clean rubber – not hot rubber.
NUCLEAR BLAST RECORDS AND TEAM SOLITAIRE TEAM UP TO RUN SLAYER TRIBUTE GEAR AT ATLANTA MOTOR SPEEDWAY

Press Release: It will be the same city, same venue, and the same gate full of riders this Tuesday when the Monster Energy AMA Supercross series picks back up in Georgia at the Atlanta Motor Speedway live on Peacock.
But one thing that will not look the same will come to fans courtesy of Team Solitaire Nuclear Blast Yamaha. Like in so many rounds previous, the team from Glendale, Arizona are about to have some fun and they will do it all while paying tribute to one of the most influential metal bands of all time, SLAYER.
Part of the Nuclear Blast family, SLAYER has been a fixture in van stereos heading to motocross tracks since 1981 and will probably never leave the scene even after completing their farewell tour which began on May 10, 2018, and ended on November 30, 2019. The tour, consisting of 147 shows worldwide, served as a conclusion of the band’s three-and-a-half-decade-long career.
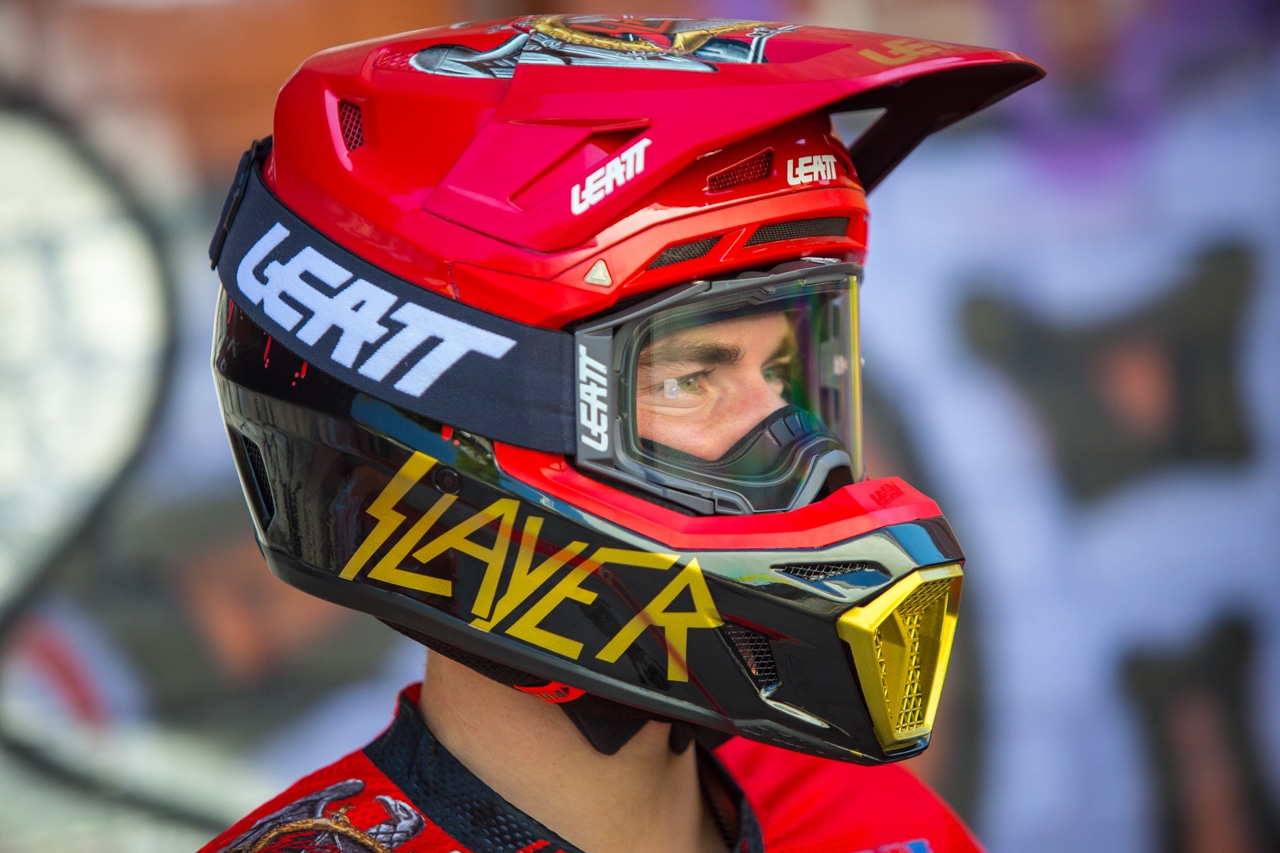
Chris Elliott of Team Solitaire gave fans a little run down of what to expect for Tuesday, “This isn’t the first time we’ve ran a SLAYER themed race and it won’t be the last. This round is the one I always have circled on my calendar. Fans love it and our social media always goes crazy over this stuff! But we can’t take all the credit, it’s only possible with all of our amazing partners believing in us and helping us make this happen. Being that the gear is the main focal point, we worked closely with Nuclear Blast and Leatt to create what we feel is some rad looking tribute gear. From there Shades of Gray slayed the helmet, Throttle Syndicate threw down on the one off graphics and helped ODI come up with a one of a kind blood spattered bar pad. Guts Racing was the finishing touch with their grey, black, and red seat cover.”

“When it came time to create the Slayer tribute gear, the team and I wanted it to be different from years past having its own unique style yet staying true to the bands look and feel. The efforts put forth from all affiliated team sponsors and team members has made this year’s overall collaboration such a phenomenal experience. I am looking forward to seeing Wageman and Munoz represent Slayer proudly out on the track Tuesday,” says Stephanie Slattery Leatt’s US Marketing Manager.
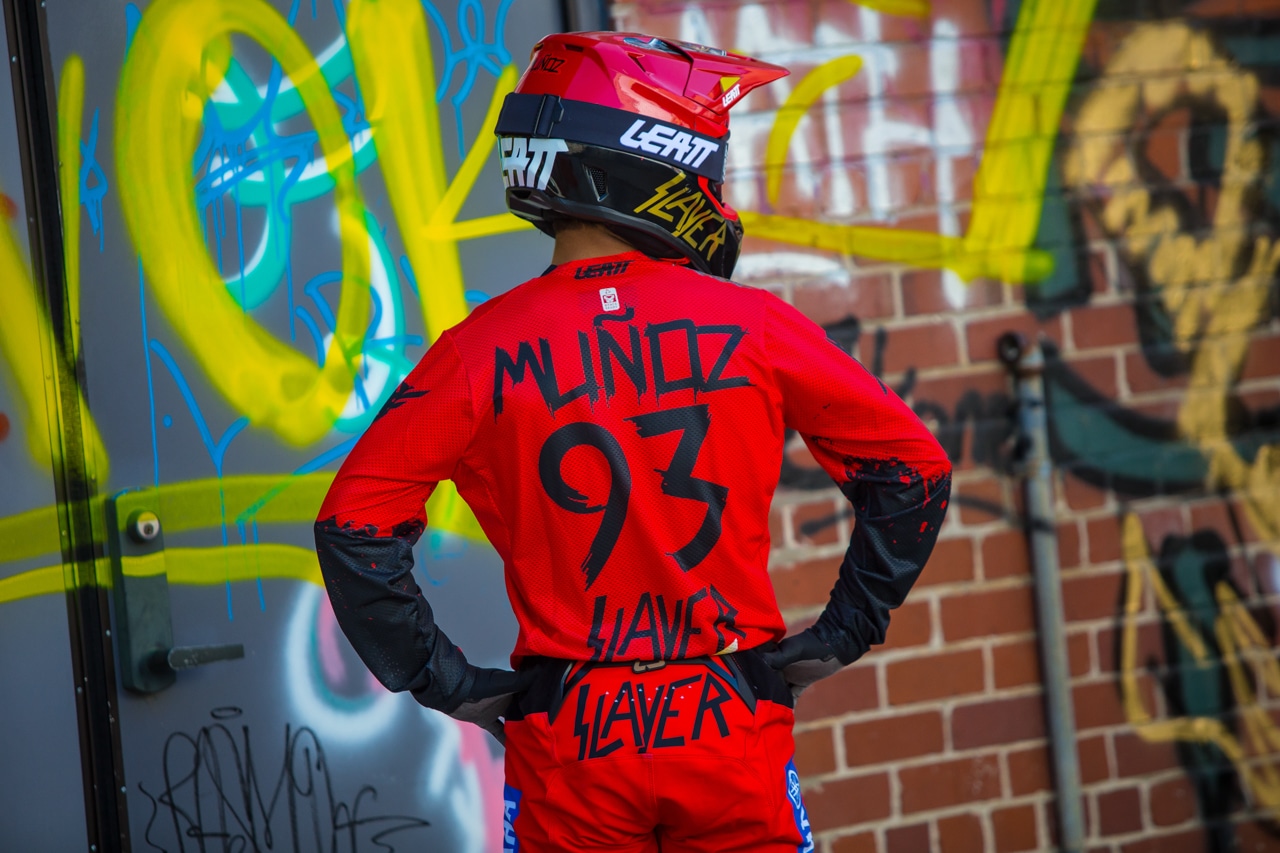
Wondering where you can get Slayer gear? Unfortunately it is not yet available to the public, but you can try to grab this very rare jersey in the Supercross – St. Judes Children’s Research Hospital Online Auction when it goes live on 4/19/21.
All info can be found at: www.supercrosslive.com/stjude
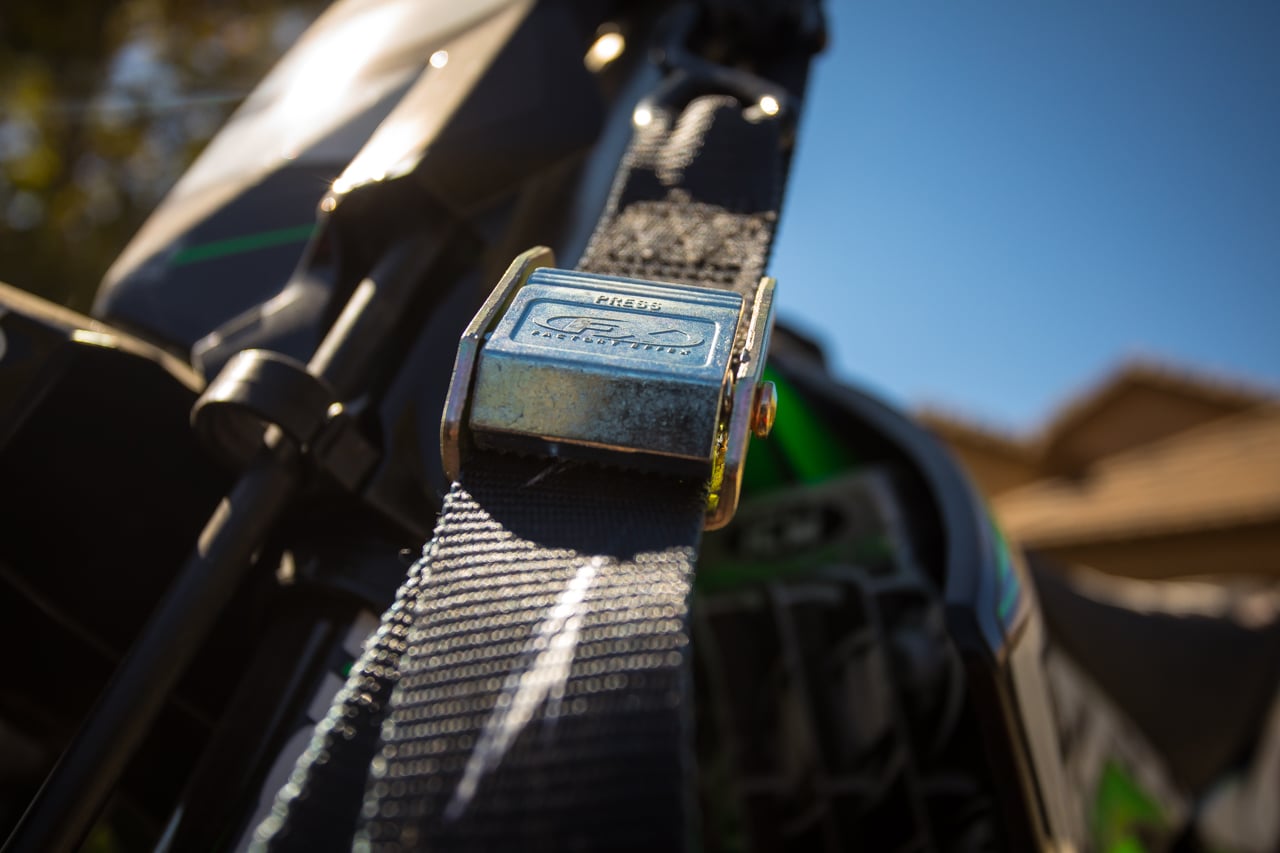
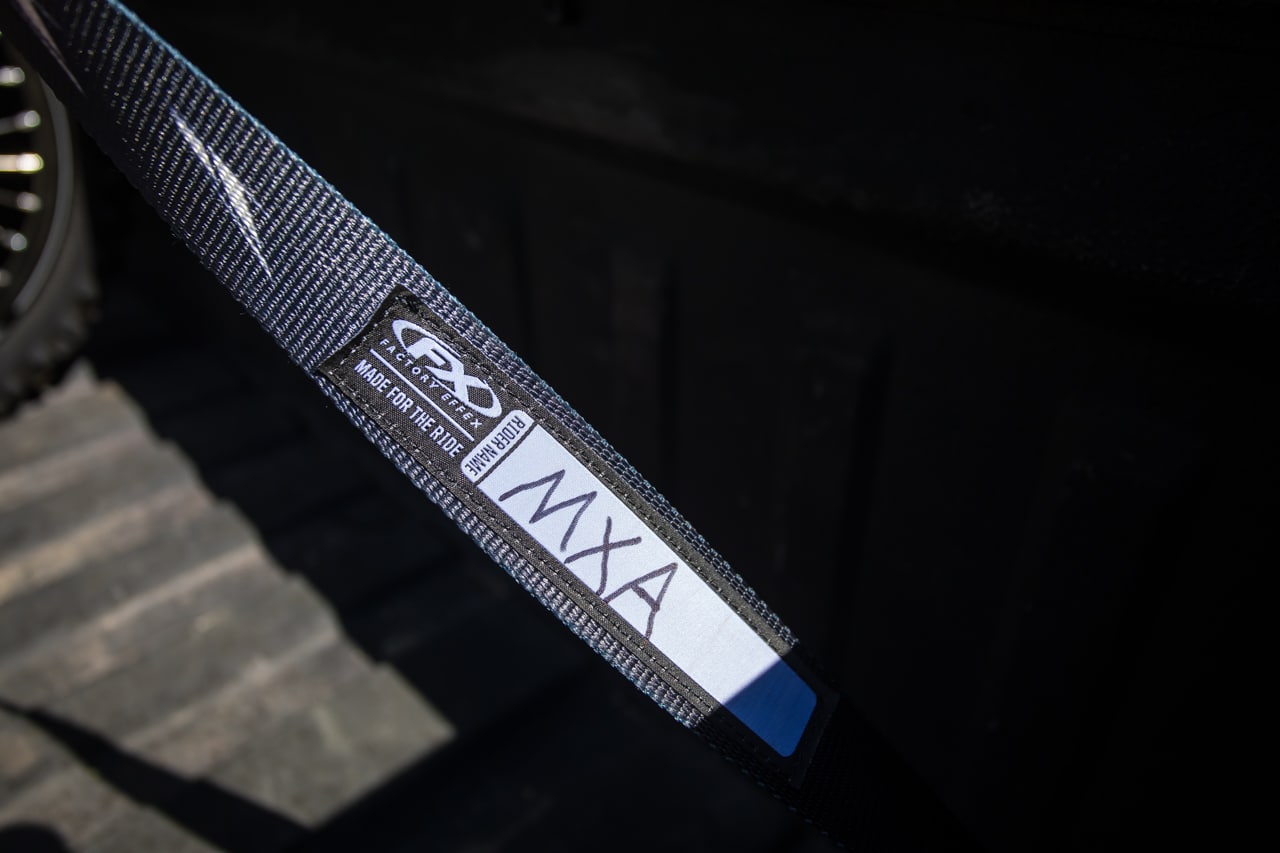
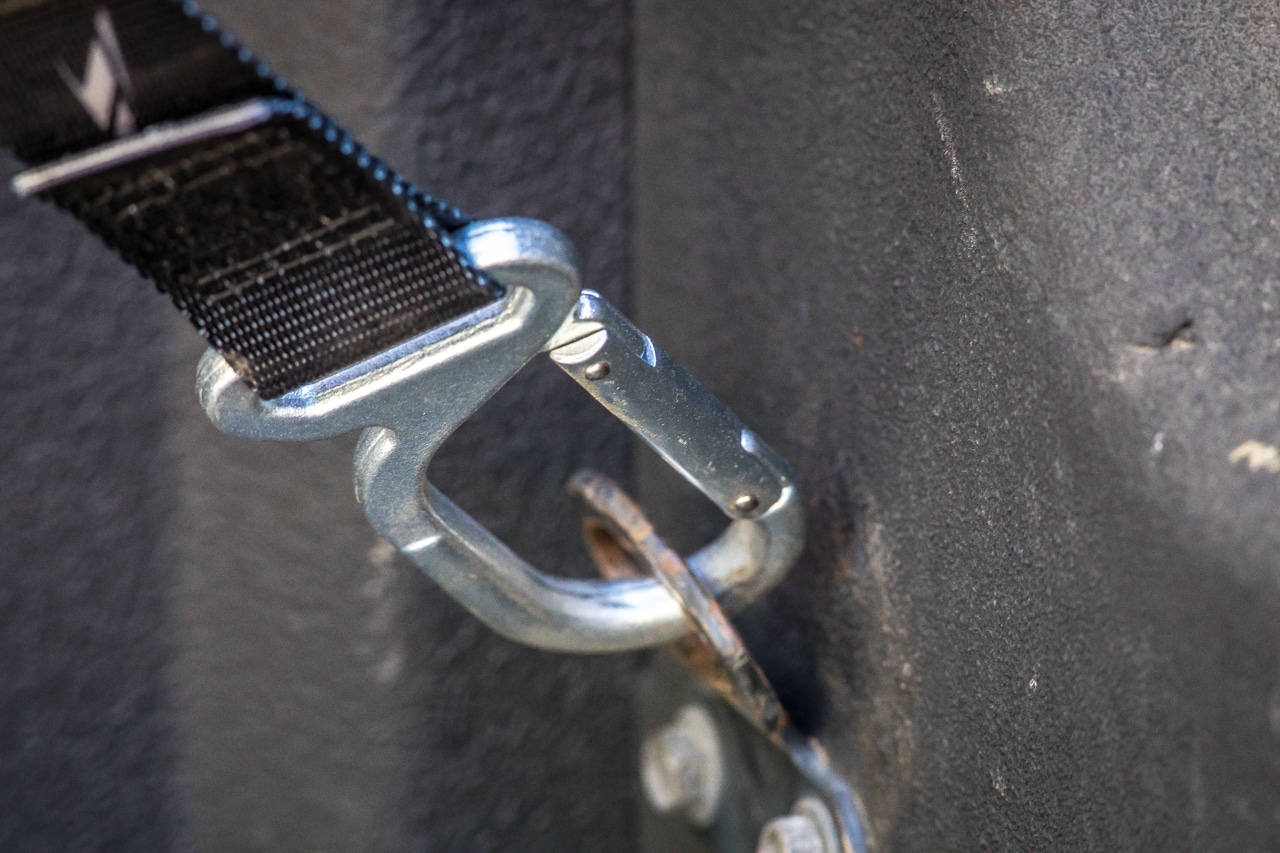
PRODUCT SPOTLIGHT: FACTORY EFFEX TIE-DOWNS
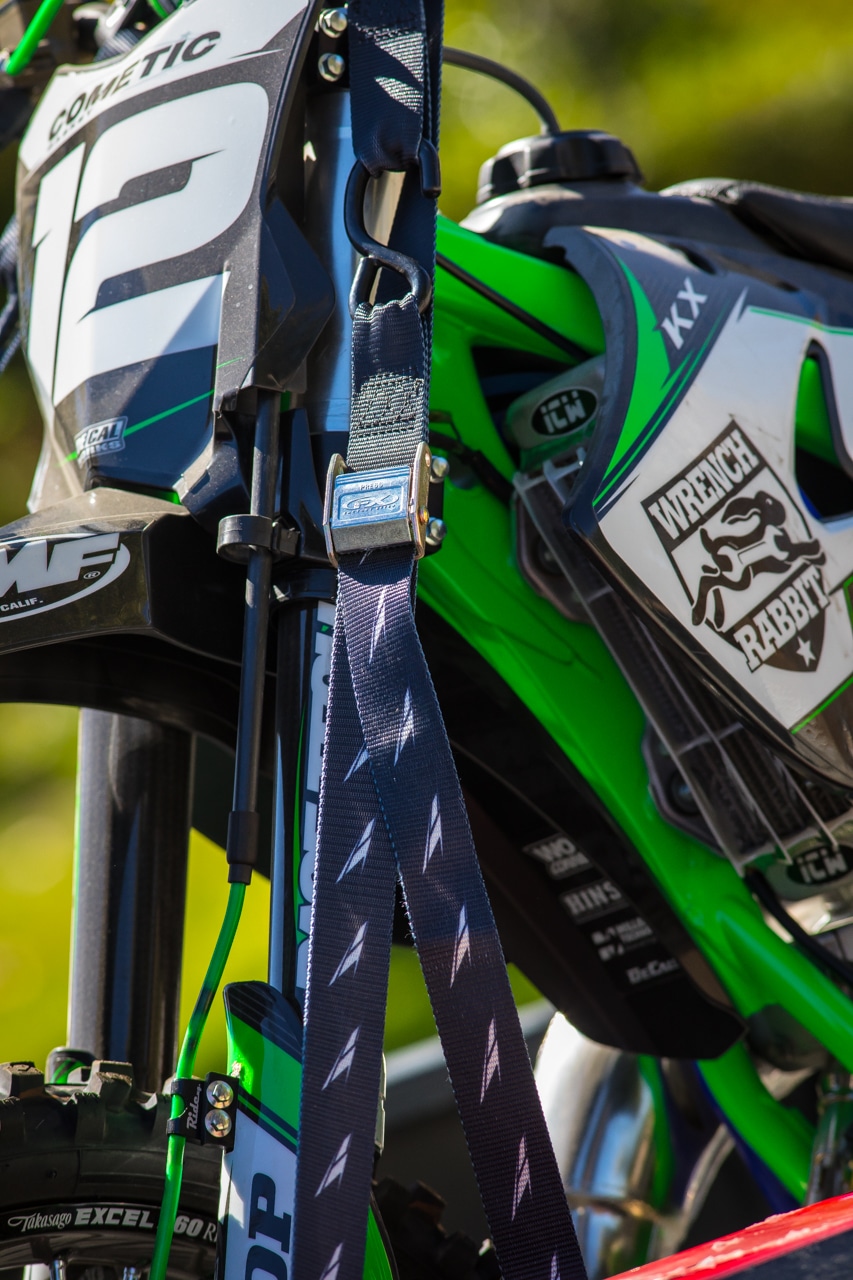
The new Factory Effex 1.5 inch Carabiner tie-downs come with built-in soft ties and a soft-coated upper hook to protect your handlebars from scratches. The tie-downs also feature heavy-duty spring-loaded bottom hooks as well as heavy-duty nonslip cam-lock buckles. The oversized straps are made out of air-craft grade 1.5 inch nylon and the straight tension strength on them is rated to secure up to 1200 pounds. The new straps also have fade-resistant, die sublimated logos with many options to choose from between Suzuki, Honda, Yamaha and Factory Effex. The new tie-downs are available now for $39.95 at your local dealer or www.factoryeffex.com.
LOST BUT NOT FORGOTTEN | THE 1983 KAWASAKI KX500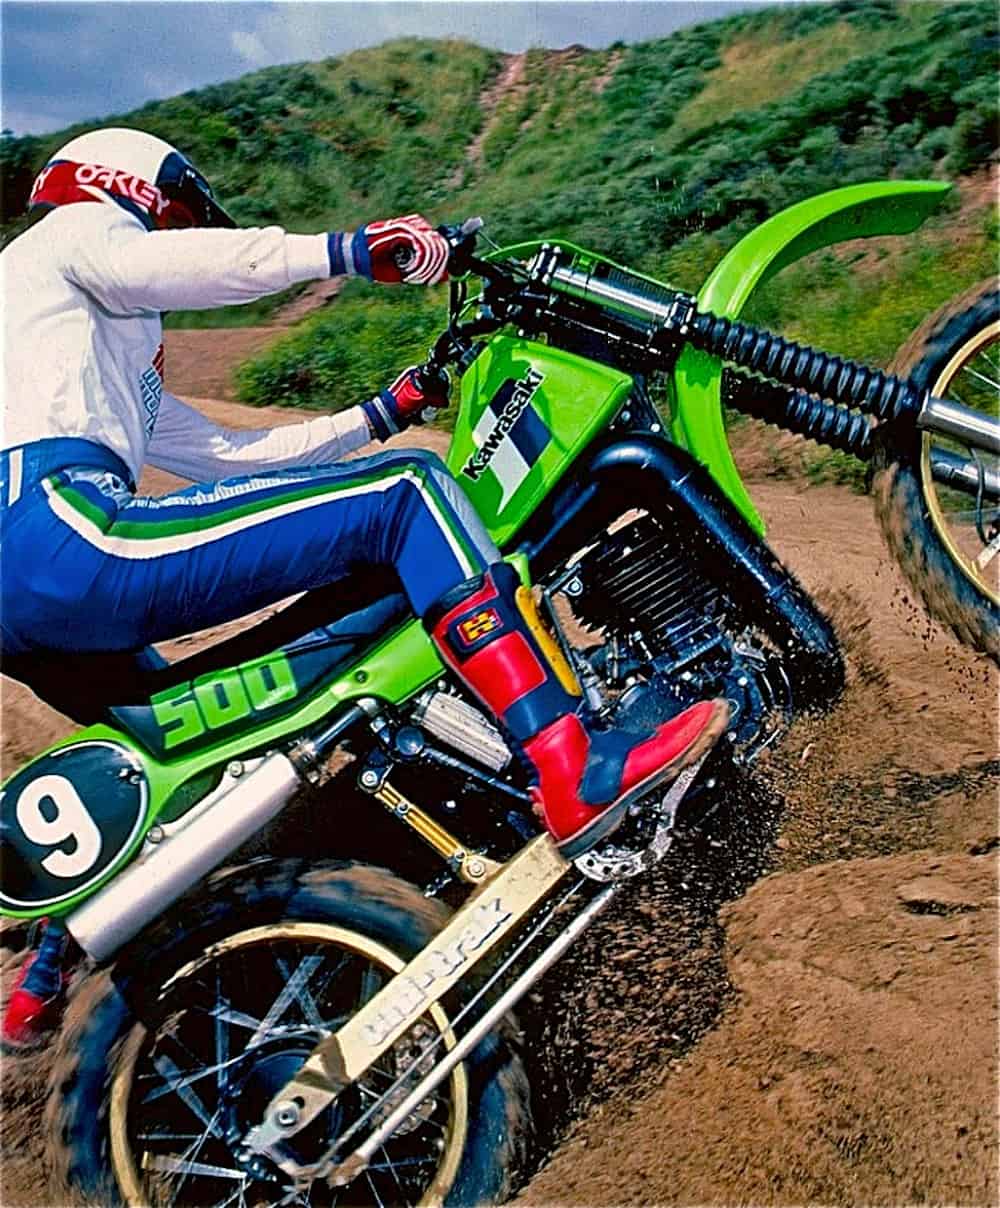
TALK MOTO WITH MOTO MINDED PEOPLE. JOIN MXA’S FACEBOOK GROUP CHAT
 We love everything moto and want to bring all moto junkies together into one place to share their two cents, ideas, photos, bike fixes, bike problems and much more. To check it out first you must need to or already have a Facebook account. If you don’t, it isn’t much work and you could even have an alias so nobody knows it is you. To join click HERE. After you request to join we will accept your request shortly after.
MXA TEAM TESTED | FLY RACING ROLLER GRANDE GEAR BAG
 WHAT IS IT? Fly Racing’s Roller Grande gear bag has moto written all over it. Not literally, of course, but it sure makes it easy to store all your gear in one place. The Roller Grande bag is constructed from a durable, PVC-backed nylon with large mesh panels and grommets on the side for airflow. There are several big pockets, along with varying sizes of smaller zippered pockets both inside and out. The adjustable shoulder strap and telescoping handle combined with the roller wheels make it easy to move around. There is even a clear exterior business-card sleeve for baggage claim.
WHAT’S IT COST? $144.95.
CONTACT? www.flyracing.com or (208) 319-3079.
WHAT STANDS OUT? Here’s a list of things that stand out with the Fly Racing Roller Grande gear bag.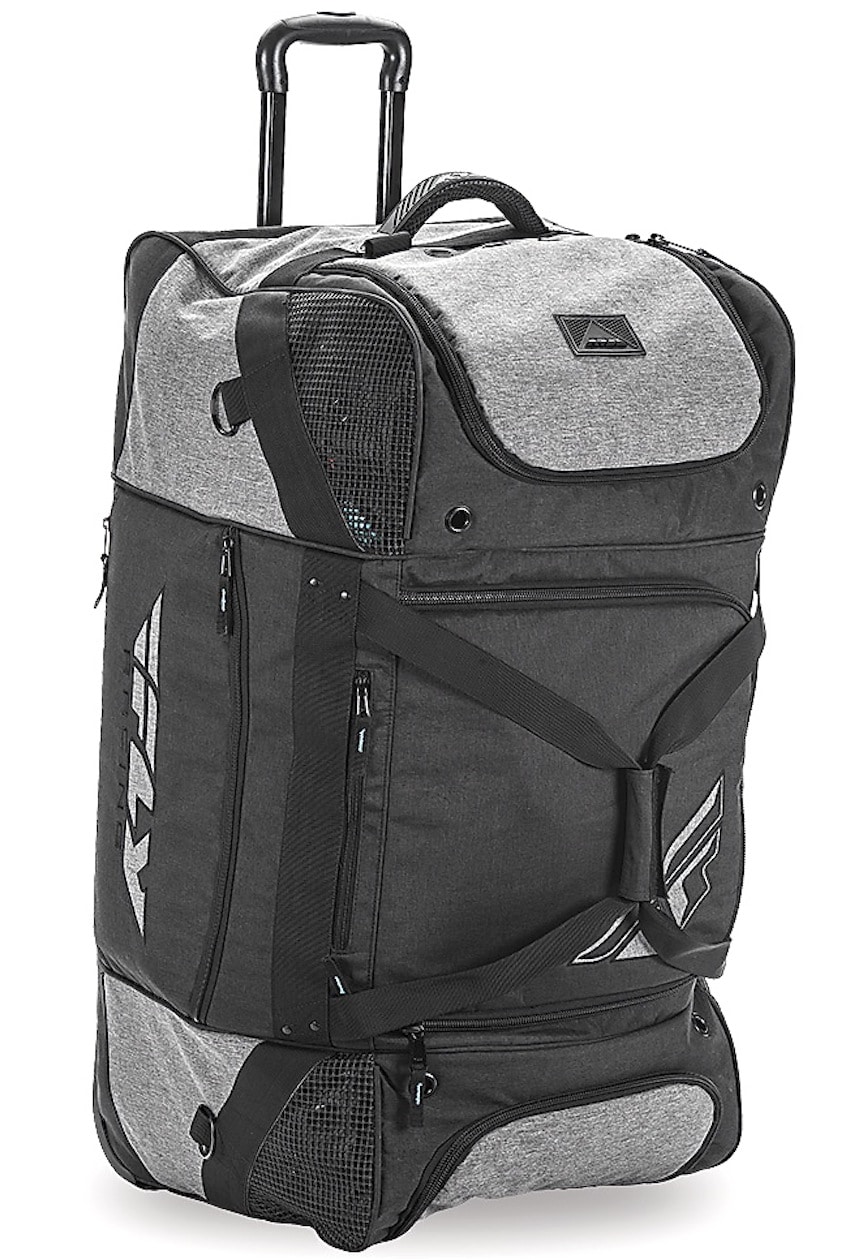 (1) Basics. The Roller Grande gear bag has a large main center compartment to store your bigger items, such as neck braces, knee braces, helmets and chest protectors. There are smaller pockets on the protected inside for sunglasses, keys, phones and such. The two large outside pockets on the ends are wide and deep enough for easy storage of boots, helmets or riding gear. Running along the outside middle of the bag are several zippered storage pouches. Something we found intriguing about this model in particular is the mud mat. This 15-inch-wide by 29-inch-long mat pulls out from its zippered pocket along the bottom of the bag. It’s great to have something comfortable to stand on while you’re in your socks. Also, the fleece-lined goggle pocket is nice. When the bag is not in use, it’s easy to fold up and store in tight spaces.
(2) Space. Right off the bat, we noticed that this gear bag offers an amazing amount of space as opposed to some of Fly Racing’s earlier models. As mentioned above, there’s ample room for all of your motocross gear. We particularly like the extra zippered pockets along the outside of the bag, because MXA test riders often need to carry extra equipment, like cameras, tools and spare clothes. It’s nice to have spare room. Another feature that stood out was the two giant outside pouches on either end of the bag. You can easily store boots in one and a helmet in the other and not compromise the interior compartment of the bag.
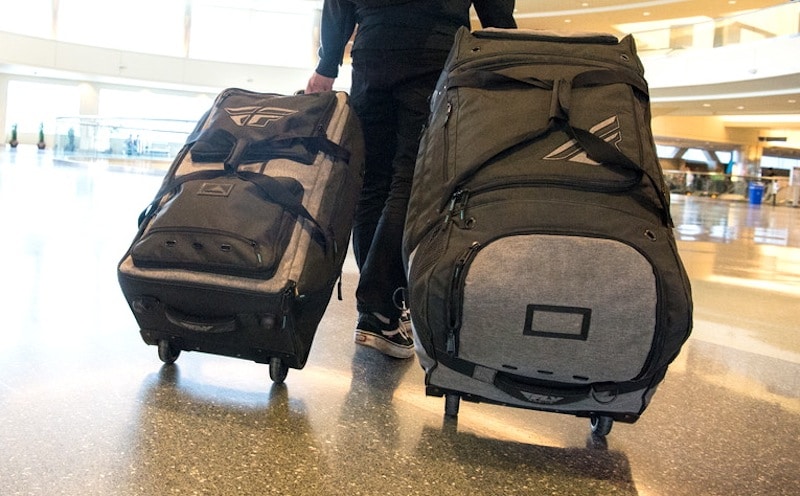
(3) Weight. Even when the Roller Grande is packed tight and full of our daily track visit needs, it still maintains a very lightweight feel and is easy to carry or roll around. With its adjustable shoulder strap and telescoping handle, anyone can feel comfortable moving it around. Whether you’re trudging through the airport or just need to load up your truck on race day, this bag fits the bill.
WHAT’S THE SQUAWK? A few quibbles. (1) We love the mud-mat idea, but we wish it was detachable in order to clean it or move it around. (2) Our fashion sense wants it to be available in more colors.
MXA RATING: This bag is amazing—tons of storage, lots of extras, lightweight and easy to use. This one-of-a-kind Fly Racing Roller Grande gear bag is a definite must. We heartily recommend this product for the weekly rider or weekend warrior.
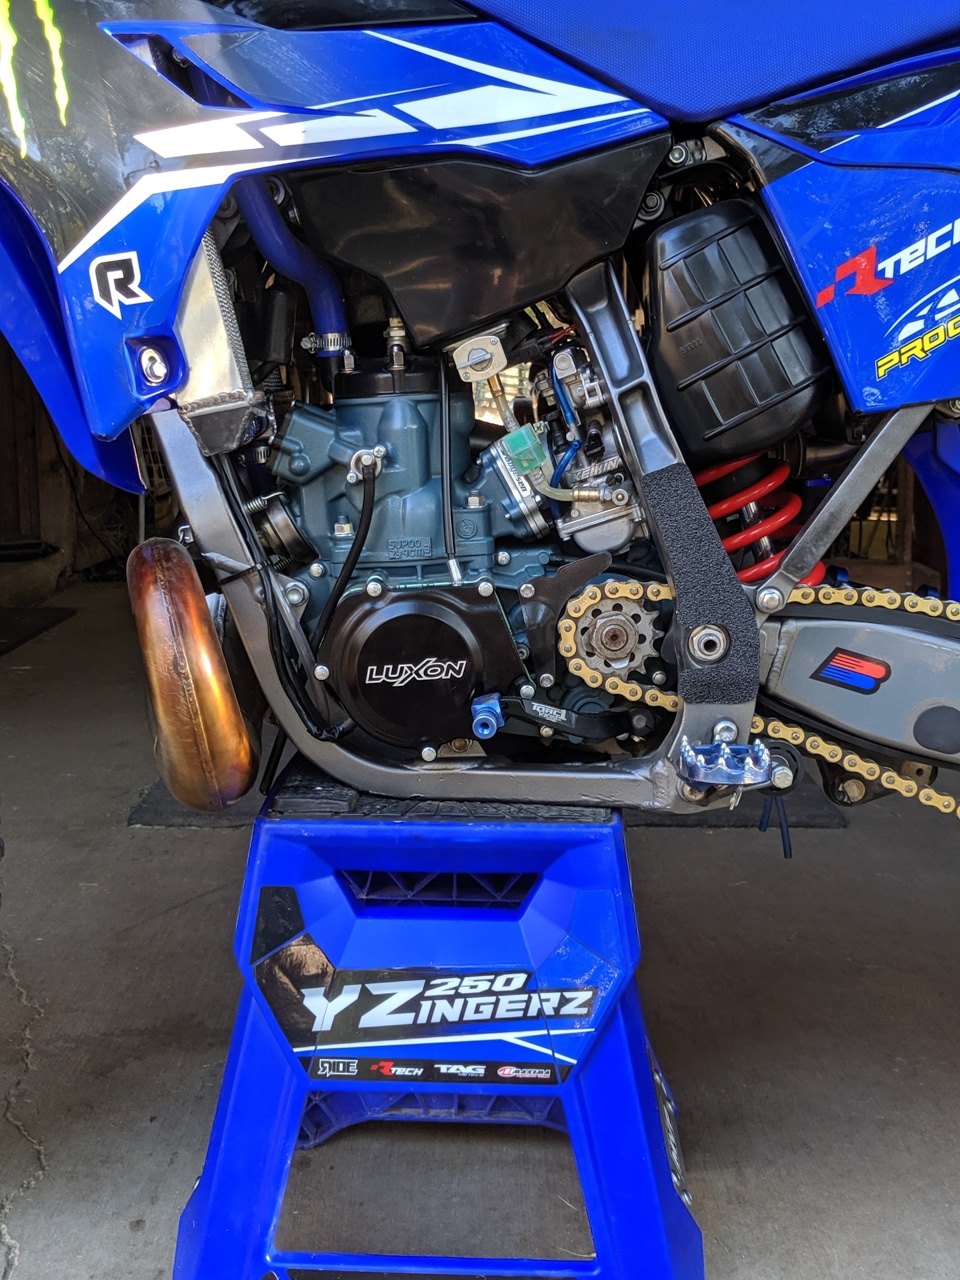
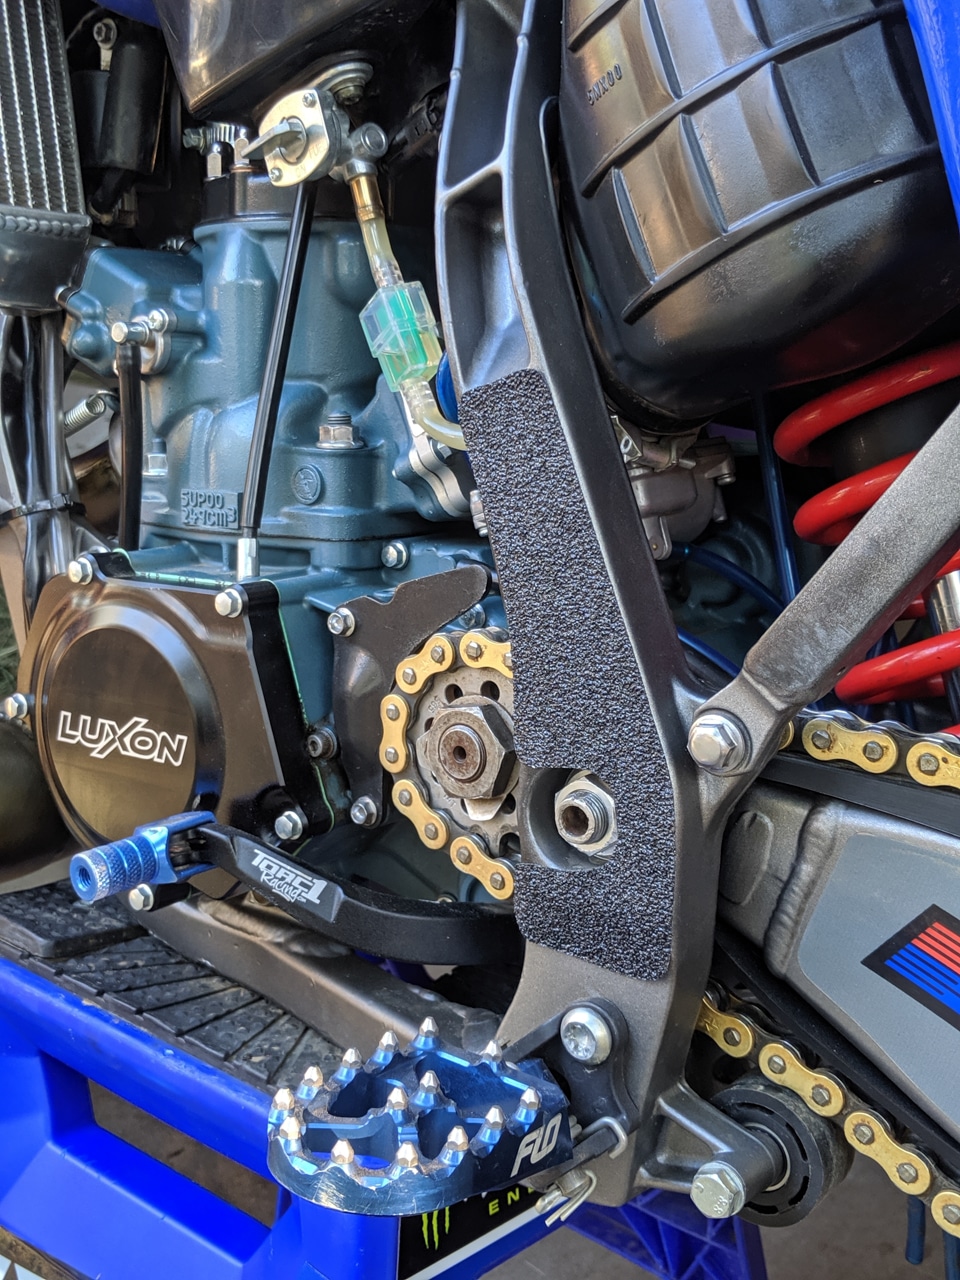
TWO-STROKE SPOTLIGHT | 2008 YAMAHA YZ250 PROJECT BIKE
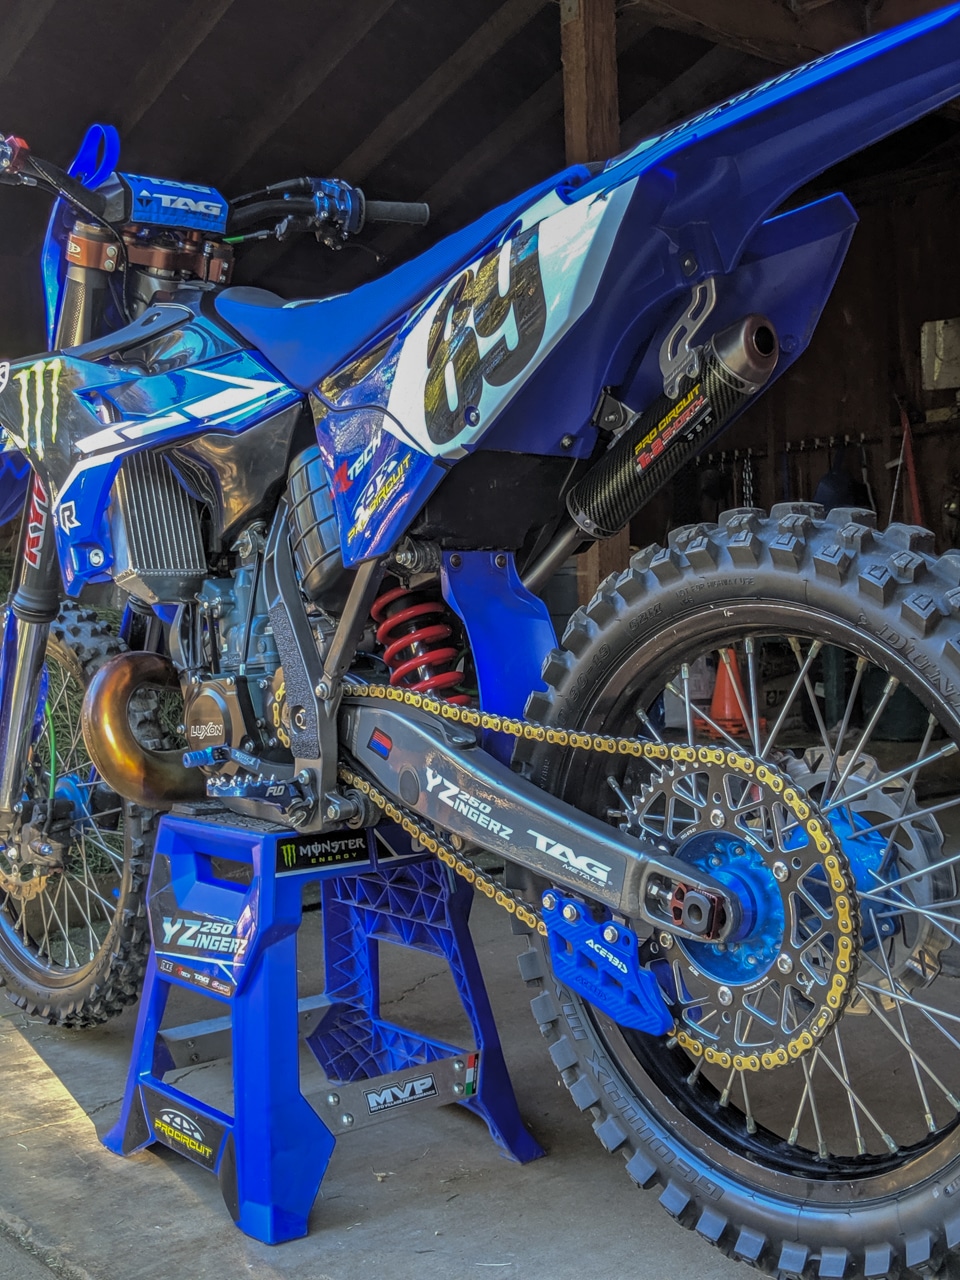
“Hi my name is Kyle, @Fmxkyle, owner of @yzingerz Instagram. This is my project YZ250 I tore down to the frame, even split the cases and replaced and refurbished everything. This is my dream bike. I got a YZ250 when I was 17 years old in 2007 and had to sell it shortly after due to a family crisis. After ten years, schooling, getting married and settling down, I decided to build my dream bike. I picked up a used 2008 YZ250 for $2700 and rode it for a year while I collected parts. In the meantime I met Scott Reynold of Moto Village performance and we both jumped on the project together. I couldn’t have done it without him. Six months into the project we had the bike back together.”
BELOW IS THE PARTS LIST.
BDP Racing:
– Custom Yzingerz brake reservoir cap.
Bolt Motorcycle Hardware
– Anodized seat button bolt
– Engine Fastener Kit
– Exhaust O-Rings and Springs
– Plastics Fastener Kit
Boyesen:
-Rad Valve with spacer
– Water pump supercooler
Cerakote:
– Armored Black
Cylinder Head
Fork feet
Foot Peg Brackets
Front and rear Brake line guide
Front and rear Brake Calipers
Front and rear Master Cylinders
Kickstart lever
Linkage
Power valve covers
Rear axle
Shock Body
Swingarm Plugs
Sniper Grey
Fork Tubes
Titanium Blue engine Case
Core Moto:
– Steel braided translucent green break lines
FLO Motorsports:
– Pro series foot pegs
Fly Racing
– Billet kill switch
GPI Racing:
– Radiators and Hoses
GYTR:
– Clutch Cover
Hinson:
– High performance clutch

KYB:
– 44 kg/mm front springs
– 5.3 kg/mm rear Spring with thrust washer
Leo Vince
– Carbon fiber rear disc gaurd
– Carbon fiber rear break caliper guard
Luxon:
– Ignition Cover
Maxima:
-Pro Air Filter
MotoStuff:
– Blue Banjo Bolts
OEM Replaced parts:
– Carburetor rebuild kit
– Fork Seal Rebuild kit
– Front and rear Master Cylinder rebuild kit
– Many miscellaneous bolts
Pivot works:
– Linkage bearings
– Transmission bearings
– Shock bearings
– Wheel bearings
Powder Coat:
– Stealth charcoal frame, swingarm and subframe
– Candy Blue hubs
Pro Circuit:
– Axle Blocks
– R304 Carbon Kevlar Shorty
– Triple clamps
– Works pipe buffed and clear Cerakote.
R-Tech:
– YZ Revolution tank and plastics
– R-15 Worx stand
Ride Designs Australia:
– Graphics
Tag Metals:
– Chain
– Slim Grips
– Sprockets
– T2 Handlebars
Thrill Seekers:
– Seat Cover
Throttle Assembly
– CNC Blue anodized throttle tube and housing
Torc1 Racing:
– Front Brake Lever
– Rear Brake Lever and Clevis
– Shift Lever
Tusk:
– Blue Rear Axle Nut
– Blue Air filter Screw
– Air and Fuel carburetor screws
Wiseco:
-Crankshaft assembly
Works Connection:
– Clutch and brake bar clamps
– Elite 123 EZ Clutch and perch
– Fuel vent
– Steering Stem Nut
– Titanium axle bolt adjusters
Zeta:
– Aluminum fork Pistons
– Blue fork guard bolts
– Fork Feet protectors
– Fork Top Caps
– Front Brake line clamp
– Oil fill Plug
– Rear master cylinder cap
– Steering stem cap
– Wheel Spacers
– Wheel lock nuts and valve caps
Editor’s note: Please keep those submissions coming. If you would like your bike to be featured in the “Two-Stroke Spotlight,” please email me at [email protected]. All I ask is that you give a breakdown of your bike and a detailed description of the build. Please also send a few photos of your steed. By submitting your bike for the “Two-Stroke Spotlight,” you agree to release all ownership rights to the images and copy to MXA.
CLASSIC PHOTO
 Doug Dubach racing in the 1988 250 USGP at Unadilla.
Moto Trivia answer: Ricky Johnson (22) testing at Saddleback before the 1982 AMA 250 Nationals.

Comments are closed.