TWO-STROKE TUESDAY | 2006 YAMAHA YZ125 OVERHAUL
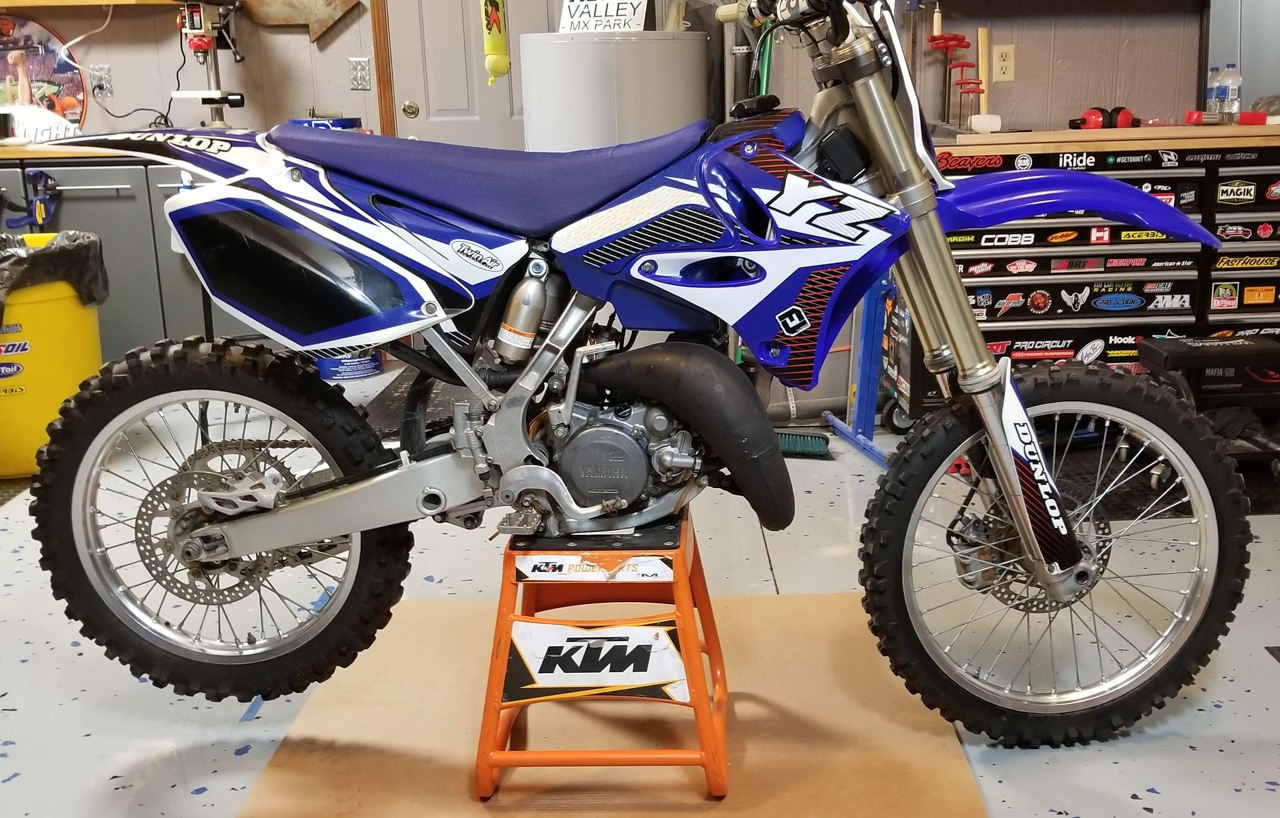
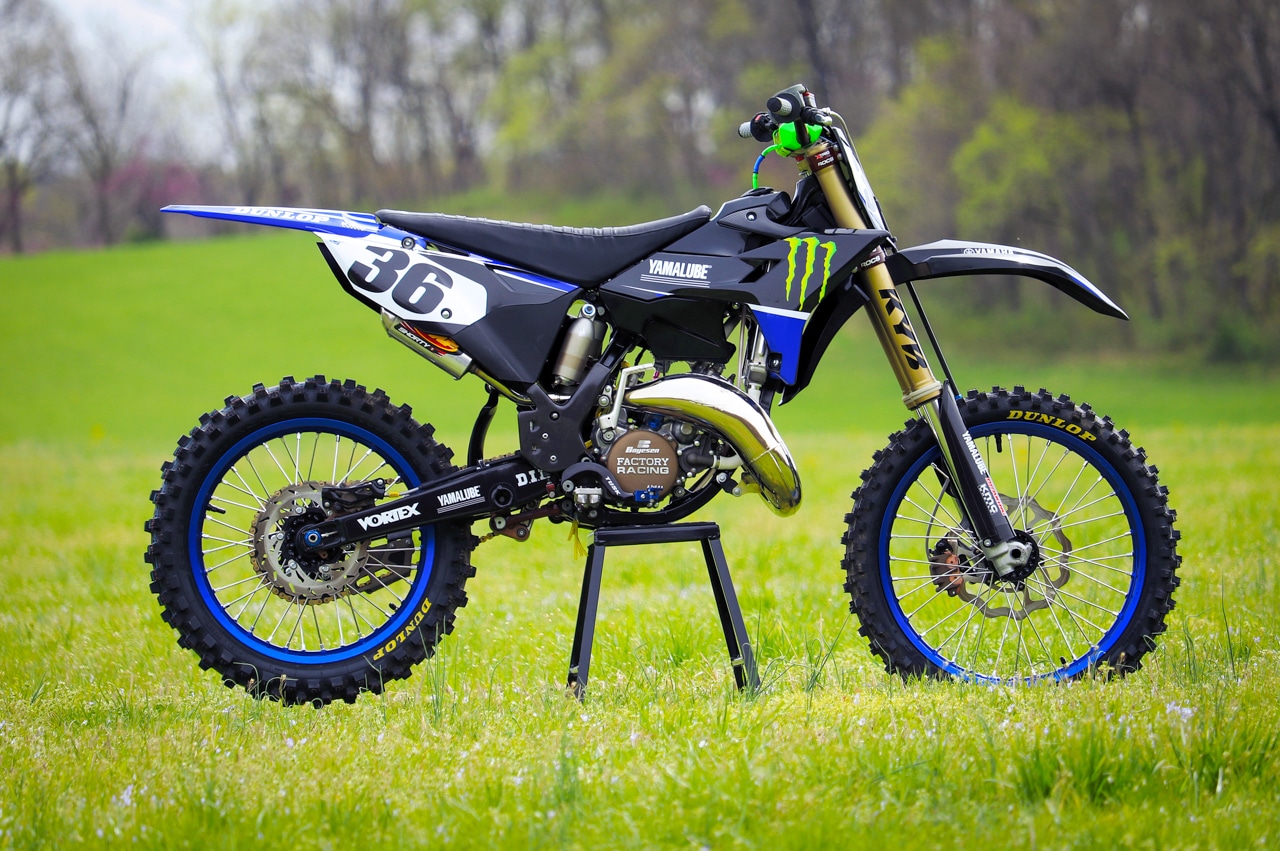
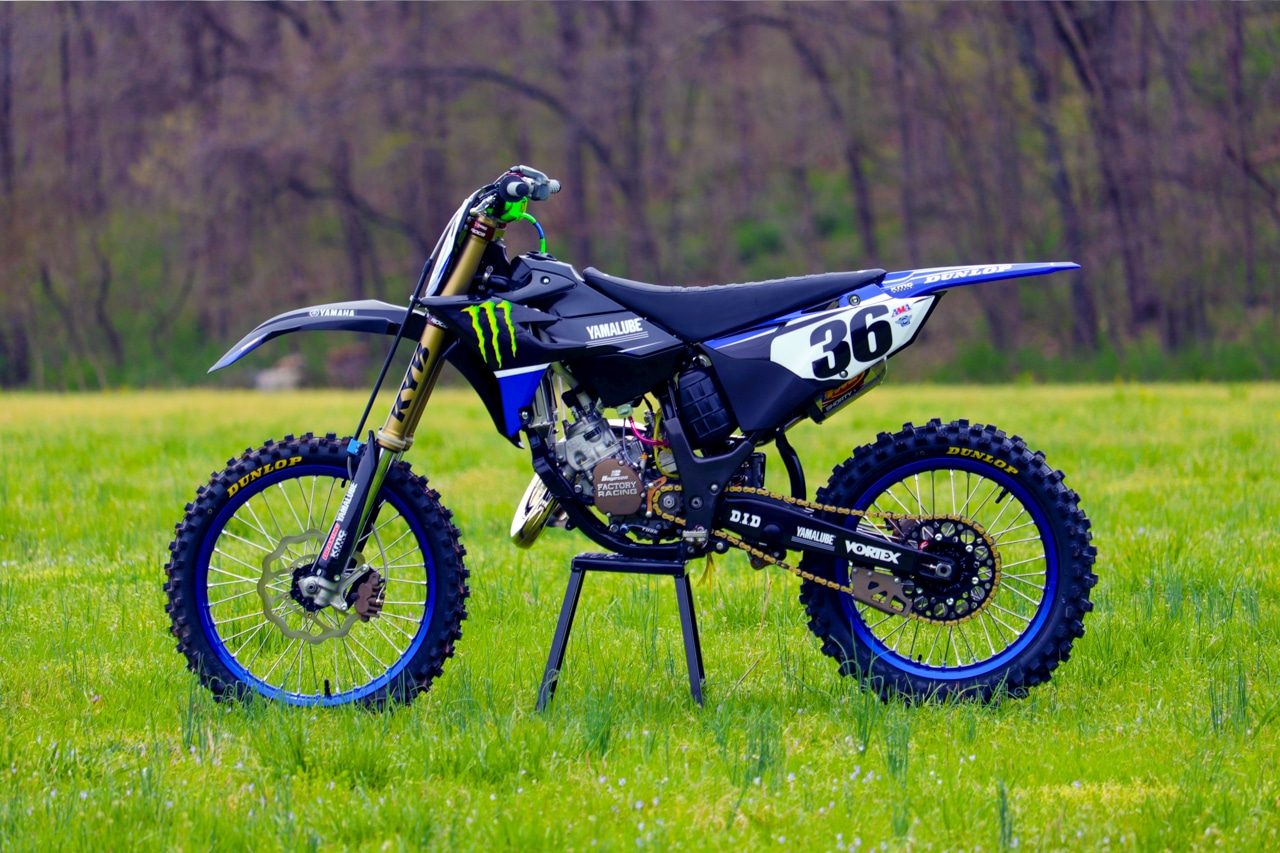
 Kory Sheldon’s 2006 YZ125 project bike after its transformation.
This is Kory Sheldon’s story of how his project 2006 YZ125 came to be.
“It was about ten degrees in February the day myself and my buddy, Daniel Scmidt (helped during the entire build) headed 3 hours to St. Louis, Missouri to pick up this 2006 YZ125. Overall it was a pretty clean bike and we got right to work. It was completely disassembled within a few hours. Then the fun part of removing every single bearing including the dreaded steering stem race. We tore the engine apart, mostly for inspection and found the rod on the governor shaft was broken. Everything else was in great shape. The clutch basket and plates only had a few hours on them as well as the piston, but we decided to swap the piston out for a brand new one. We taped every little opening off and tried our hand with a small soda blaster to get the engine looking factory again.
 The before picture.
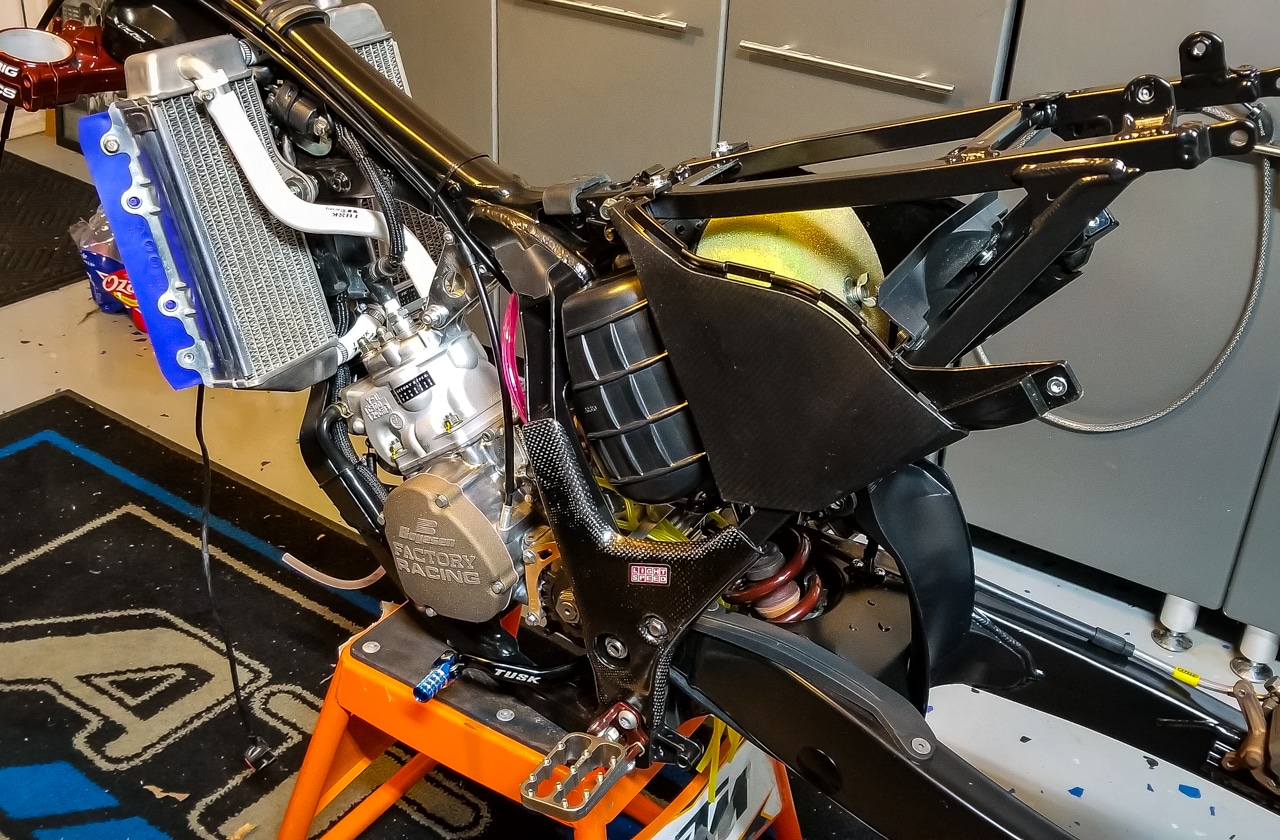
“Everything else was either hard coat clear anodized (to give it that deep bronze color) or sent to powder coat for a satin black or candy root beer. Now it was finally time to install and pack the new Pivot Works bearings, much easier going in than coming out. Even the fork tubes were re-anodized with a Teflon coat and rebuilt with new seals and oil.
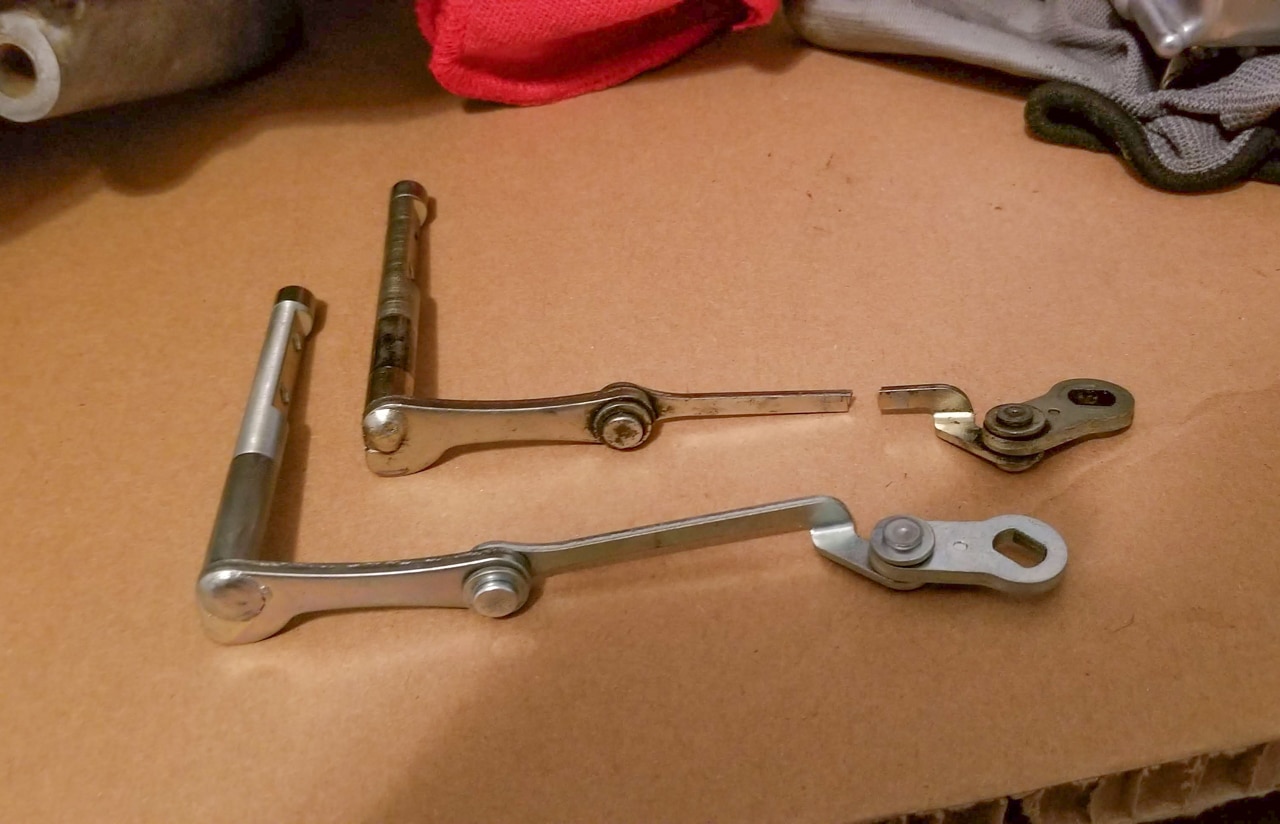 When the engine was taken apart a rod on the governor shaft was found broken.
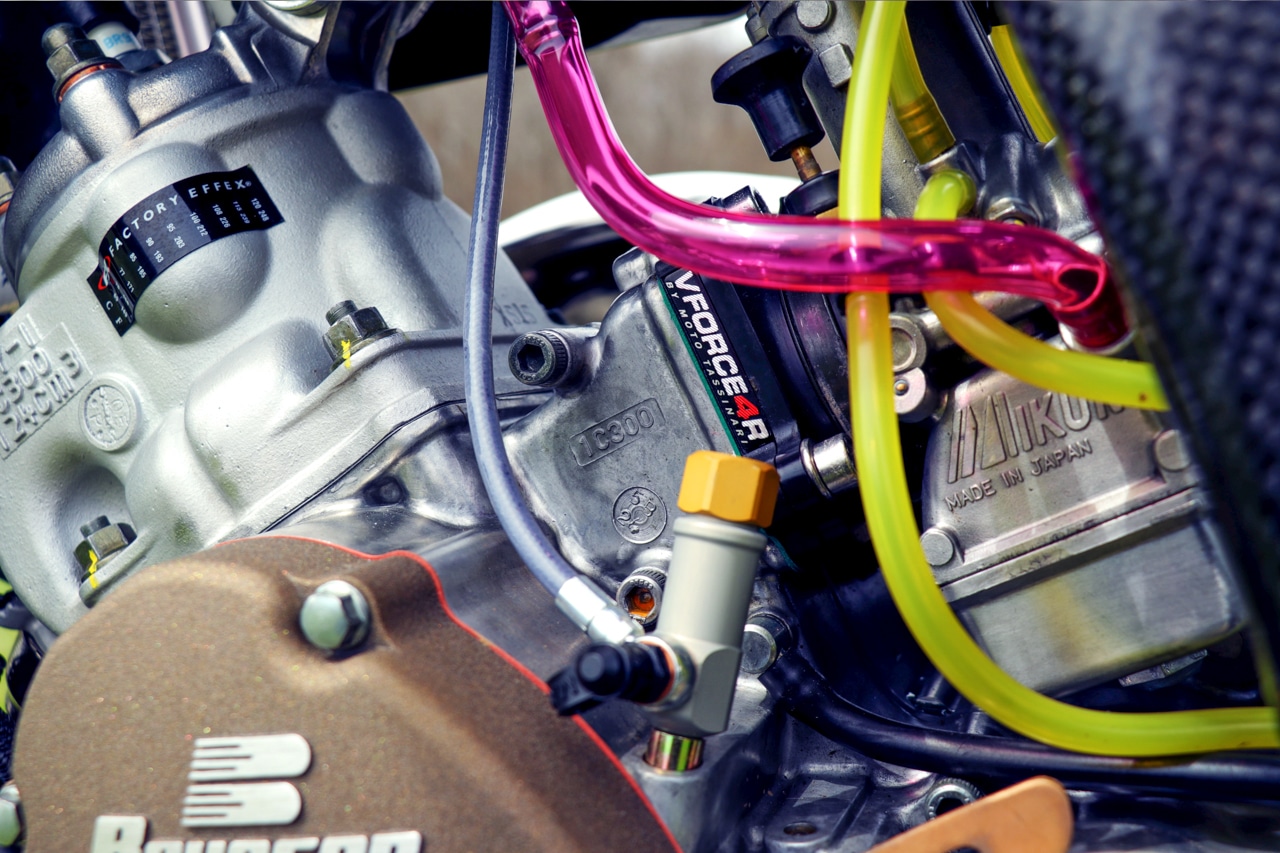
“We had all the new parts inside waiting to get bolted up. The rims were bought at a local Yamaha dealer. I laced them up with the OEM powder-coated hub and a Galfer big brake kit installed. Each section went on without many hitches from the rebuild of the calipers to the controls. It took me at least a month to locate a black Rtech plastic and tank kit which came from www.Rivalink.com of Australia and the graphics kit came from the UK. We used a JDM jetting kit to get this thing dialed in with the new VForce4 reeds and FMF Fatty pipe and Shorty silencer combo. We nailed it on the first try. I added the Magura hydraulic clutch after a ride and this thing is so easy and smooth now it makes shifting effortless, one of the best upgrades.
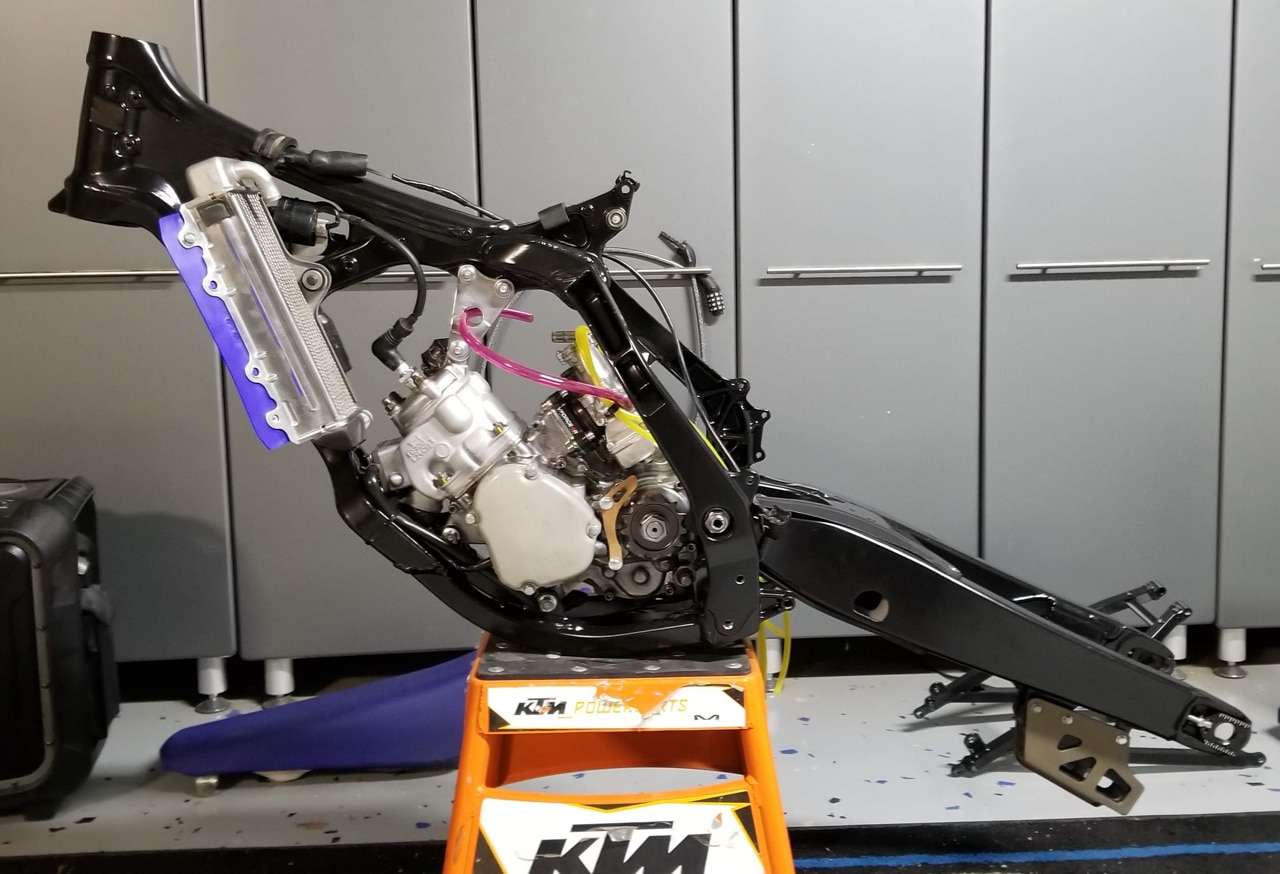
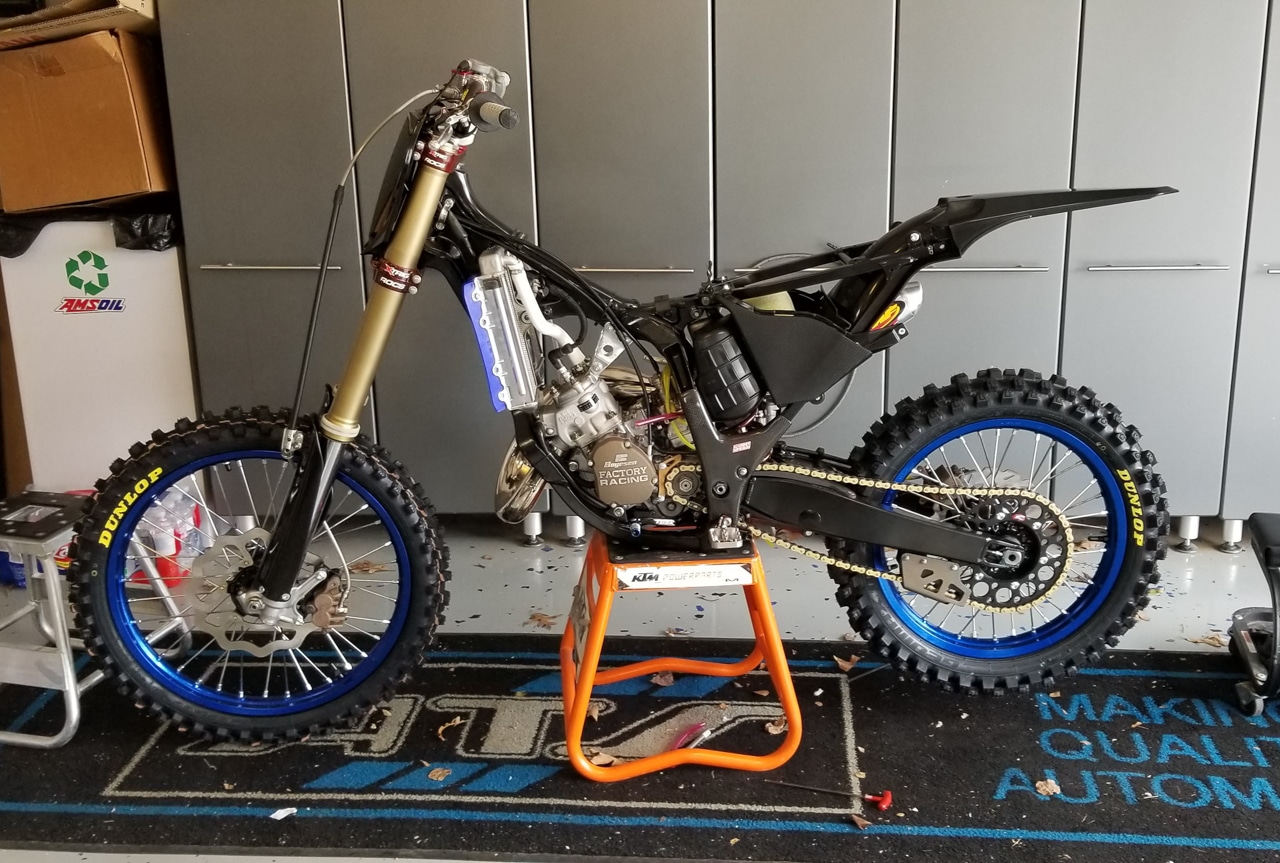
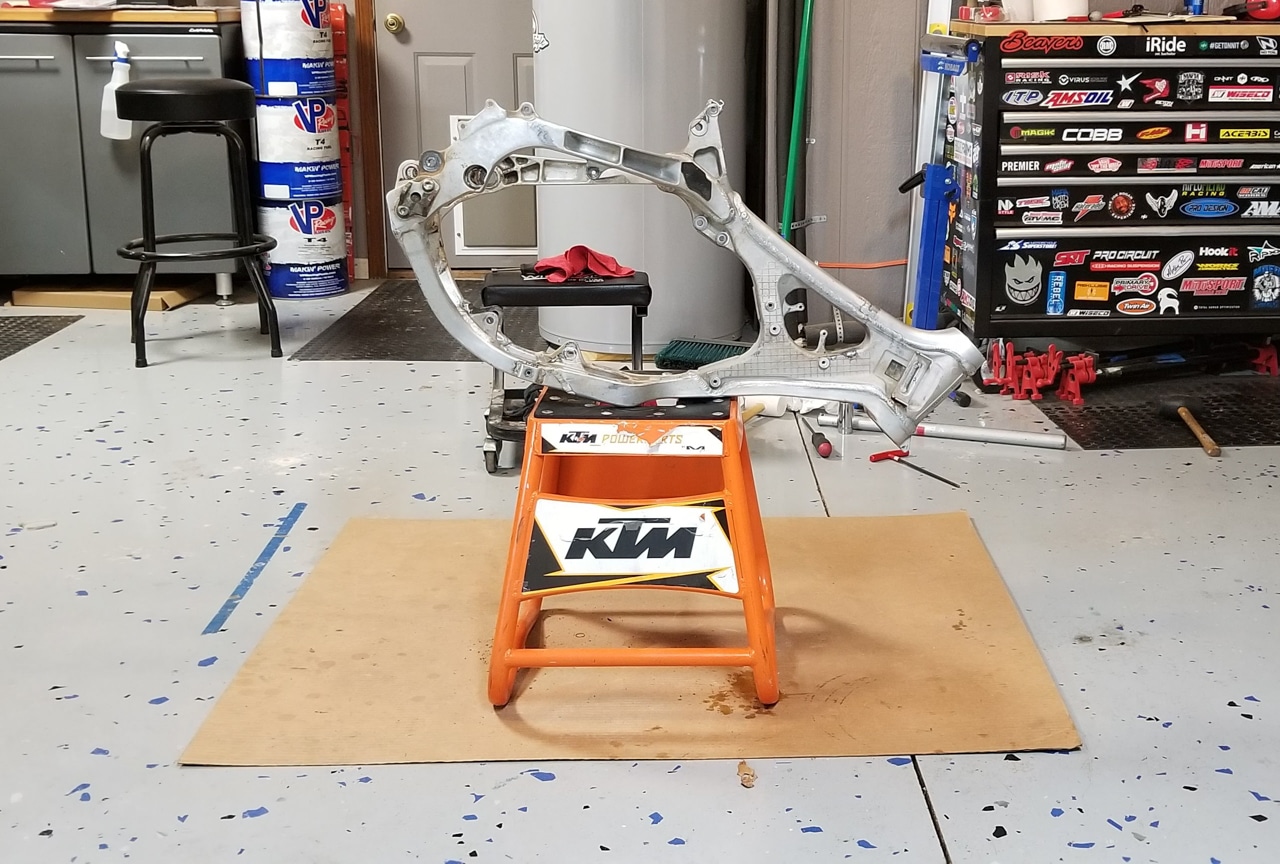 The bike was stripped to the frame.
“I listed it on the marketplace for sale ($6,000) the build kept getting bigger and bigger I have $7,000 into it. I currently ride a Factory Edition KTM 250SXF which inspired me to make a Factory YZ. I think it’s the only one of its kind. “
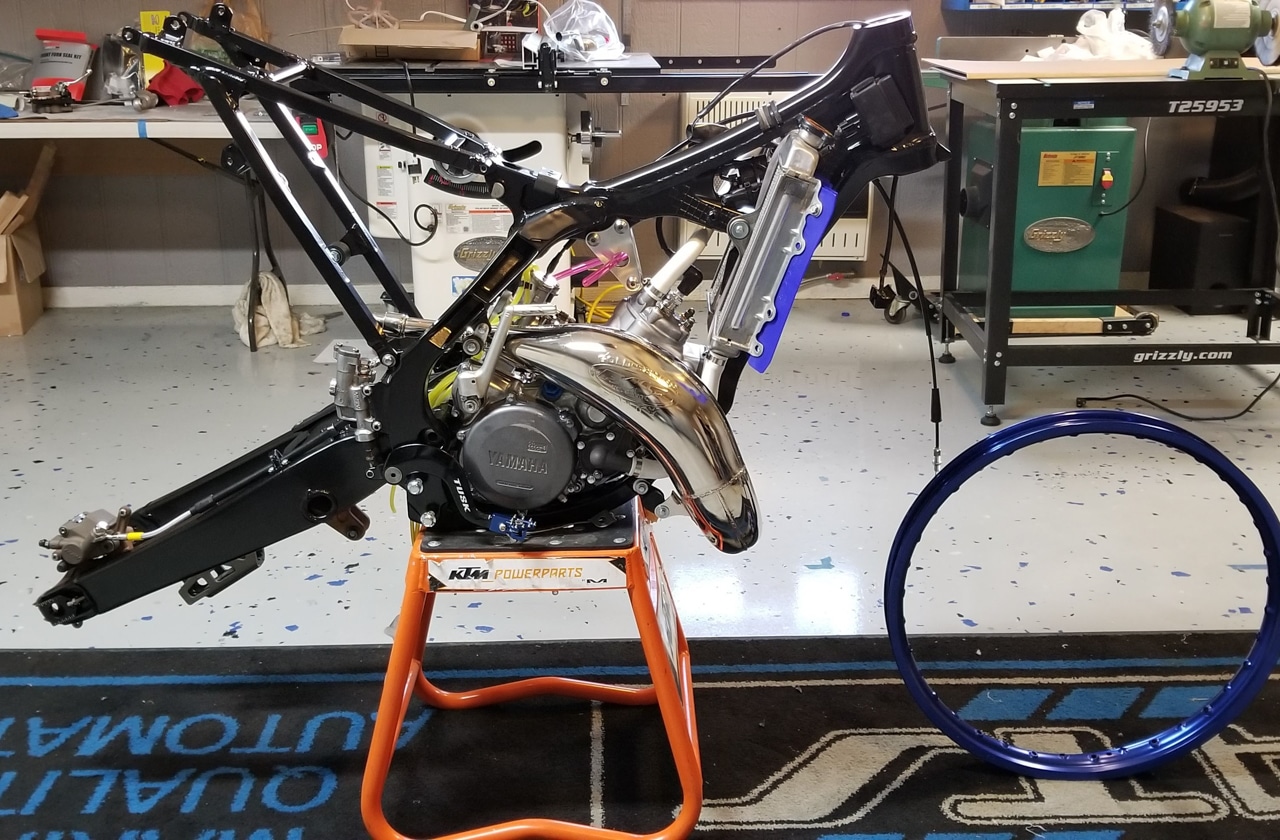
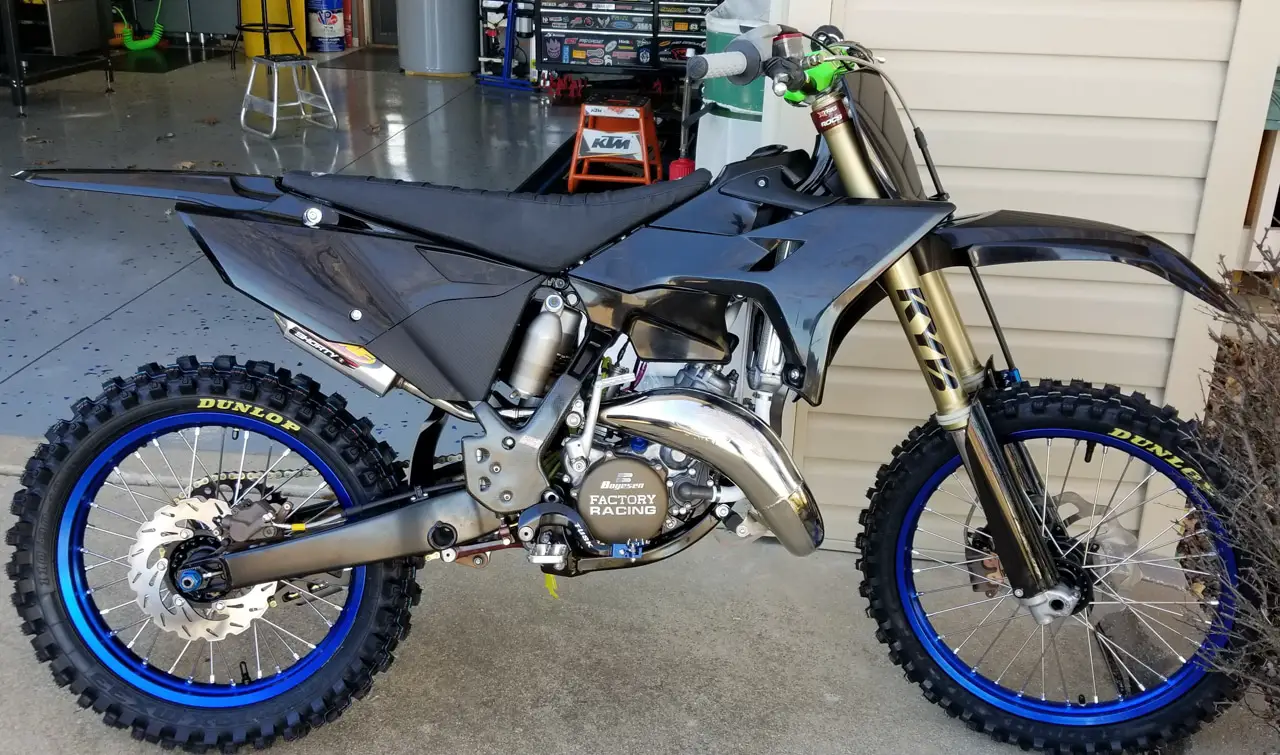
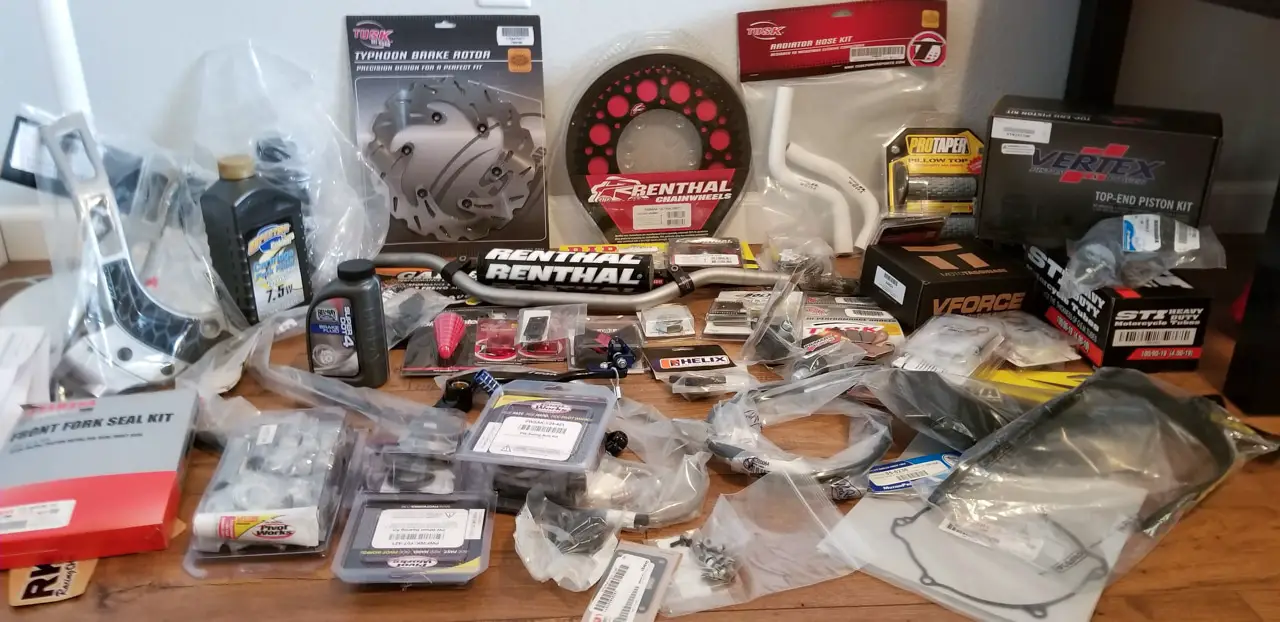 The parts came and the build started.
Engine:
Brand new top end
(I have a new Vertex piston still in the box to go with it)
VForce4 Reeds
FMF Fatty pipe, Shorty Silencer
Anodized Covers
Boyesen Covers
JDM Jetting Kit
Renthal 49T/13T, DRZ-2 Gold Chain
Clutch:
New OEM Basket/ Inner Hub
New Clutch Plates w/ 10% stiffer springs
Magura Hydraulic Clutch
Other New Stuff:
OEM Blue Rims with powder-coated Hubs
Dunlop MX33 Tires
Galifer Big Brake Kit
Tusk Shifters and Radiator Hoses
Reinforced ICW Radiators
Pro Taper bars, new controls, and cables
SDG seat cover
 The hydraulic clutch installation.
Comments are closed.