TEN THINGS ABOUT SETTING RACE AND FREE SAG
(1) What is race sag? Sag happens when the rear shock of your motorcycle is compressed, lowering the rear end of the bike. Race sag is usually measured in millimeters or inches to represent the distance that your shock is compressed under the weight of the bike and rider. Race sag is measured when the rider is sitting with all of his weight on the bike, while free sag is measured when the bike is stationary on the ground without any weight on it.
(2) Variables. The sag on a motorcycle is affected by the weight of the rider, the preload on the shock, and, to a lesser extent, the damper settings and shock temperature. A shock with stiff damping settings will stay up higher and require more weight to compress than a shock with softer compression valving. More preload on the shock spring will raise the sag, while less preload will lower it. Additionally, the temperature of the shock also has an effect on the amount of sag a bike has. If sag is measured when the shock is hot, it could sit higher, and your measurements would not be accurate.
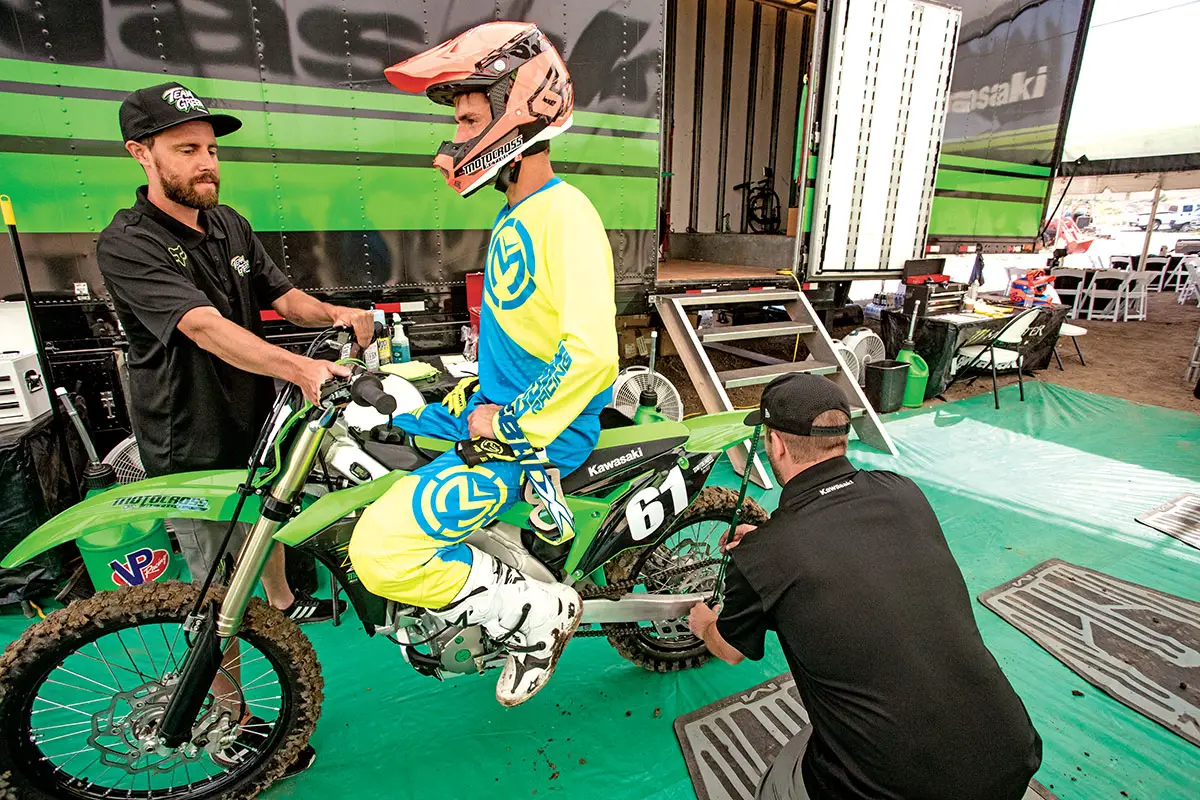
(3) How to check it. When checking sag, you could use either a Motion Pro sag stick, a Motool Slacker digital sag scale or a measuring tape. While the bike is still on the stand, make sure to zero out your sag tool by measuring from the axle to a set point on the rear fender. Then, with the rider wearing all of his gear, sit him on the bike in a position that replicates his actual riding position on the seat with both feet on the footpegs while a helper stands next to the bike to gently hold the bike stable. The rider can then bounce up and down to make sure the shock finds its natural sag position. Then measure the distance from the rear axle to the same point on the rear fender as in the first measurement. With the rider’s full weight on the bike, measure how far the rear end sags. The difference in the distance from the unladened measurement to the one with the rider on the bike is the race sag.
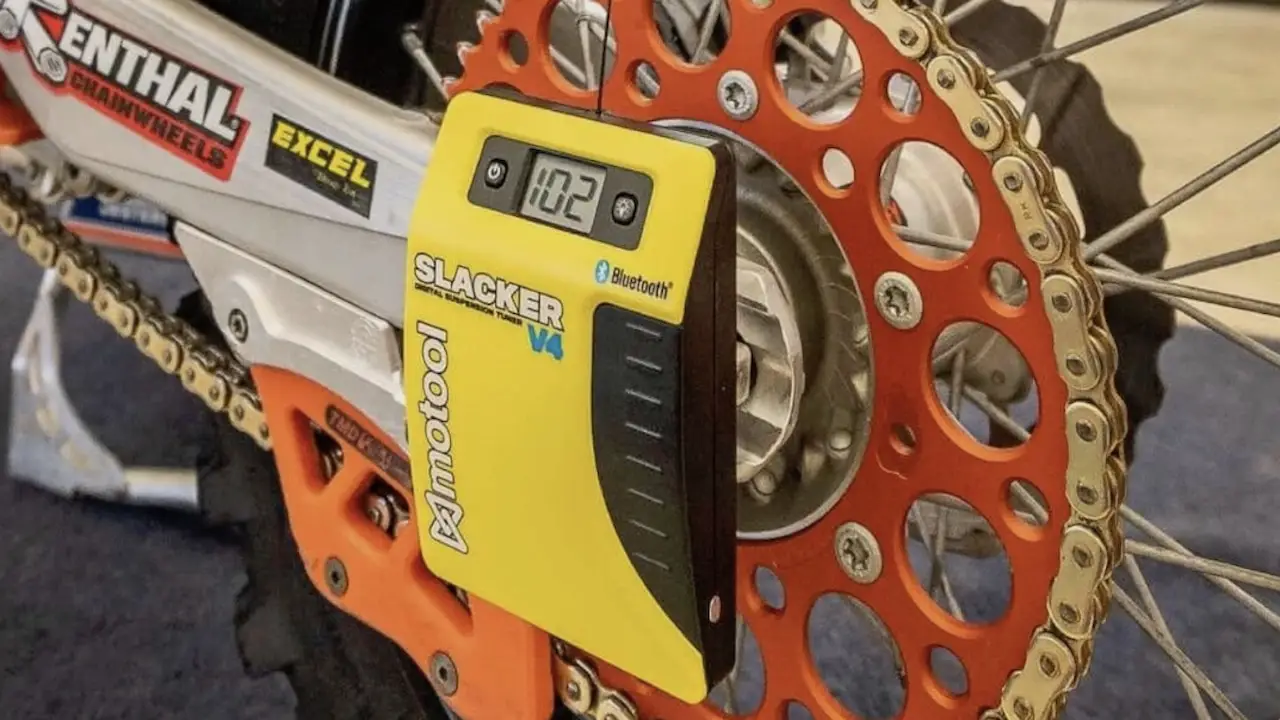 Here is the Motool Digital Sag scale being used on an MXA test bike. We drill a small hole in the rear fender to slip the hook on the end of the cable through. It makes it easier and quicker when checking the sag.
(4) How to adjust. Each bike has a recommended sag setting, but it is typically between 97mm and 105mm. With testing, you can figure out which race sag is best for you. To adjust the shock on most Japanese bikes, you’ll need a hammer and a punch to adjust the two lock nuts that determine the amount of preload on your shock. The WP shocks on KTM , Husqvarna and GasGas models (as well the occasional Japanese bike )are a little different. They have an oversize preload ring with a pinch bolt clamp. To adjust the shock’s sag you spin the oversize preload ring to either raise or lower the sag. Once the sag is at your favorite number, you tighten the pinch bolt clamp. Typically, each full rotation of the preload ring will add or subtract around 3mm of sag.
 To adjust the preload on a WP shock spring it is best to use a long flat-bladed screwdriver to pry on the oversize preload ring. Do not hit it with a punch.
5) Balance. The sag on your motorcycle plays a key role in the balance and stability of your bike. When testing different sag heights for your weight, riding style and riding conditions, the ideal setting for you will feel stable while going down fast straightaways and also comfortable and easy to turn when coming into corners.
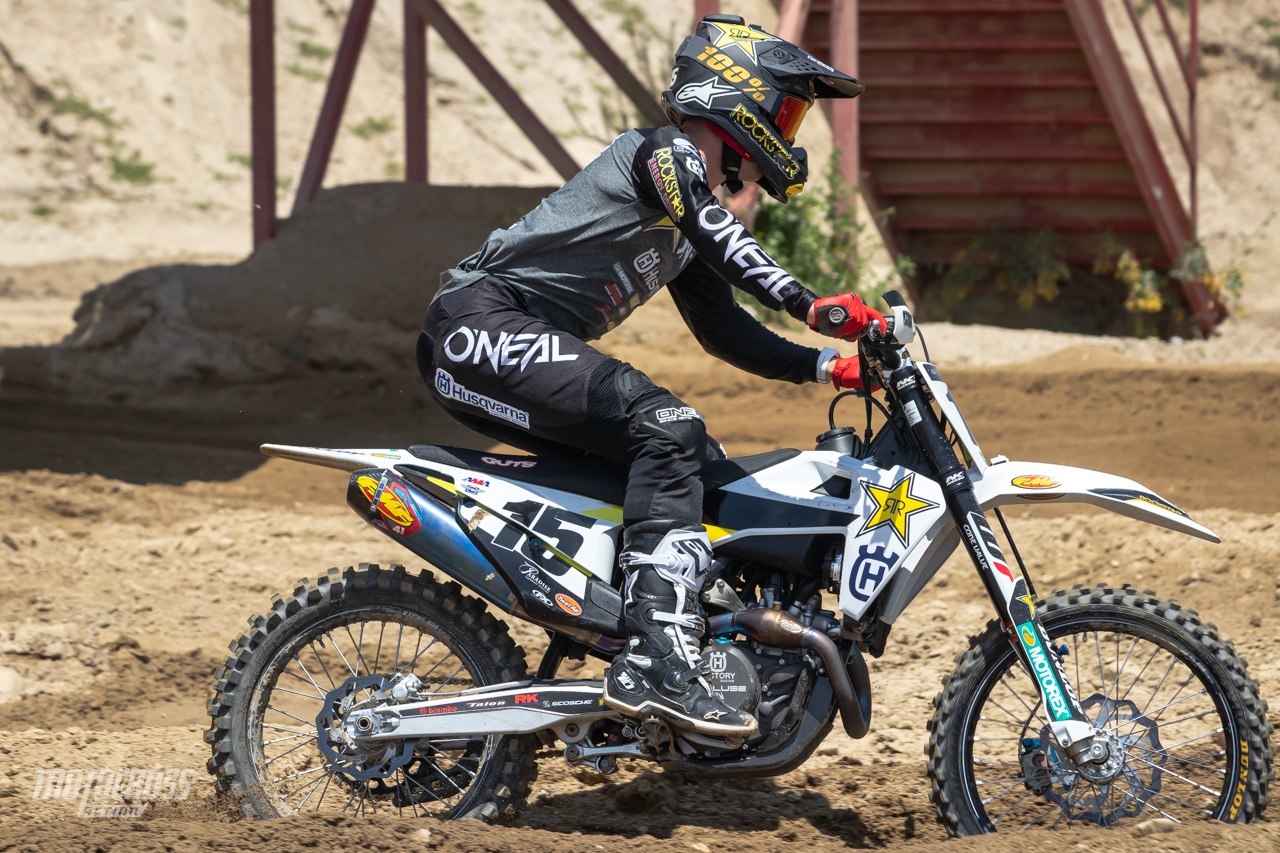 Dean Wilson’s factory Rockstar Husqvarna looks nice and level as he is on the brakes.
(6) Too high. If the race sag is too high, this means your rear shock doesn’t compress enough with your weight on it, and the rear end of your bike is riding too high. This affects your riding by adding more weight to the front and taking weight off the rear. This can help you in sharp corners but hurt you in rough straightaways. With too much weight on the front end, the bike is more susceptible to head-shake, which is very dangerous at high speeds.
(7) Too low. If the race sag is too low, the rear end of your motorcycle will have too much weight on it. This is great for straight-line drag races but bad for cornering in motocross. With less weight on the front tire, the bike will have a harder time turning. As you come into corners, the front end won’t have enough pressure on it to leverage the front tire and stick the turn. If your front wheel constantly pushes in corners, your sag could be too low in the rear.
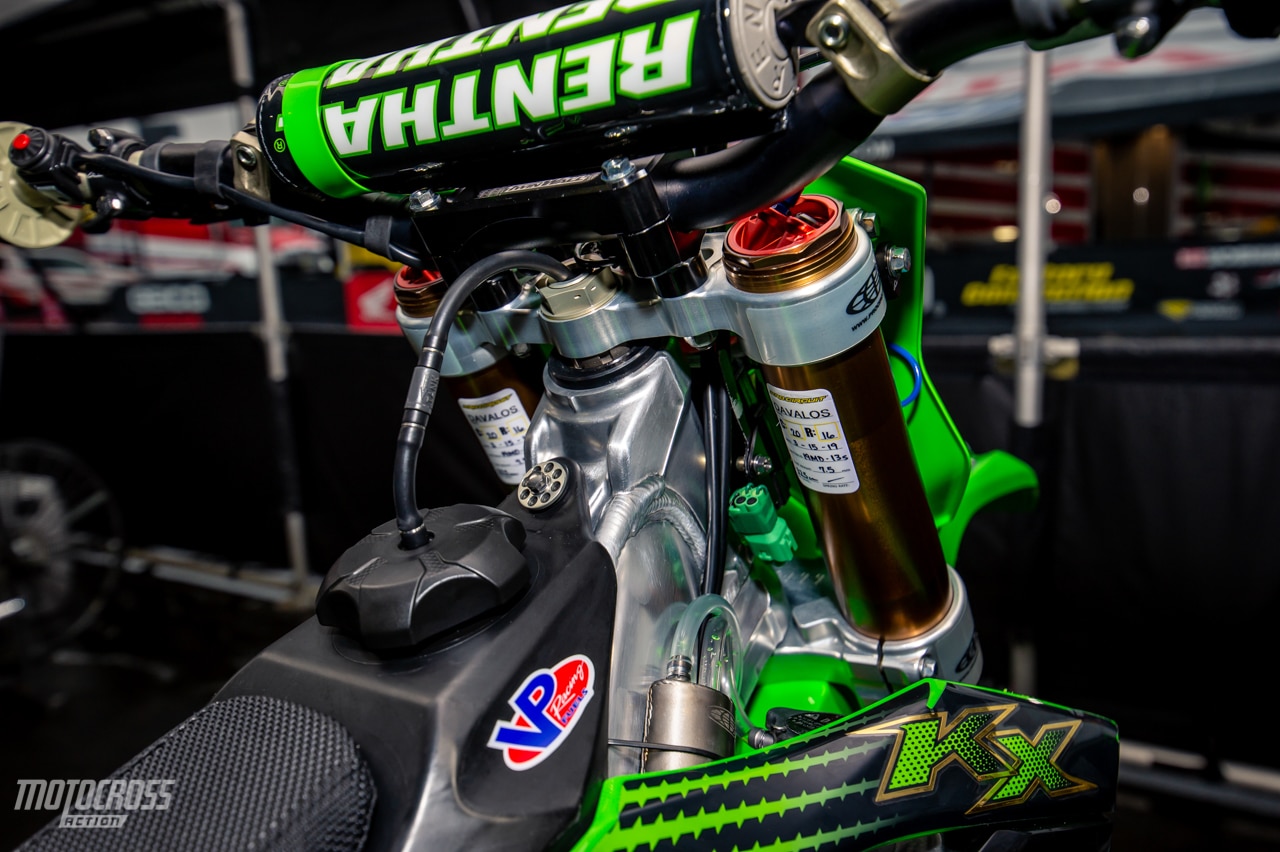 The distance between the top of the forks and the top of the triple clamps is your fork height. Here, Martin Davalos’ front forks are pushed way up in the clamps to shift more weight onto the front end of his bike so it will turn sharper in Supercross.
(8) Fork height. Fork height is a measurement of how many millimeters the front fork sticks above the top triple clamp. Fork height can be adjusted, along with race sag, to help you shift the balance of your bike. Raising the forks up in the clamps adds more weight to the front end, while lowering them will add more weight to the rear.
(9) Custom. Each bike and track are different. After testing to find the race sag that is best, most riders will keep it there. But, you might want to adjust it according to the conditions you’ll be riding in. For example, a tighter track with more corners might require less race sag (100mm instead of 105mm), which puts more weight on the front end to help you corner tighter. But, a rider would benefit from having more race sag (110mm instead of 100mm) for a lower rear end on a wide-open or sandy track.
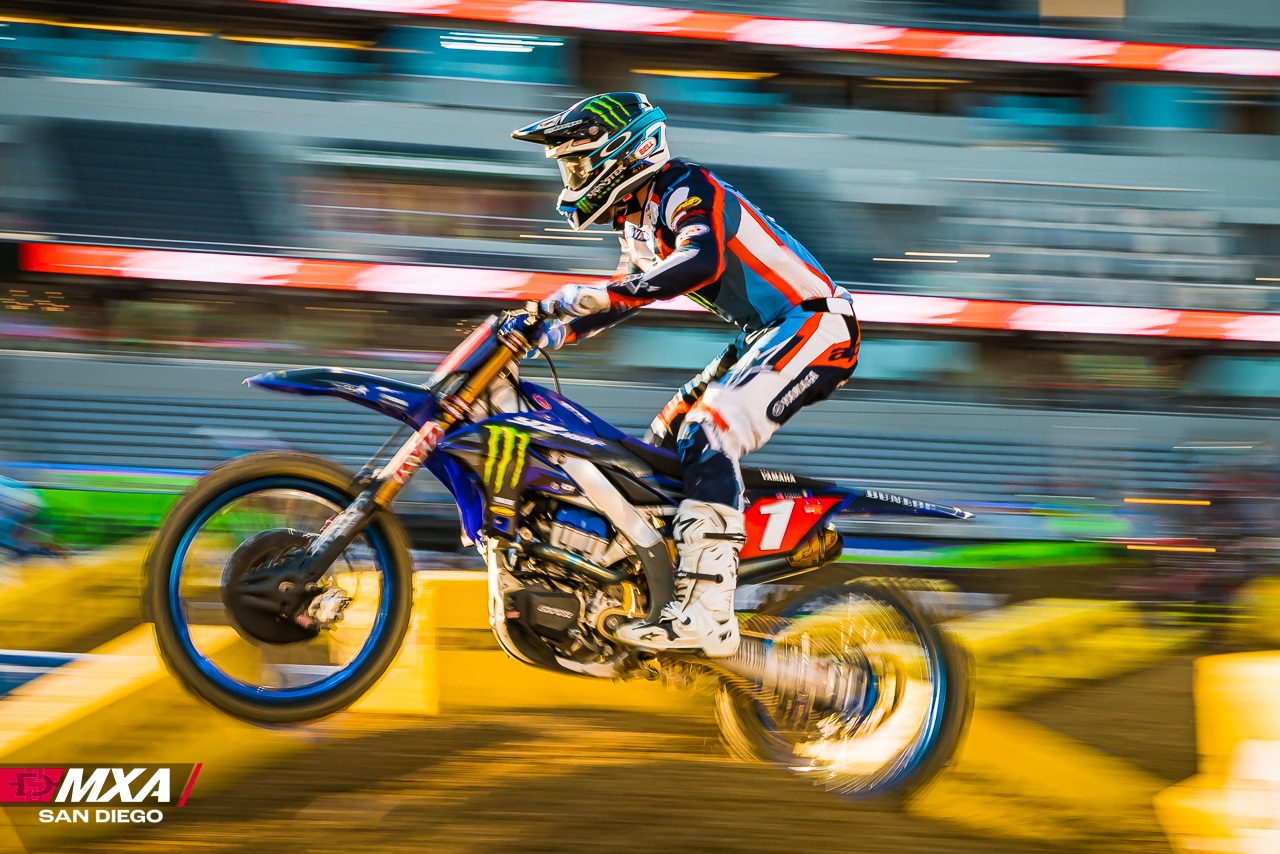 Finding the right amount of sag for you can make a world of a difference in your riding. It’s always more fun when you feel comfortable on your bike.
(10) No-brainer. Setting sag is one of the most inexpensive and easiest ways to make drastic improvements to the handling characteristics of your dirt bike. It is also important to note that a brand-new shock will sit high until it is broken in after two hours of riding.




Comments are closed.