MXA WRENCH TECH: HOW TO REMOVE & INSTALL A TIRE WITH DUNLOP’S JAY CLARK
It is much easier to install a front tire than a rear tire. We recommend that you use three tire irons with a rear tire. Go slowly during the installation process and be sure not to pinch the tube. Also, spoon-style tire irons are much easier and safer to work with. Note that we didn’t mention a hammer as a necessary item; please don’t use a hammer to loosen the tire from the rim. When done right, installing a tire should take less strength and more finesse.
NECESSARY ITEMS:
? Tire stand
? Tire gauge
? Three tire irons
? Baby powder
? Air compressor
? Valve core remover
? 12mm ratcheting wrench
? Tire paste (www.hunter.com)
? Bead Buddy
(www.motionpro.com)
TIME TO COMPLETE:
10-20 minutes

STEP 1
Position the tire with the brake rotor side facing down. Remove the valve core and the valve stem nut. Once the air is completely out of the tube, loosen the rim lock nut with a 12mm ratcheting wrench (13mm on a KTM), but do not completely remove the nut from the rim lock or take the rim lock out during tire removal and installation.
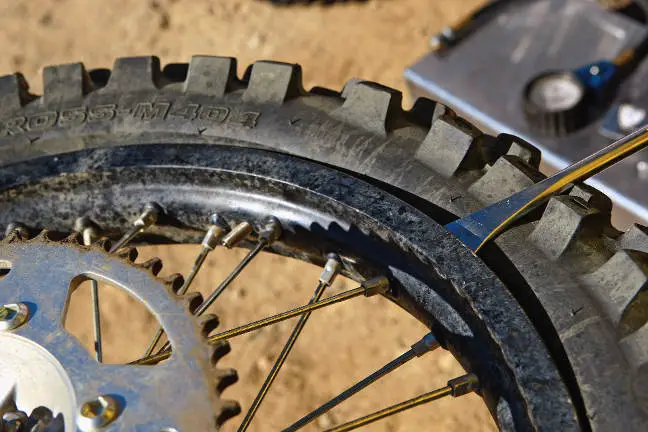
STEP 2
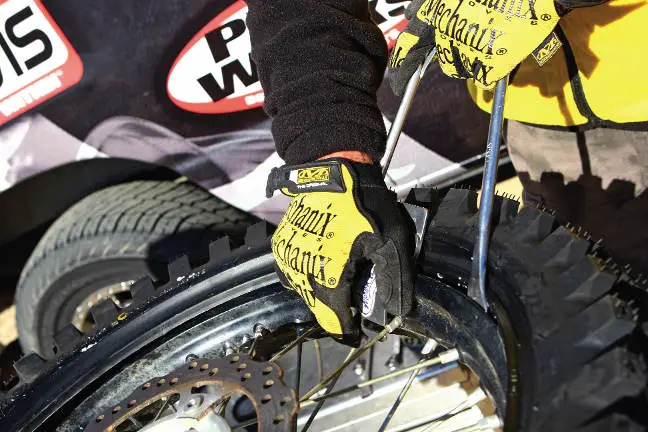
Carefully position a tire iron 4 inches from the rim lock (make sure that the spooned edge is facing towards the rim). Gently slide the tire iron between the rim and the tire, and push down to break the bead of the tire. Following the same procedure, move around the rim (away from the rim lock) until the bead of the tire is free from the rim. With the tire iron, apply pressure to the top of the rim lock bolt in order to loosen it from the rim.
STEP 3
Flip the tire over so that the brake rotor is facing up. Use the same procedure as above to break the bead on the tire. Make sure that the tire is completely free from the rim. Push down on the rim lock to ensure that it is not stuck to the rim. At this point, it should be considerably easier to push down on the rim lock.
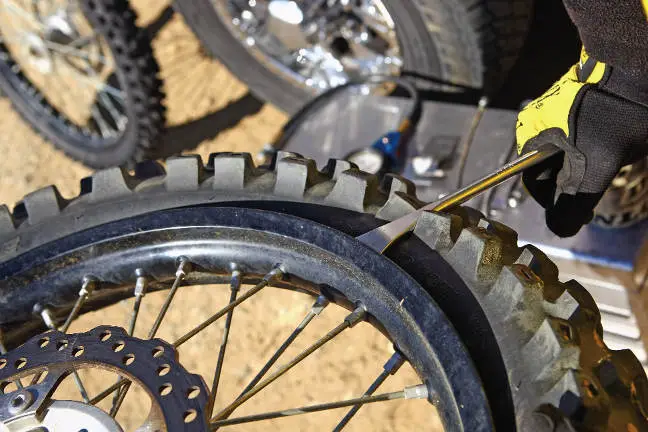
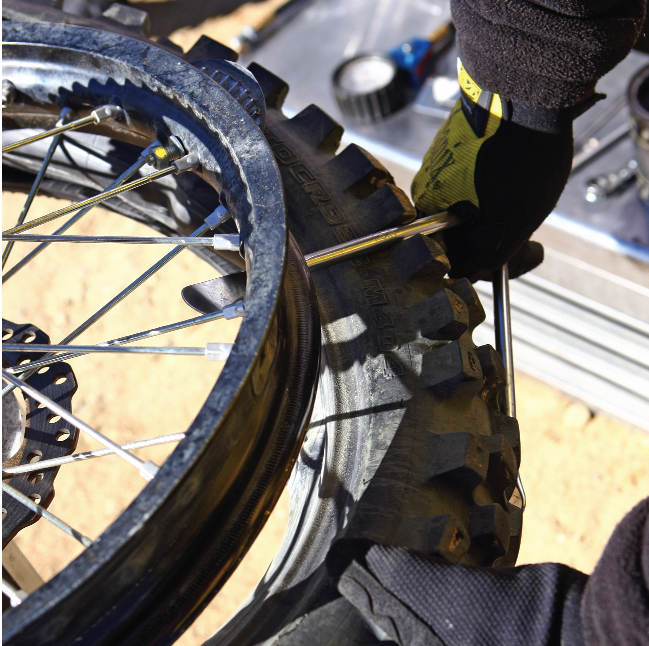
STEP 4
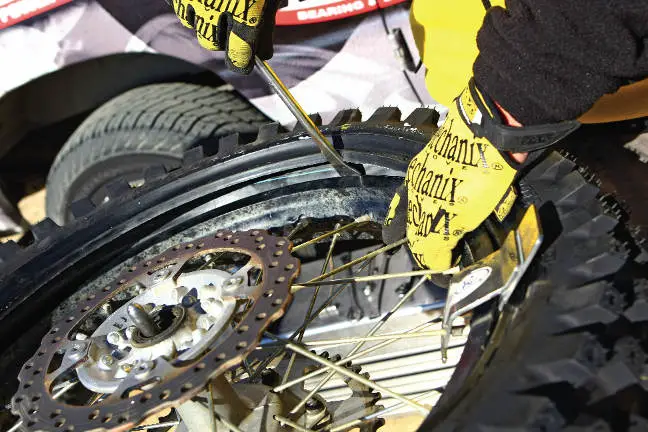
To take the tire off of the rim, it is best to keep the tube inside of the tire. Using a tire iron (spoon edge facing towards the tire), gently bite into the tire. Be sure not to pinch the tube. Start 3 inches away from the rim lock. Apply pressure to the tire iron in order to lift the edge of the tire above the rim. Once this is accomplished, anchor the tire spoon underneath the brake rotor. This will act as your starting point and keep the tire from sliding back onto the rim.
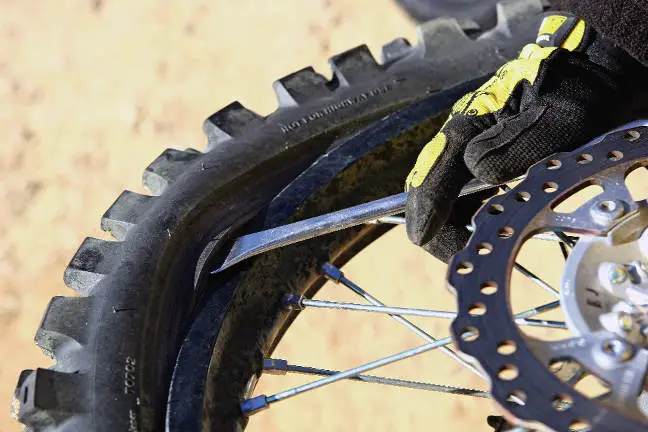
STEP 5
It takes three tire irons to efficiently remove a rear tire and two to remove a front tire. Keep in mind that it is quite a bit easier to remove a front tire than a rear tire, due to the front tire’s decreased wall thickness and narrower tread. With the first tire iron anchored, move a few inches to the right of the anchor point. Using a second tire iron, gently push the tire iron between the rim and tire. Apply pressure to the tire iron in order to lift the edge of the tire above the rim. If removing a rear tire, use your left hand to hold on to the tire iron in order to keep the tire above the rim. Using a third tire iron, follow the same procedure to lift the tire above the rim. Work your way around the tire until the lip of the tire is above the rim. Remove all of the tire irons from the tire.

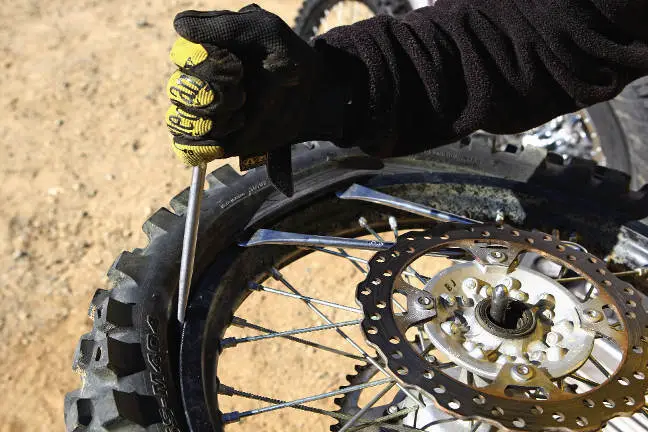
STEP 6
Flip the tire over so that the brake rotor side is facing down. Starting 3 inches away from the rim lock, use a tire iron to lift the edge of the tire above the rim. Anchor the tire iron by holding it with your left hand. Follow the same procedures as mentioned in the previous step, being sure to carefully work your way around the tire. At this point, the lip of the tire should be above the rim. Remove all of the tire irons and check to make sure that both sides of the tire are over the rim.
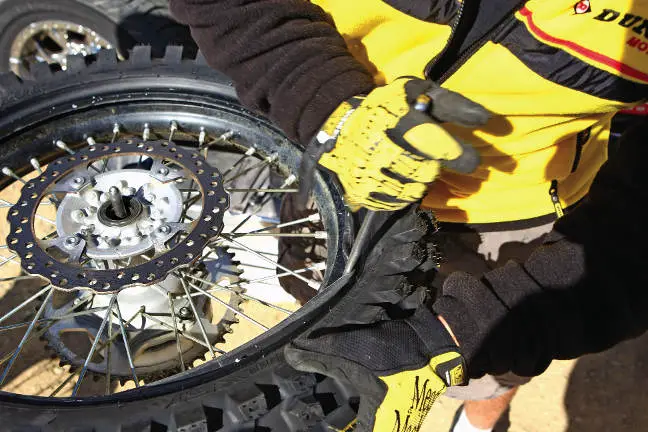
STEP 7
With your left hand, pull the valve stem out of the rim. Pull the tire towards you in order to provide clearance for a tire iron. With your right hand, slide a tire iron between the tire and the underside of the rim. Using moderate force, push down on the tire with the tire iron to help separate the tire from the rim. Make sure that your left hand is still holding on to the valve stem. Push down and away from your body and walk the tire off the rim.

STEP 8
Place the rim so that the brake rotor side is facing up. Inspect the inside of the rim for any dents, metal burrs or loose spokes. Also, check the rim strip for tears and make sure that the area around the rim lock is free of debris. Remove the tube from the old tire and install the valve core in the valve stem.
WRENCHTECH
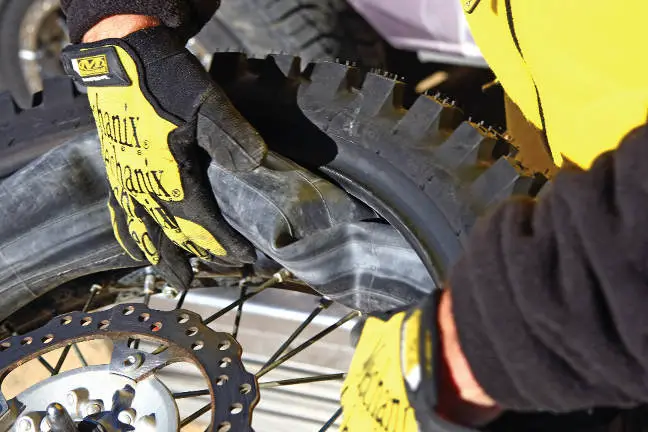
STEP 9
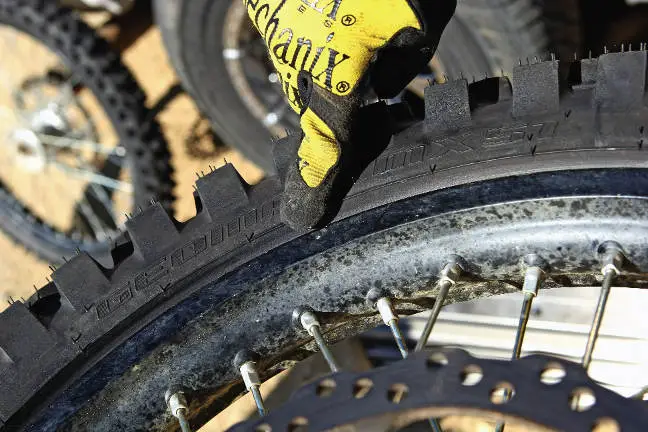
It’s best to put a few ounces of baby powder inside the new tire and rotate the tire to evenly distribute the powder. This helps prevent the tube from chafing against the inside of the tire. Place the new tire on top of the rim. Inspect the tire for any molded-in arrows. An arrow mark means that the tire is directional. Make sure that the tire is pointing in the direction of the tire’s forward movement. Locate the valve-stem hole on the rim and start placing the tube inside of the tire. Make sure that the tube is tucked inside the entire circumference of the tire and behind the rim lock.
STEP 10
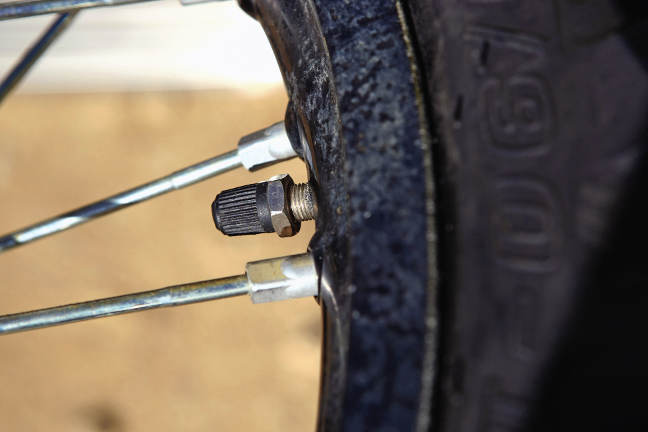
With an air compressor, blow up the tube until the tube takes shape. You want to inflate the tube with enough pressure to make it taut instead of squishy. Apply a liberal amount of tire paste (or soapy water) to the edge of the tire. Flip the tire upside down and lube that side of the tire. This allows the tire to slide on more easily. With the brake rotor side facing up, insert the valve stem into the hole and spin the nut onto the valve stem. This holds the tube in place while installing the tire.
STEP 11
Starting next to the valve stem, use a tire iron to push the lip of the tire down below the rim. Keep your left hand firmly on the tire so that the edge of the tire
doesn’t slide back up above the rim. Keep the tire iron anchored. Using a second tire iron, move a few inches to the right of the preliminary tire iron and follow the same procedure. Remove the first tire iron and place it a few inches to the right of the second tire iron. Follow this process and walk the tire on the rim. Make sure that the edge of the tire drops below the rim lock.
STEP 12
With the brake rotor side still facing up, locate the rim lock. Beginning a few inches to the right of the rim lock, slide the spooned side down between the edge of the tire and the rim with your left hand. Pull the tire iron down and, with your right hand, use a secondary tire iron to drop the edge of the tire below the rim a few inches away from the preliminary tire iron. Keep both tire irons anchored, and slide a Bead Buddy between the tire and rim. Anchor it to the nearest spoke. Once the Bead Buddy is in place, you can remove the two tire irons.
STEP 13
With your left hand, push down on the tire. Using your right hand, position a tire iron between the tire and rim, with the spooned side of the tire iron facing the rim. Pull back to drop the tire down below the lip of the rim. Move your left hand to the tire iron’s position. While removing the tire iron from the tire, apply pressure with your left hand to keep the tire from lifting back up above the rim. Follow this procedure until you reach the rim lock.

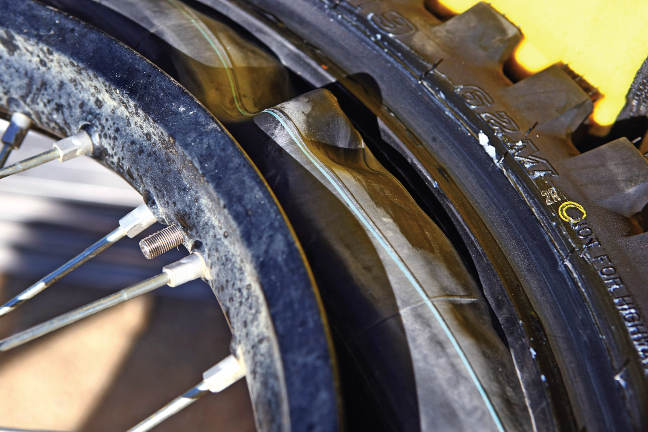
STEP 14
Once the tire has been installed on the rim?save for the rim lock area?it is vital to make sure that the rim lock is positioned properly. Push the rim lock down to keep it off the bead of the tire. Place a tire iron between the rim and tire. Drop the lip of the tire below the edge of the rim while pushing down on the rim lock. Make sure that the tire is sandwiched between the rim and rim lock. Once this has been achieved, check that the top facing side of the tire is completely below the lip of the rim.
STEP 15
Flip the tire over so that the brake rotor side is facing down. Use an air compressor to blow up the tube to roughly 30 psi. This step is important because it ensures that the tire is seated on the rim. Run your index finger along the edge of the tire and rim to make sure that the tire is seated properly. Flip the tire over to check the other side as well.
STEP 16
Using a 12mm ratchet wrench (13mm for KTM wheels), tighten the rim lock to the recommended torque setting found in your owner’s manual. With a tire pressure gauge, check the pressure inside the tube. Depending on track conditions, run 12.5 to 15 psi. Install the valve cap on the stem and tighten it down. Spin the valve stem nut tight against the valve cap. Otherwise, the stem could twist during riding, and the nut will cause the valve stem to tear the tube.


Comments are closed.