TWO-STROKE TUESDAY | 40 INSIDE SECRETS OF THE 1999 KX250
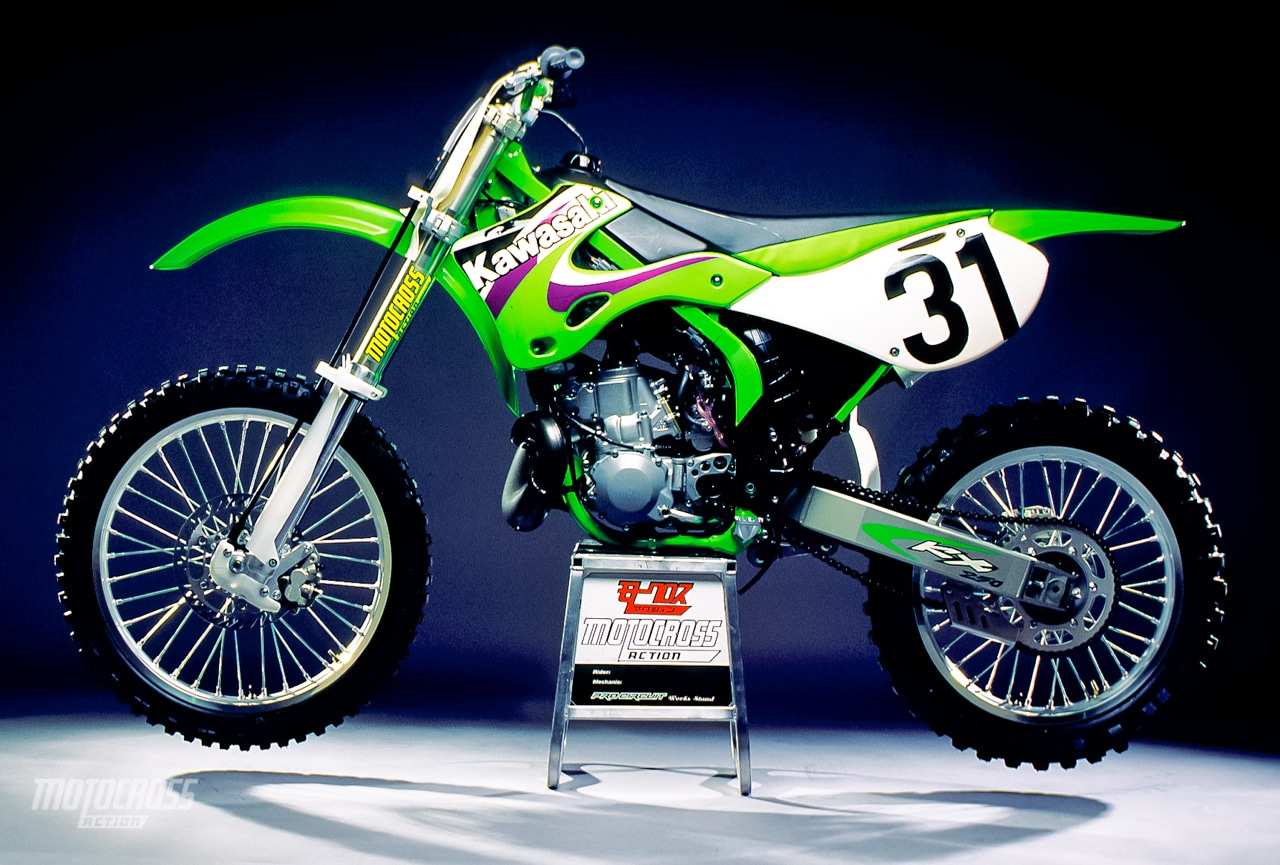
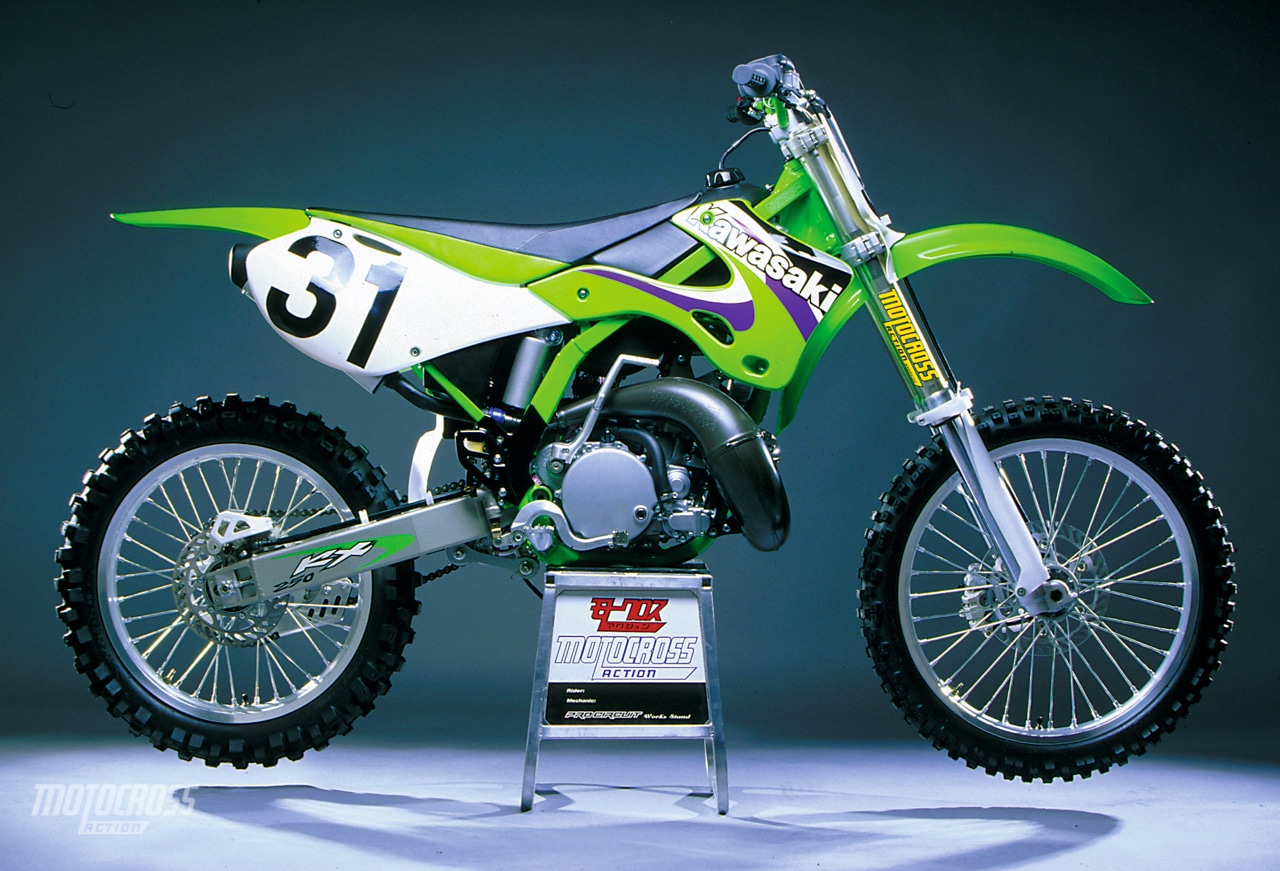 This article of the 1999 Kawasaki KX250 was featured in the 1999 August issue of MXA.
HERE ARE 40 INSIDE SECRETS OF THE 1999 KAWASAKI KX250
1. When changing your tires, throw away the rubber band that covers the spokes. Use a roll of duct tape to put a one inch strip of tape around the rim three layers thick. The tape does a much better job buffering the tube from the spoke heads. It also keeps pressure on the nipples and helps prevent loosening.
2. When you replace a spoke, first apply Bel-Ray Assembly Lube to the threads before threading the nipple. It keeps the fragile aluminum nipple from corroding and becoming impossible to turn. The spokes next to the rim locks come loose first.
3. Do not over tighten the aluminum spoke nipples. Only snug them so they will have a little give to better handle extreme G-forces.
4. When installing a new tire, apply baby powder to the tube. This will allow the tube to flex freely in the tire without chafing.
5. Do not spray any kind of lubricant or cleaner on your disc brakes when cleaning the KX250 . Even after changing a tire, clean the disc with contact cleaner to remove any over spray that might have gotten on the disc from lubricating the bead or manhandling the wheel.
6. You can not bleed KX brakes too often. Make it part of your weekly maintenance regimen. There have been reports of rear brake O-ring failures, so keep an eye out for leaks at the rear caliper.
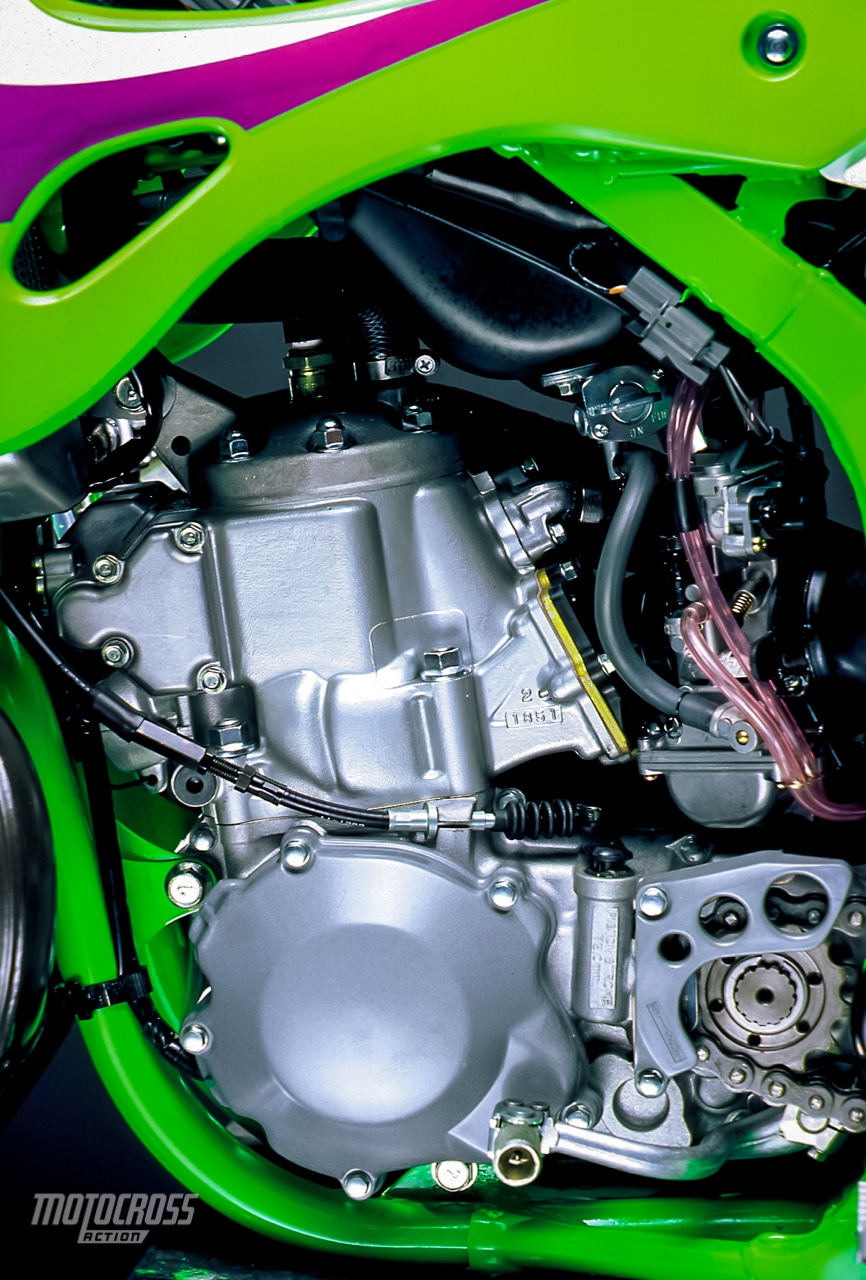
7. Kawasaki brakes are moderately good at best. Do what the factory does and run oversized rotors front and rear (they use Braking). Braking‘s rotors measure 260mm and 230mm relative to the stock 250mm and 220mm sizes. It will still be necessary to bleed the brakes after every ride (or once a month for casual riders). It’s best to completely flush out the standard DOT-5 fluid with Motul.
8. One of the better ways to service the hydraulics is to push a clear, 3/16-inch hose on the bleed nipple so that it forms a sharp loop before hanging the end of the hose in a jar. Pump the brake a few times, and while holding it in, crack the bleed fitting. Pull the lever to the bar. Close the bleed and release the lever. Repeat this until the fluid makes its way around the loop and starts to drip out the end of the hose. Since the filled loop will keep air from backtracking into the system, it is possible to leave the bleed open (once the loop is full) and to pump the lever while feeding fresh fluid into the master cylinder. Continue this until fresh fluid with no air bubbles is visible through the first half of the loop in the hose. Servicing the rear brake is just like servicing the front except you are pushing down on a pedal instead of pulling in a lever.
9. Do you want arm pump-free clutch and throttle action? Kawasaki technicians use a Motion Pro Cable Luber. First flush the cable with contact cleaner. Follow that with a dousing of Tri-Flow. Remove the carburetor cap and hang the cap and slide off to the side when lubing the throttle cable.
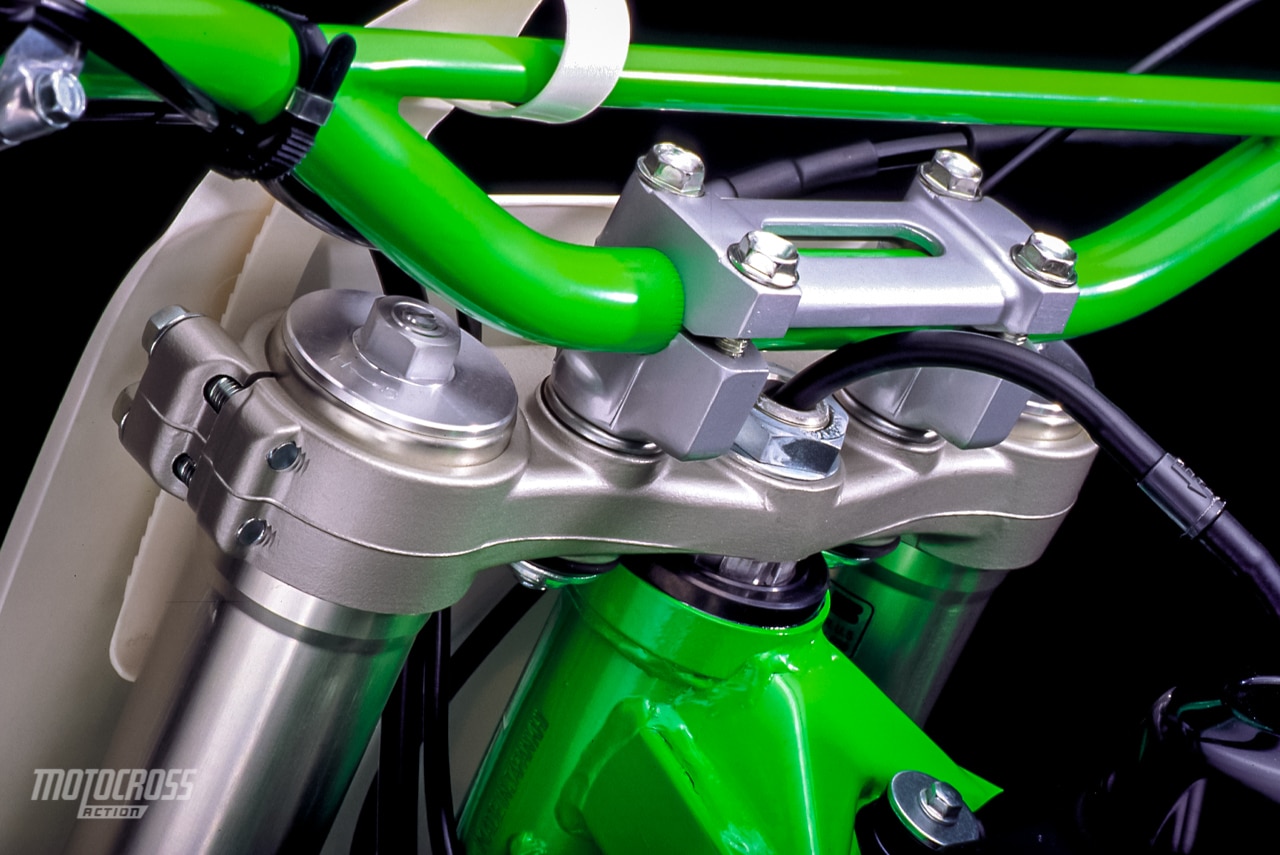
10. Most riders, especially those over 5′ 9″, turn their bottom bar clamps around to move the bars farther forward. Do not turn the top clamp around, though.
11. The stock handlebar bend is awkward for some riders. Switch to anything other than the stock KX-bend. When installing aluminum handlebars, first chamfer the clamps so the sharp edges won’t cut into the aluminum.
12. There are directional clamps on the front master cylinder and the handlebars. The handlebar top clamp has to have the side with the diagonal cut put towards the gas tank. Tighten the front two bolts first so there is no gap between the top and bottom clamps. Then tighten the rear bolts to the specified torque. The front master cylinder clamp has an arrow that should point up. Tighten the top clamp bolt until there is no gap between the two pieces. Then tighten the bottom clamp to the specified torque.
13. Use hi-temp silicone to seal the exhaust pipe to the cylinder. This will help cut down on pipe vibration.
14. Disassemble the airboot to airbox clamp and silicone the sealing edges before reassembly.
15. When washing your KX250, cover the air filter with a plastic bag. If you get water on the filter and then start the bike, it can suck water through the filter and into the top end.
16. Thoroughly oil the filter before squeezing out the excess. Only put a light layer of grease on the filter sealing lip. Before racing, start the bike up and let it run for a couple of minutes. This eliminates any richness from the fresh oil.
17. Apply a bead of silicone to the clip of the counter sprocket. This keeps dirt from getting down the spline and compromising the clip seat
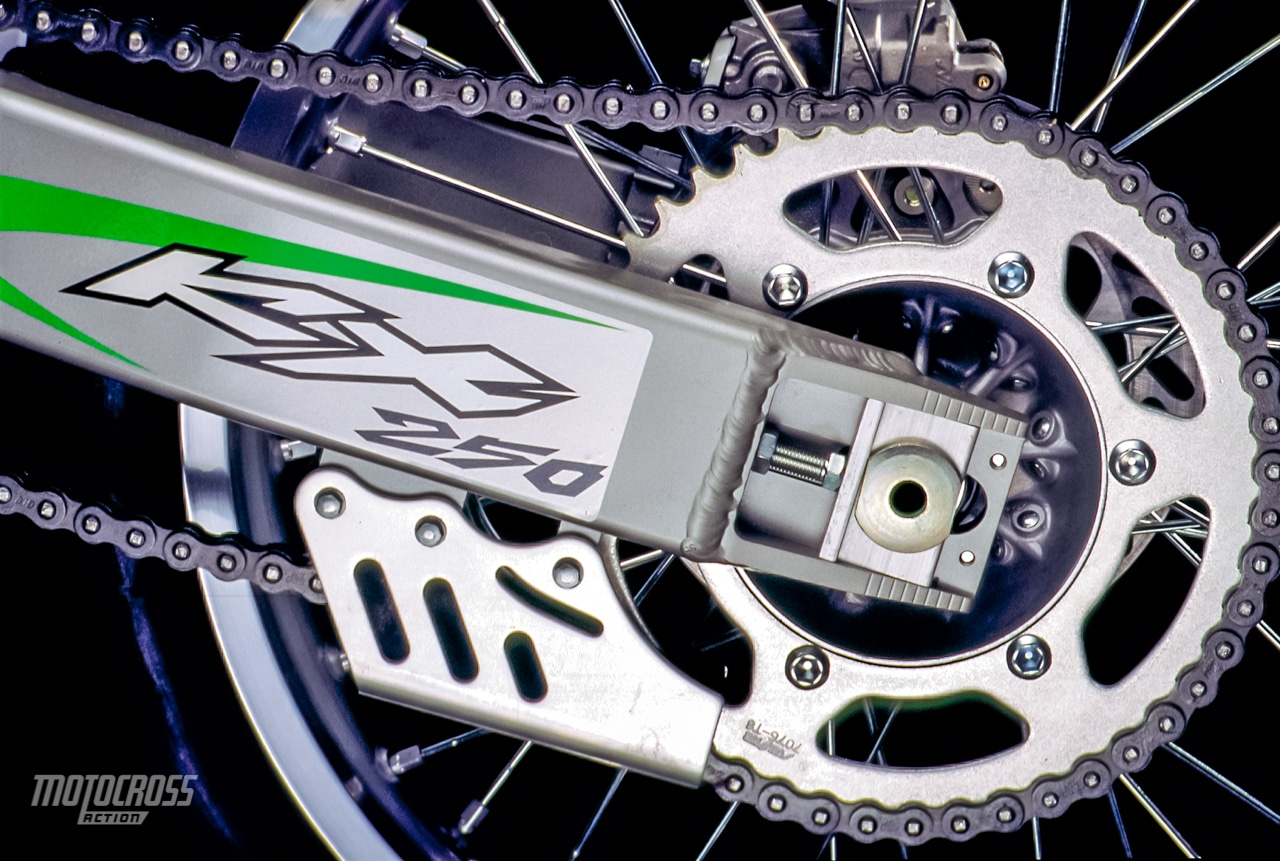
18. When tightening the rear axle, put a rag or old wrench between the chain and the rear sprocket. Roll the wheel backwards until the chain pushes the wheel forward against the adjuster bolts. This eliminates the chance of tightening the wheel when the adjuster bolts aren’t seated.
19. The KX250’s upper chain roller has a tendency to fall off. Use thread lock.
20. Team Green uses a 50/50 mix of Bel-Ray Waterproof Grease and Bel-Ray Assembly Lube to lubricate all pivots. The blend makes a great bearing lubricant that won’t wash out.
21. At high altitude switch to Kawasaki’s optional 1.6 radiator cap. It holds the increased pressure this environment creates on the cooling system.
22. Team FMF recommends checking the head stud torque every time the top end is removed.
23. Rick Peterson makes a 285cc kit that needs to be considered for Vet or Open class action. In the standard tune, expect a six horsepower boost with a more drawn-out spread.
24. Team Pro Circuit tightens the front wheel by spinning the axle and holding the nut. They claim that tightening the nut will give a false torque reading and possibly bind the forks.
25. Grease the shroud tank bolts so they don’t seize in the brass nuts embossed into the tank plastic.
26. For jetting the MXA test crew runs a 158 main, N3WK needle (in the third clip), 45 pilot, 58 power jet and air screw 1-3/4 turns out.
27. Team FMF recommends breaking the engine in with the stock brass before jetting leaner. FMF’s sea-level jetting recommendation is a 155 main, N3WK needle in the third clip, 45 pilot, 60 power jet and the air screw 1-1/2 to 2 turns out. This jetting is run with a 50/50 mix of pump and VP Racing fuel.
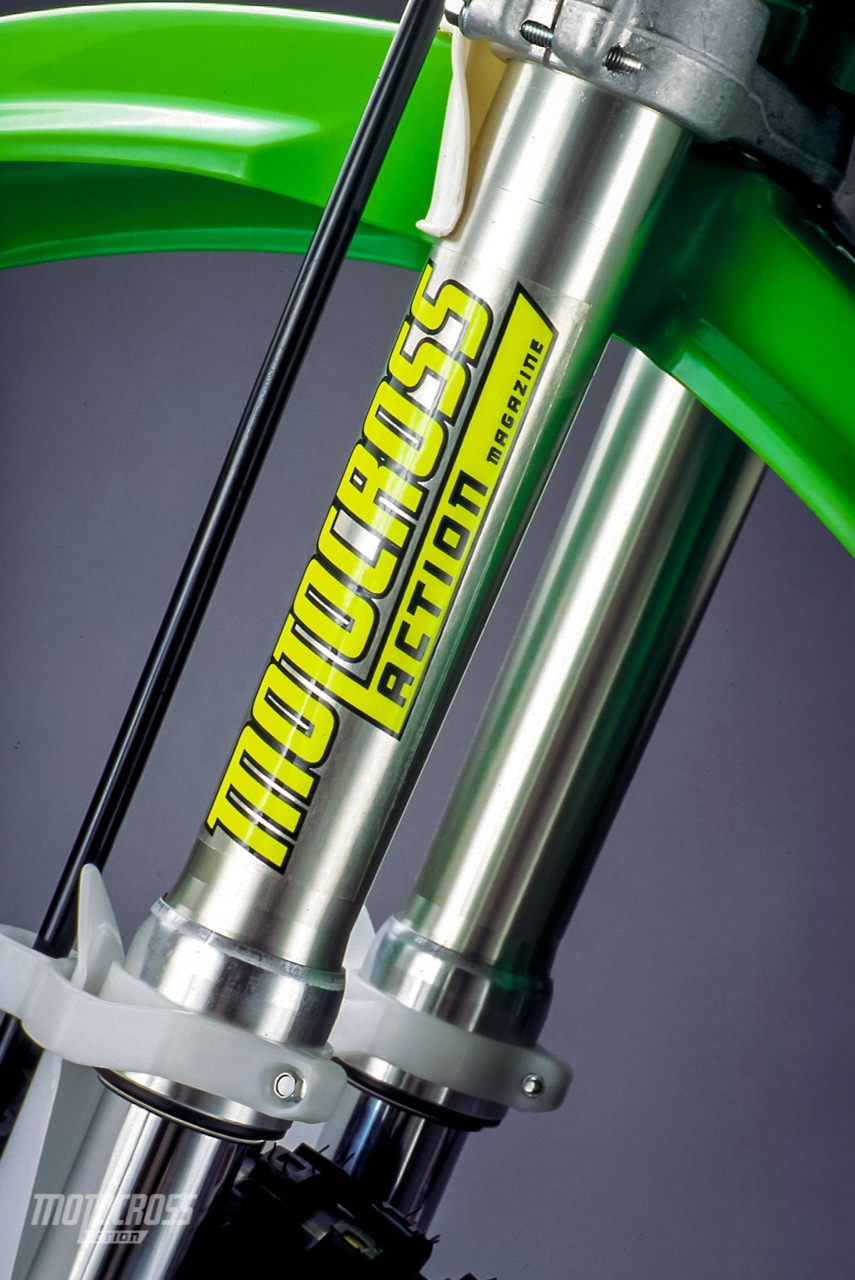
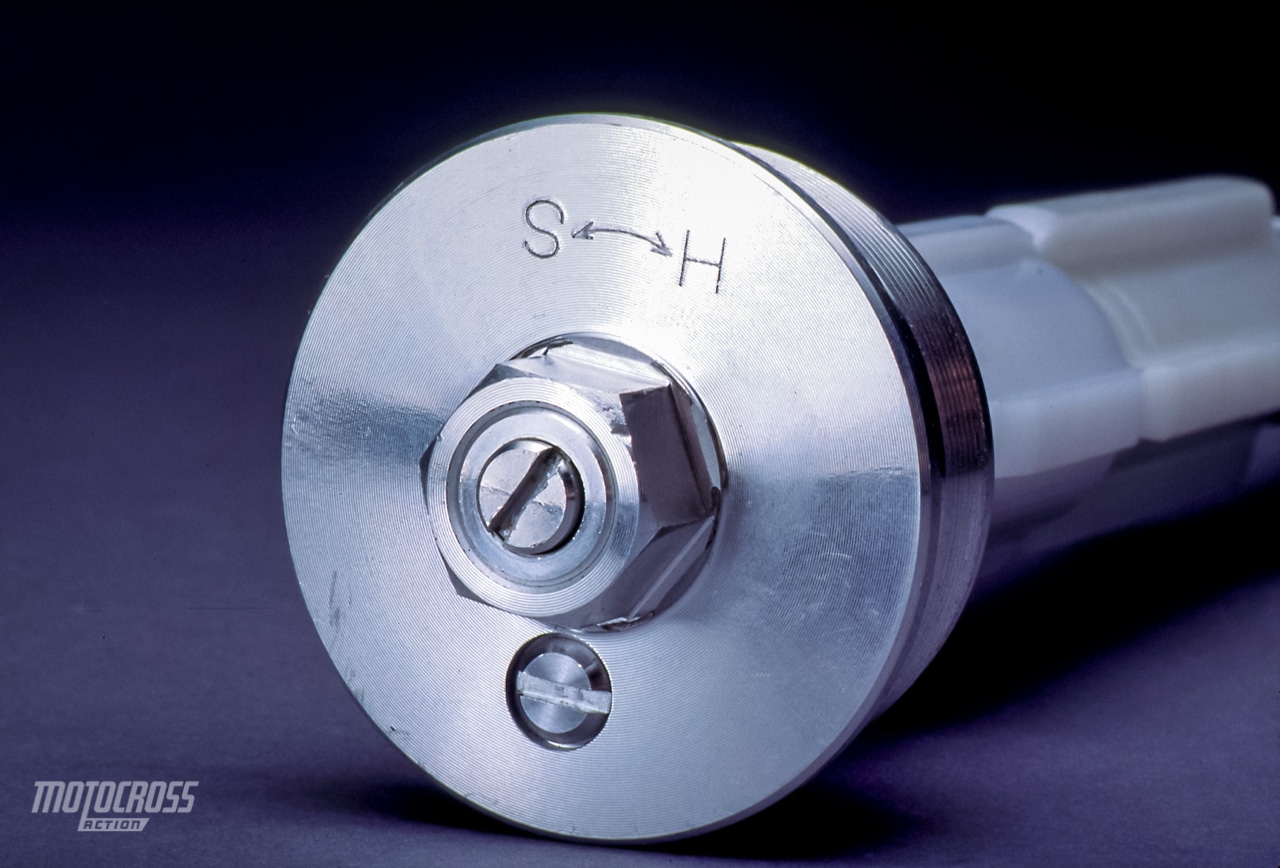
28. Fork performance is mediocre. Here are four quick fixes: (1) First, raise the legs up no more than 10mm in the triple clamps for tighter steering. (2) Switch from the stock progressive rate spring to a straight-rate 0.44kg/mm spring. (3) Go ride and tune out bottoming by raising the oil height in 5mm increments. The stock oil height is 105mm. (4) Turn compression to 10 out and rebound to 11 out as starting points.
29. Install the forks in the triple clamps so that the left fork has the bleed screw at 10 o’clock and the right screw is at the 2:00 o’clock position (When sitting on the bike). This allows the easy access to the screws.
30. After the fork tubes are repositioned, it will be necessary to realign the fork protector guides. Always make sure there is a gap on the inside or the guide will cut the protector.
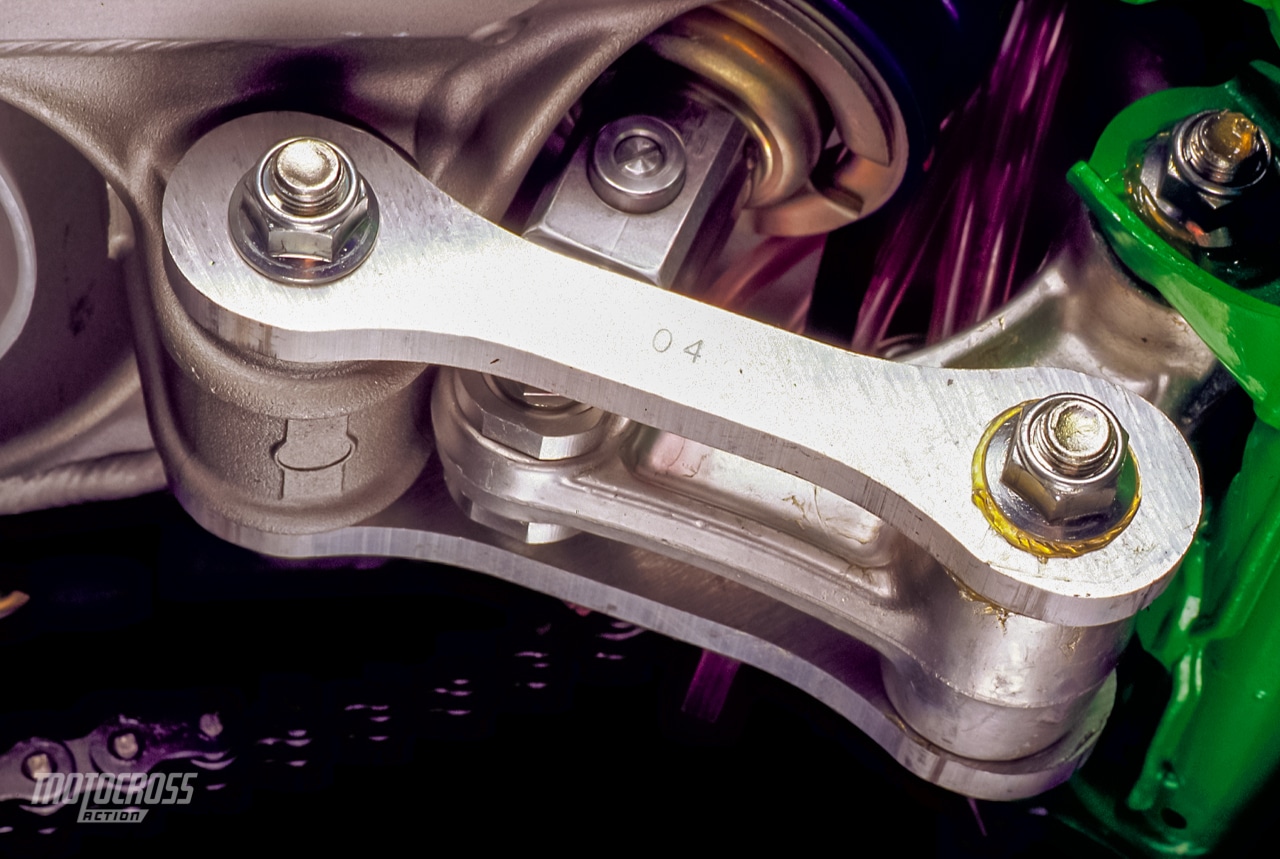
31. Frequently torque the rear suspension rocker arm where it bolts to the frame. When this bolt is loose there will be some play at the beginning of the suspension movement. Move the rear wheel up and down when the bike is on a stand to see if you can feel the looseness.
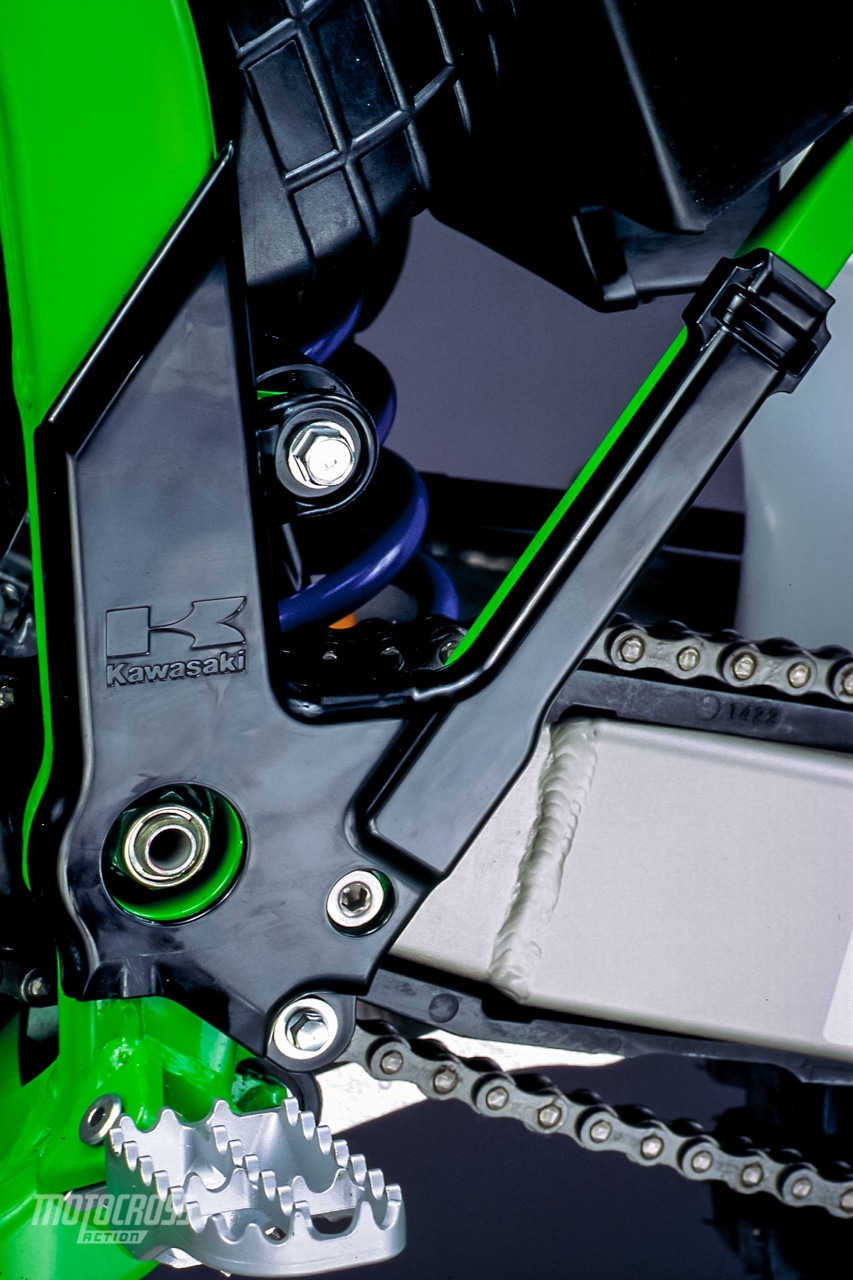
32. Inspect and re-grease the lower shock mount every two to three rides. This pivot doesn’t seal well and its low-to-the-ground position makes it very susceptible to dirt contamination.
33. Set race sag between 98mm and 100mm. Adjust low-speed compression eight clicks out, hi-speed compression full soft and rebound at 12 out. Riders over 165 pounds should use a straight-rate 5.3kg/mm spring (or Kawasaki’s optional heavy progressive-rate spring). The heavy optional Kawasaki spring measures 5.0/5.3/5.5, while the stock spring rates at 4.8/5.1/53.
34. Kawasaki’s rear seat bracket rivets will either break or pull through the plastic base. Drill out the rivets and replace them with 3/16″ stainless steel rivets. Use a washer on the back side so the rivets can’t pull through the seat base.
35. The keyhole slot that locks the front of the seat to the gas tank will oval out and pull off the tank bolt. Dirt Squirt Products sells a carbon insert that fits under the foam and over the original key hole. This carbon fiber insert is used by Team Kawasaki and Team SplitFire.
36. Keep an eye on the piston skirt for scuff marks (caused by the two intake port bridges). Only replace the piston if you can feel the scuffs when dragging a finger nail across the skirt.
37. Most riders swap the stock 48-tooth sprocket for a lower 49- or 50-tooth rear sprocket.
38. Invest in a spare set of clutch plates. The clutch is weak and will quickly fail under heavy abuse. The quick fix is to run stiffer KX500 springs. Some riders have had success replacing the aluminum with steel plates. The steels will handle more abuse and won’t dirty the oil as quickly. The ultimate fix is a Hinson clutch basket.

39. If you have your cases split, take the opportunity to remove the shift drum and use a Scotch-Brite wheel to polish the slots that the shift forks ride in. This makes it easier for the fork to move and improves shifting.
40. Every time the clutch is serviced, remove the shift shaft and inspect the pawl change lever. Look for indentations on both sides of the lever where it contacts the shift star. If let go, the indentations can catch a star pin and hang up the shifting. Smooth out the indentations with a fine file.


Comments are closed.