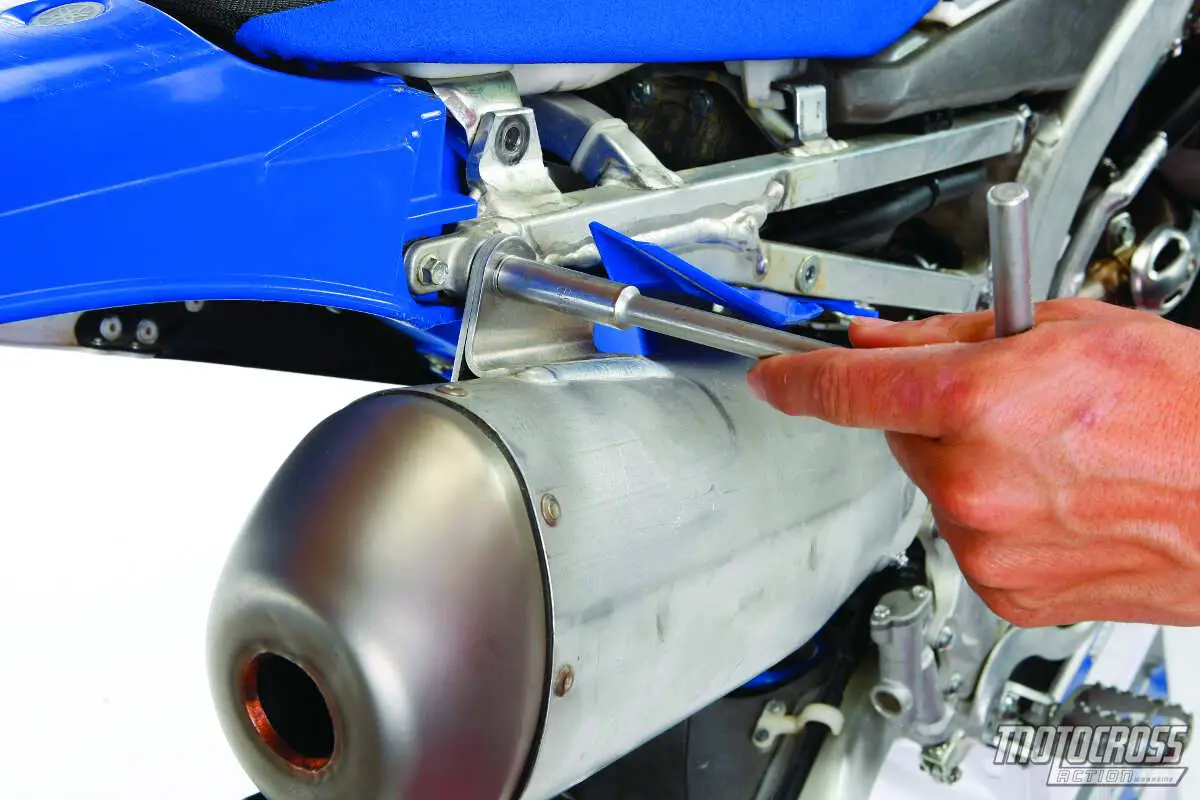
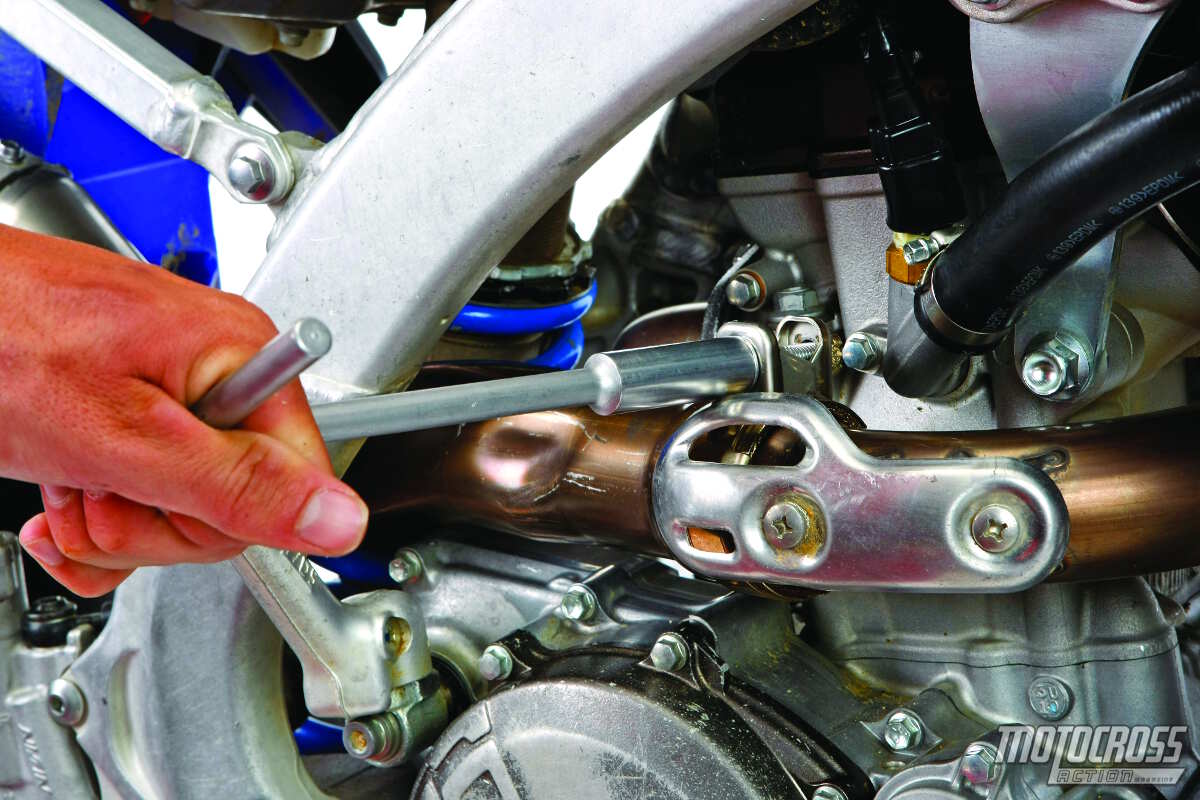
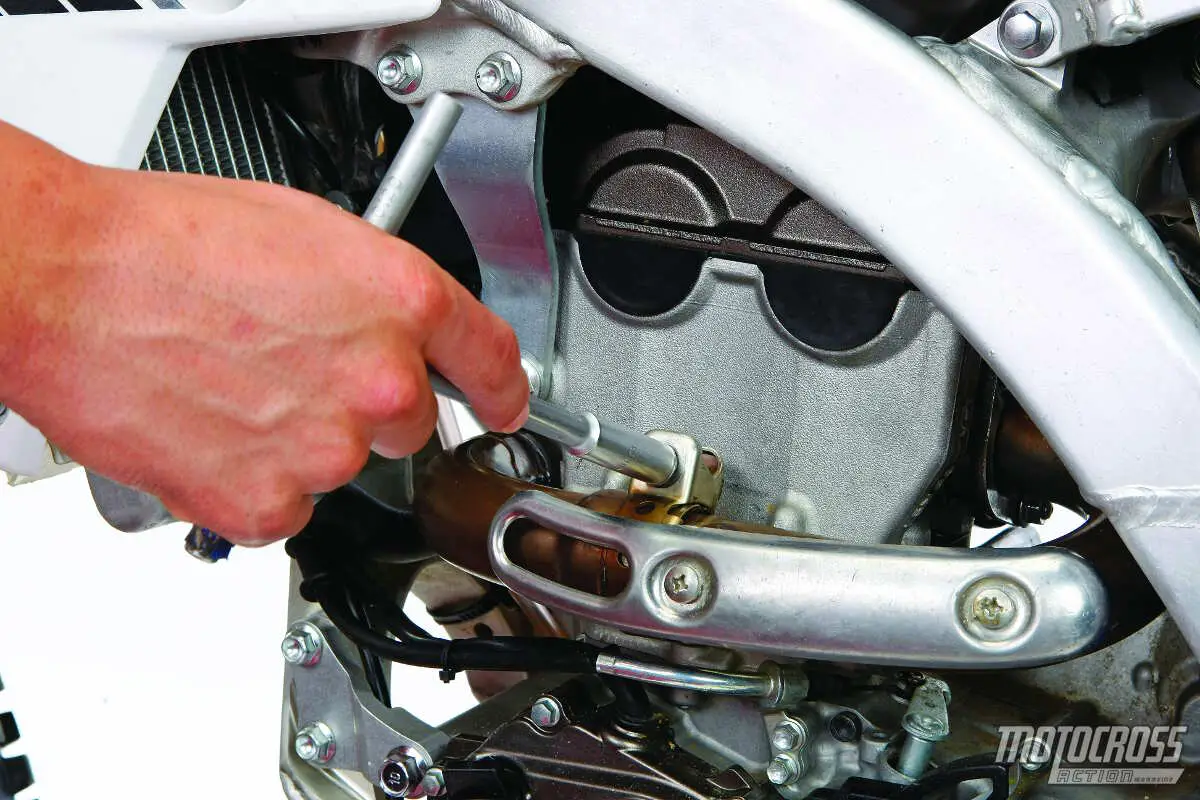
HOW TO REMOVE THE STOCK YZ250F/YZ450F SNAKE PIPE

2015_YZ250F_DPBSE_US_1
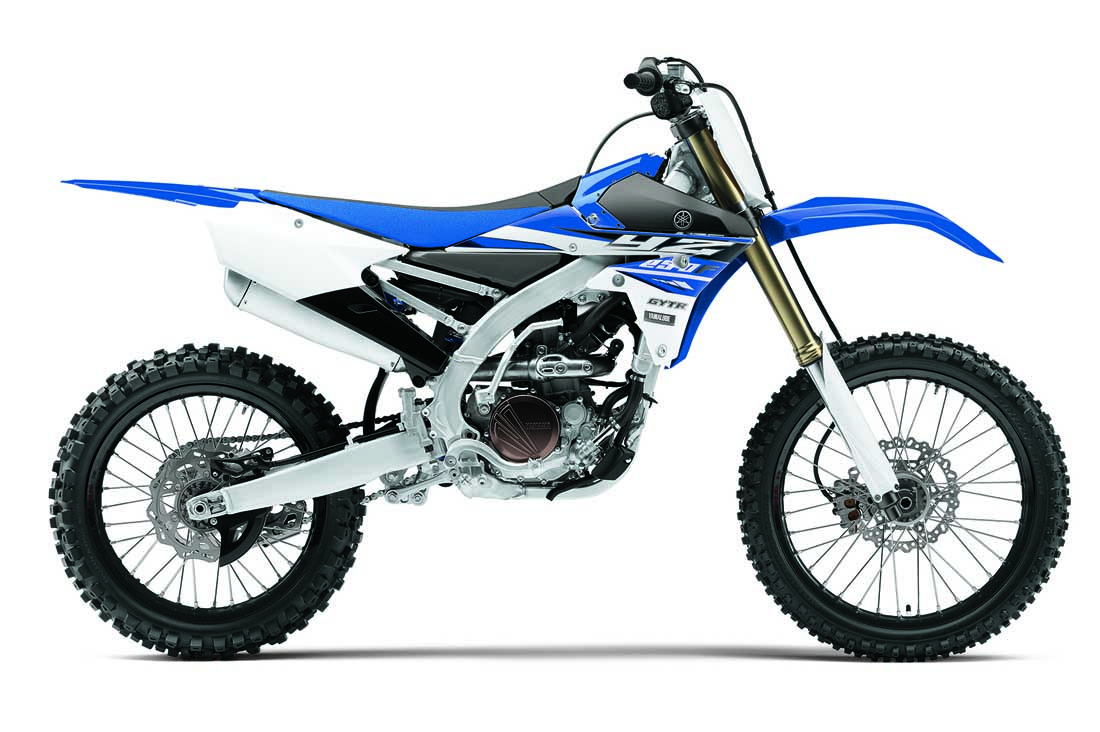
Removing an exhaust pipe from your pipe is often a thrill ride. Some brands are easy, some brands are hard…and some brands defy description. One of the most complex exhaust system to remove is the wrap-around exhaust on the current generation of Yamahas. There’s a big variance in how long it will take to remove the stock 2014-15 Yamaha YZ250F or YZ450F exhaust pipe. The reason is that even the most experienced mechanic will struggle to remove all of the nuts and bolts with lightning speed. Yamaha didn’t do YZ-F owners any favors with the design of its innovative snake pipe. Practice patience. If you’re replacing the stock exhaust with an aftermarket system, repeat all steps in reverse order.
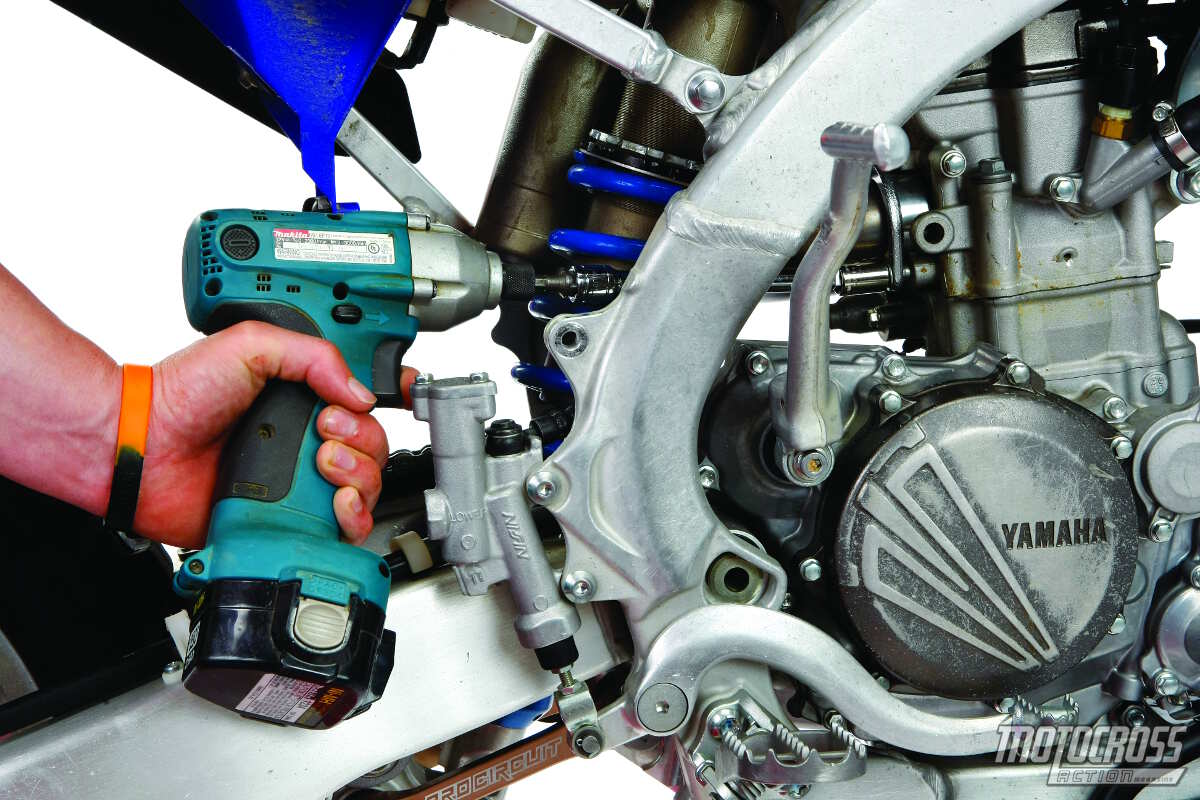
NECESSARY ITEMS:
• Petroleum lubricant
• 12mm open-end wrench
• T-handle wrenches (10mm, 12mm)
TIME TO COMPLETE:
10–25 minutes

STEP 1: Warning! Do not remove the stock exhaust pipe when it is hot. Make sure that the bike is clean and placed firmly on a bike stand. We always use a set of Ove Gloves to keep our hands safe. Remove the three right-side panel bolts using a 10mm T-handle wrench. Set the side panel aside. Using a 10mm T-handle wrench, remove the muffler top bracket bolt. Then remove the mid-pipe bracket bolt (found in front of where the bottom side panel bolt was located).
STEP 1: Warning! Do not remove the stock exhaust pipe when it is hot. Make sure that the bike is clean and placed firmly on a bike stand. We always use a set of “Ove Gloves” to keep our hands safe. Remove the three right-side panel bolts using a 10mm T-handle wrench. Set the side panel aside. Using a 10mm T-handle, remove the muffler top bracket bolt. Then remove the mid-pipe bracket bolt (found in front of where the bottom side panel bolt was located).
STEP 2: Use a 10mm T-handle wrench to loosen the clamp bolt located between the mid-pipe and header (the clamp is partially hidden by the exhaust pipe guard). Once the clamp bolt is loose, carefully pull the muffler section away from the header. The muffler/mid-pipe should separate from the header; if it doesn’t, use a petroleum spray (such as WD-40) to loosen the bond between the metals.
STEP 2: Use a 10mm T-handle to loosen the clamp bolt located between the mid-pipe and header (the clamp is partially hidden by the exhaust pipe guard). Once the clamp bolt is loose, carefully pull the muffler section away from the header. The muffler/mid-pipe should separate from the header; if it doesn’t, use a petroleum spray (such as WD-40) to loosen the bond between the metals.Often some wiggling and tugging is required to get the muffler off the mid-pipe.
STEP 3: Turn your attention to the left side of the bike. Locate the head pipe bracket bolt, which is found directly in front of the throttle body port. Use a 12mm T-handle wrench to remove the bracket bolt. Loosen the clamp bolt that attaches the exhaust port section to the rest of the head pipe. Then gently pull the section toward the radiators and away from the header. Turn the pipe section to the right and feed it out the right-side radiator area above the water impeller.
STEP 3: Turn your attention to the left side of the bike. Locate the head pipe bracket bolt, which is found directly in front of the throttle body port. Use a 12mm T-handle wrench to remove the bracket bolt. Loosen the clamp bolt that attaches the exhaust port section to the rest of the head pipe (shown). Then gently pull the section toward the radiators and away from the header. Turn the pipe section to the right and feed it out the right-side radiator area above the water pump impeller.
STEP 4: The final step takes patience. We recommend using a power ratchet driver with a long wobble-style extension and 12mm socket to remove the right-side exhaust flange nut. Unfortunately, Yamaha made it nearly impossible to remove the left-side flange nut due to the shock’s location. You will need to use a 12mm open-end wrench to remove the nut. It’s a tedious process, but don’t give up.
STEP 4: The final step takes patience. We recommend using a power ratchet driver with a long wobble-style extension and 12mm socket to remove the right-side exhaust flange nut. Unfortunately, Yamaha made it nearly impossible to remove the left-side flange nut due to the shock’s location. You will need to use a 12mm open-end wrench to remove the nut. It has to turned one small step at a time. It’s a tedious process, but don’t give up.
You might also like

Comments are closed.